This one is for FOY "Liver" in hopes that he did, or will soon get his Big Kahuna Burner!
Every so often, when I check referring sites, searches, and other stats, I will without fail, always notice that someone has been using one search engine or another using the phrase "high BTU burner" or "Big Kahuna". And it always seems that I'll get at least one comment on any post where I've used my Big Kahuna (why does that just sound wrong). Even though Amazon seems to have replaced the Big Kahuna with another Eastman Outdoors product called the Outdoor Gourmet New Revolution Burner , it looks like Eastman Outdoors still sells the Big Kahuna. With that in
  mind, I've created a category called the Big Kahuna Files. My high-heat cooking experience has been limited to various stir-fry and noodle dishes, and I usual don't bother to post. Those posts would contain an ingredient list of only oil, dried shrimp, garlic, salt, and "insert green leafy vegetable of choice". I just let her rip…….and high heat will do her thing.
But for a change, here are a couple of other items I've cooked with the Kahuna recently:
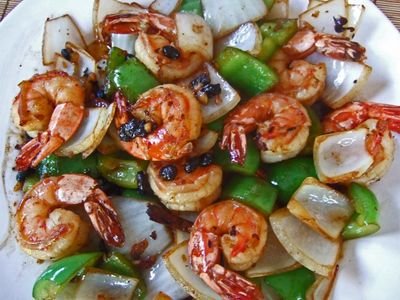
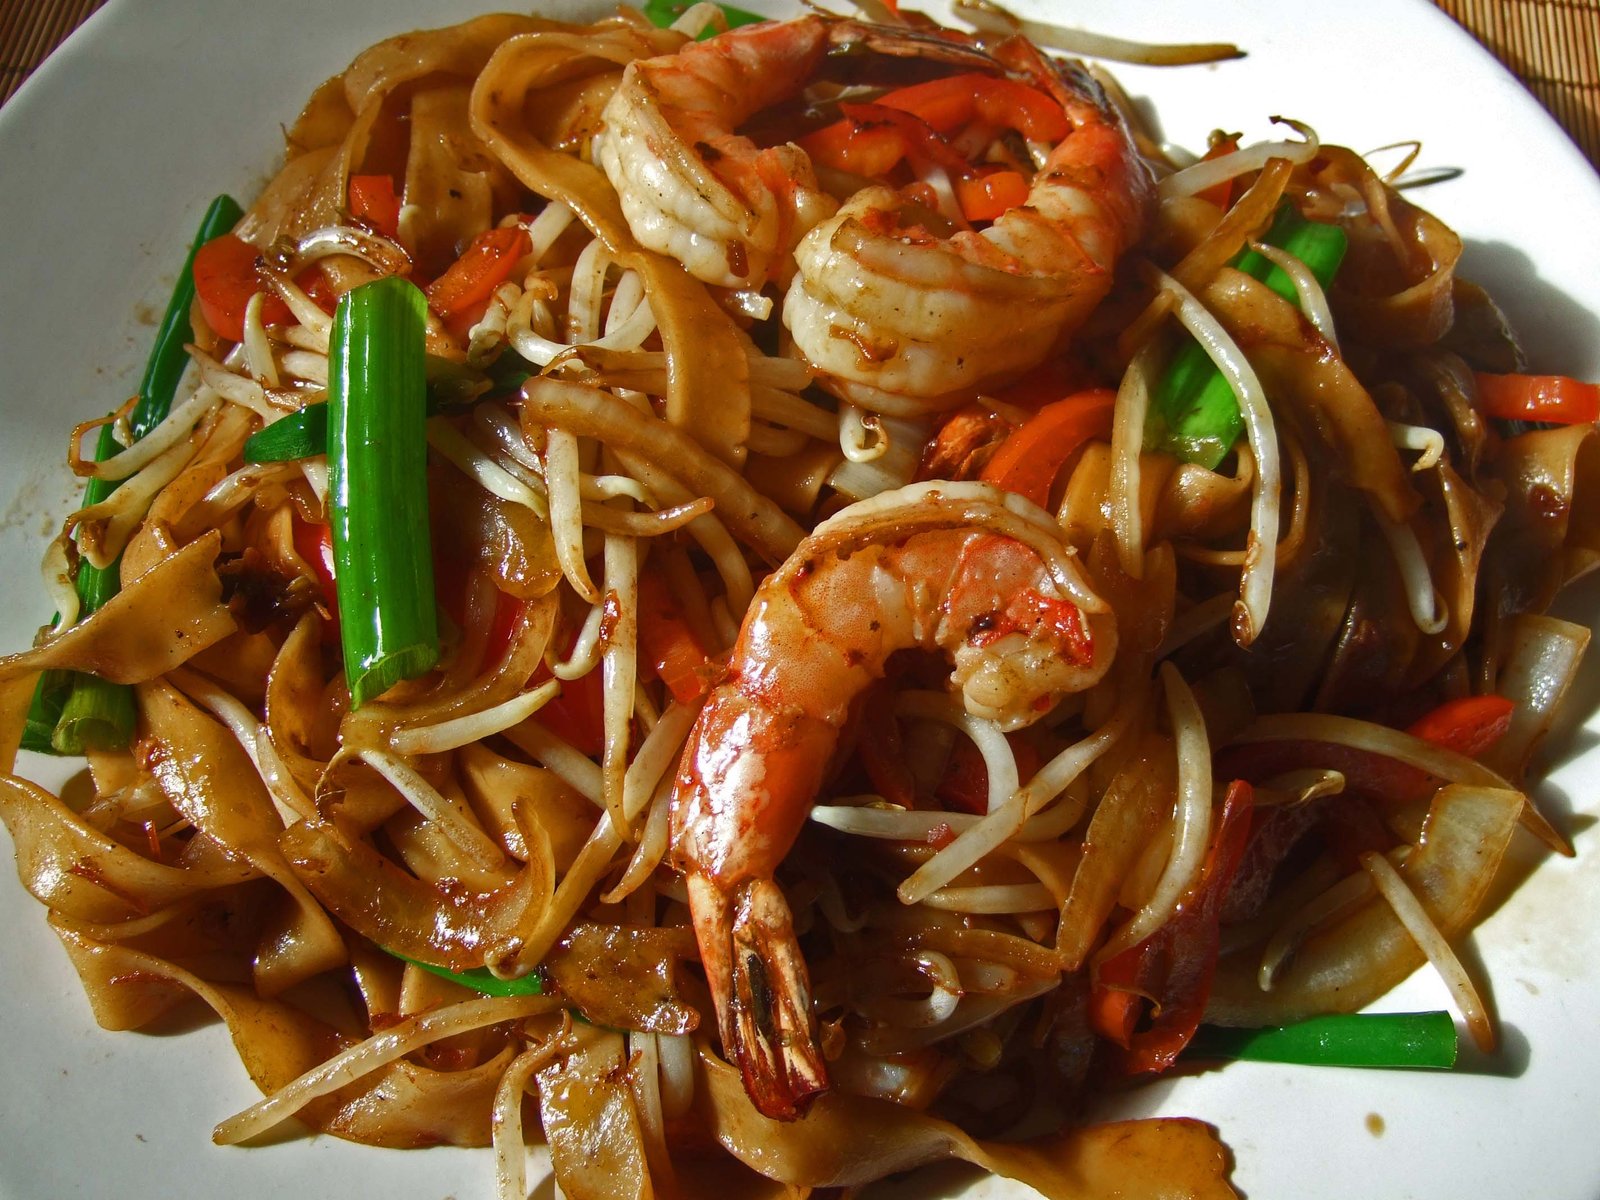
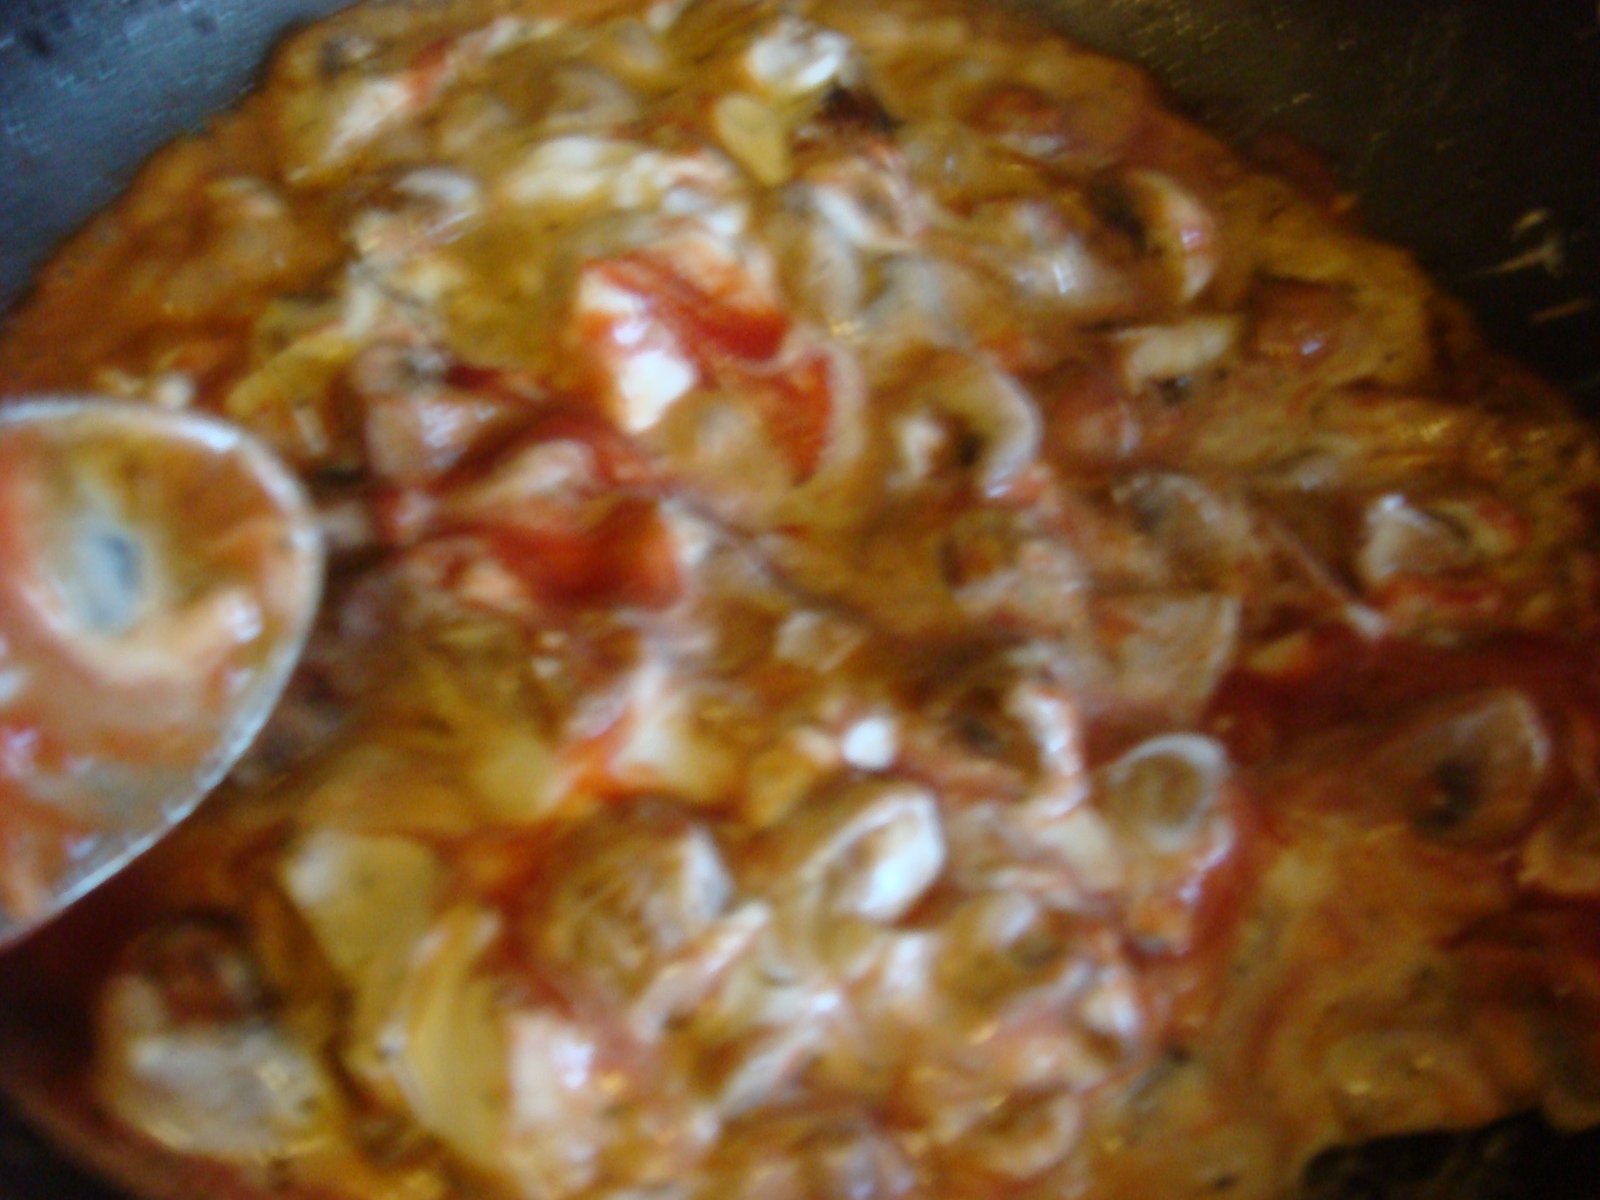
Shrimp Chow Fun:

This came out waaaay better than expected, even with the lousy noodles I picked up at 99 Ranch Market. The shrimp were also too large, I had 12-16U, and smaller shrimp would have suited me better. One more thing, I also tried out Lee Kum Kee brand Seafood XO Sauce, which should be renamed, "rancid, second rate chili oil…." Better to go with sesame oil, or even better, make your own XO sauce…. but that's another post.
Some key points – at least for me:
- Don't crowd the wok, more is not necessarily better.
- Have your mis "en place". Have everything, including seasonings within easy reach.
– Control of the heat is important.
– Don't disregard your "nose" it'll tell you so much.
The Recipe – though I don't think you'll need one! Let's just call this a "pseudo-recipe"….
1/2 lb Chow Fun Noodles
4 Tb Canola Oil
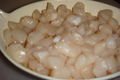
1/3 Pound Shrimp
For Shrimp:
2 Tb Shao Xing wine
1 Tb Light Soy Sauce
Salt
1/2 Onion Sliced
1 Cup Bean Sprouts (I didn't bother to pick through them)
Up to 1 cup vegetable of your choice sliced. (i.e. celery, green bell pepper, etc)
2 Stalks Scallions, green parts only, sliced in 1" lengths.
2 Tb Dark Soy Sauce
3-4 Tb Light Soy Sauce
White Pepper
Sesame Oil to Taste
1 – Shell and devein shrimp, marinate with wine, soy sauce, and salt for 10-15 minutes.
2 – Remove shrimp from marinade and use 2 Tb oil to cook over high heat for a few minutes. Remove from wok.
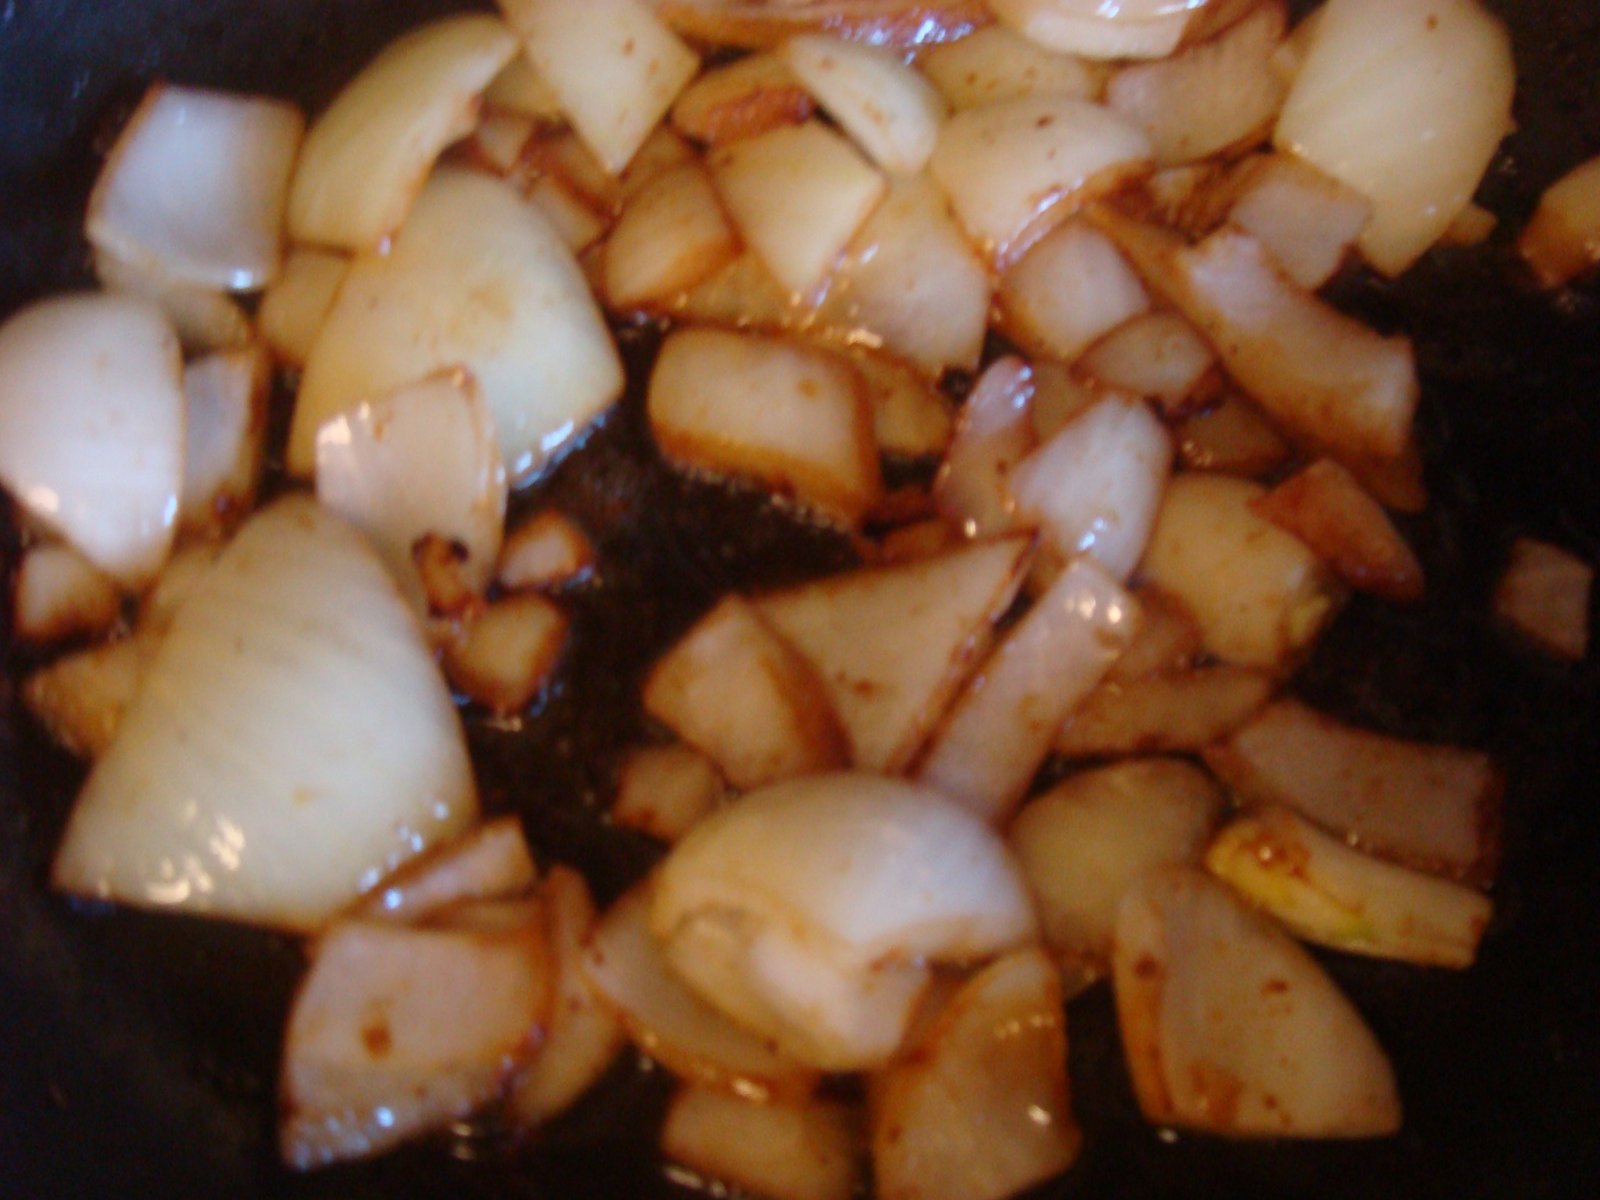
3 – Replace oil and add vegetable (in this case all I used was 1/4 of a red bell pepper) and onion to wok.
4 – Stir fry for 1 minute, or until vegetable starts to barely soften.
5 – Move the veggies to the side of the wok using your spatula. If the bottom of the wok is too dry, add another Tb of oil.
6 – Add noodles separating them as you place in the center of the wok. A clump is a no-no.
7 – Let the noodles sit for a few seconds. You'll notice that they'll start to caramelize and blister. Using a pair of long chopsticks, mix noodles, add dark soy and 3 Tb Light Soy and mix. Don't do the "pour around the rim of the wok" thing, unless you want to add a burnt soy flavor to your noodles.
8 – Lower heat to medium and add bean sprouts and shrimp while using chopsticks to combine ingredients.
9 – I add the scallions last, as I like them crisp, with a bit of a "bite". Keep on stirring.(Keep them chopsticks going….)
10 – Lower heat, taste, add white pepper to taste, and more light soy sauce if necessary.
11 – Remove from heat and add sesame oil to taste.
All of this will take just a few minutes…….
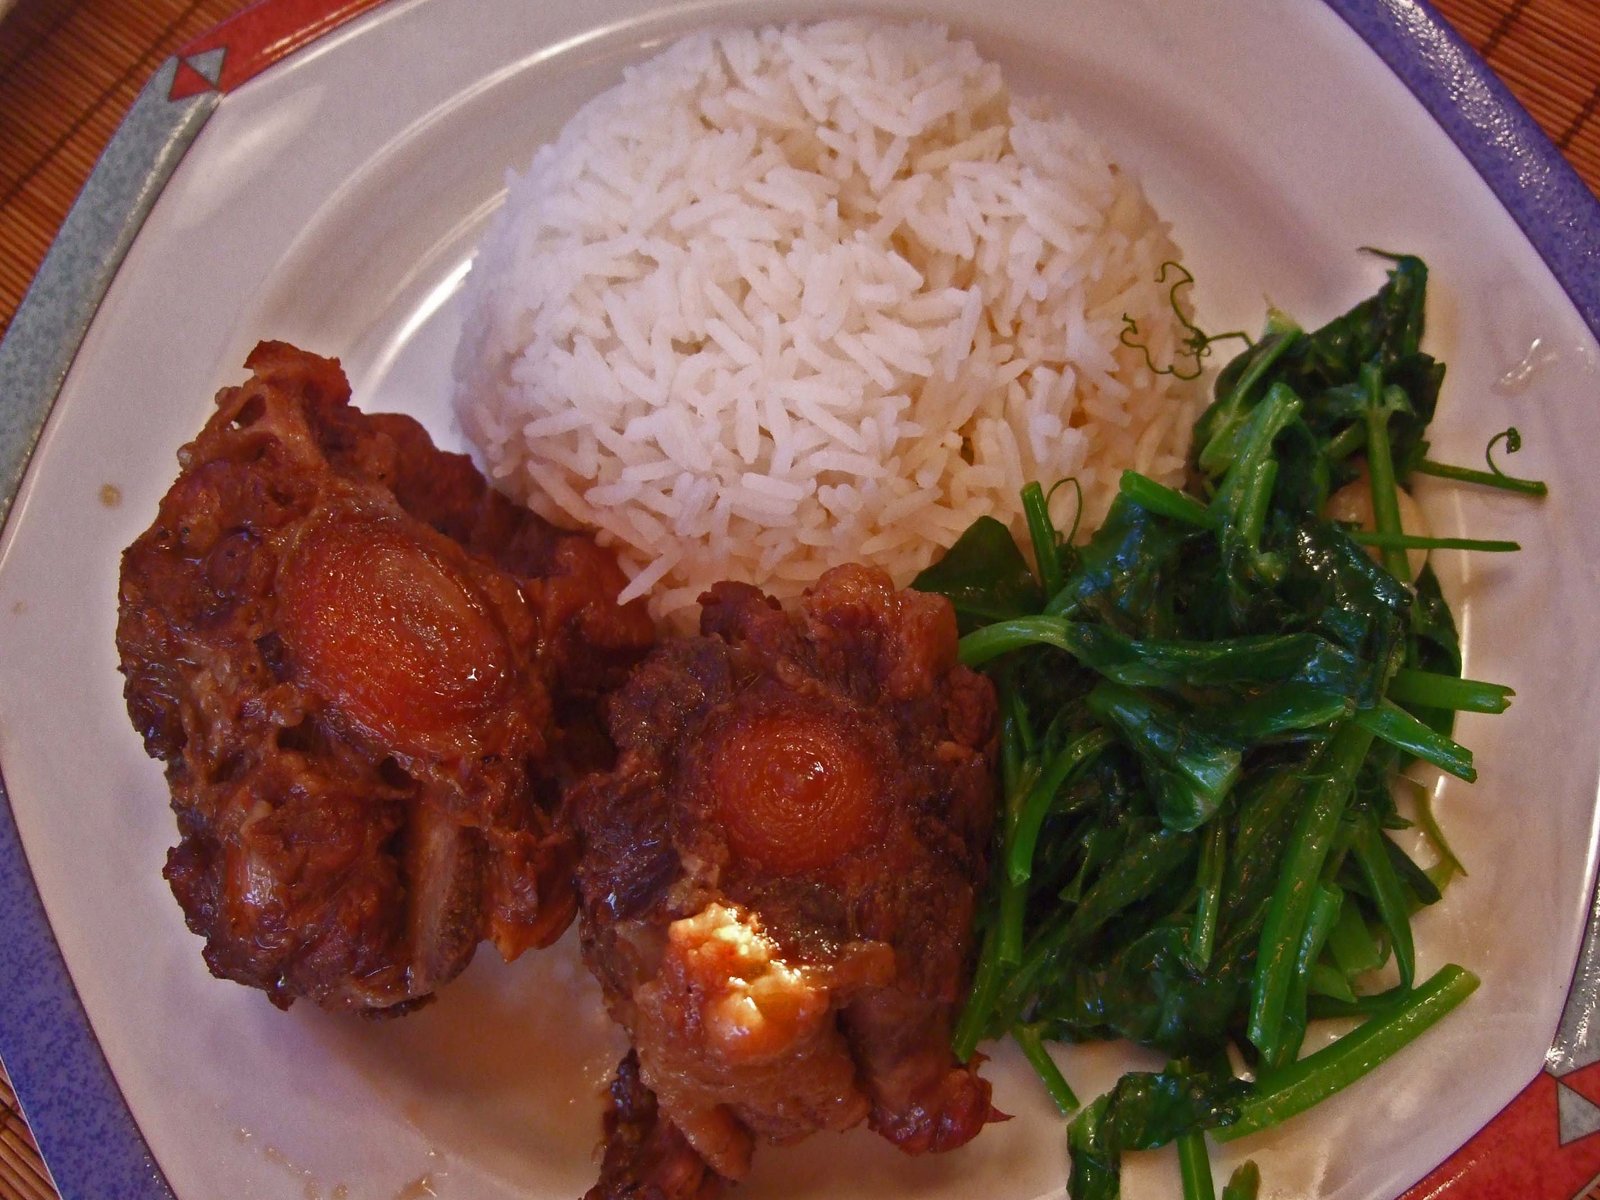
Stir Fried Morning Glory:
It just seemed like we couldn't get enough of this during our trip. The Morning Glory in SEA is much more tender than what we have here in the states. The prep is simple, and I guess this is another pseudo-recipe. The results are wonderful:
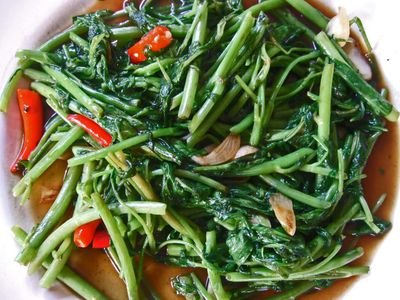
In this case, I didn't use any sugar, and just a few drops of fish sauce, mainly for the fragrance.
1/2 bunch Morning Glory (aka Ong Choy, Pak Boong, Kang Kung, Kang Kong, etc, etc, etc…)
3 – 12(!!!) Thai Bird Chilies.(The 12 is out of respect for Joy from Tamarind, who told me, 12 chilies is Lao heat)
2 Tb Canola Oil.
4-5 Cloves of Garlic sliced
1/2 tsp sugar (optional)
1 Tb Oyster sauce
Fish Sauce (optional)
2-3 Tb Light Soy Sauce
1 – Slice rinsed and dried morning glory into 1 1/2" lengths
2 – Remove green stem from chilies, and slice garlic. Alternately, you could bruise the chilies and garlic in a mortar – this will make them significantly hotter.
3 – Mix together Oyster Sauce, sugar(if using) and 2 Tb of the Soy Sauce.
4 – Heat wok over high heat. Add oil, then chilies and garlic. Stir quickly.
5 – When the garlic starts to soften (sometimes in a few seconds). Add morning glory and stir fry.
6 – When morning glory starts to wilt, lower the heat to low, and add oyster sauce mixture.
7 – Taste and add Fish Sauce(if using) and additional soy sauce if necessary.
They'll be no more excuses for soggy Ong Choy…….
You know, I haven't been very delicate with my Big Kahuna….. it sits on the back porch, at the mercy of the elements. I should probably treat it better. But it has held together rather well. During their last visit, I cooked a few simple stir-fries using the Kahuna for the In-Laws. They proceeded to tell the Missus that She "shouldn't bother learning how to cook anymore since I've taken my cooking to a whole 'nother level."
Oh the joy of 65,000 BTU's……


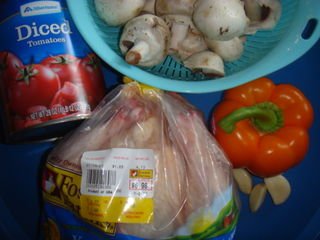 Actually, you'll pay more for all the ingredients, but this should serve at least four (do you really eat 1/2 chicken all by yourself?), so the portion price is less than $2.50.
 Of course, you will also need flour, salt, pepper and I use Herbes de Provence as my choice of flavoring…


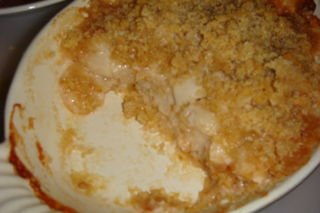
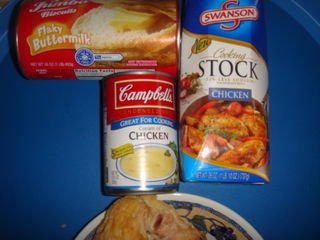 (If you have cravings, which I understand completely, this is a very easy way to satisfy those cravings).


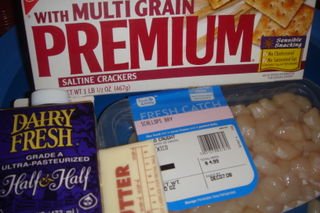
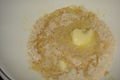 Crush the crackers, pour in the stick of melted butter and mix.
  '
'

 Pour half and half to soak in the crackers, but not too much.
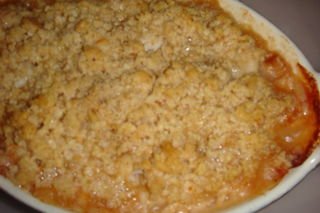


