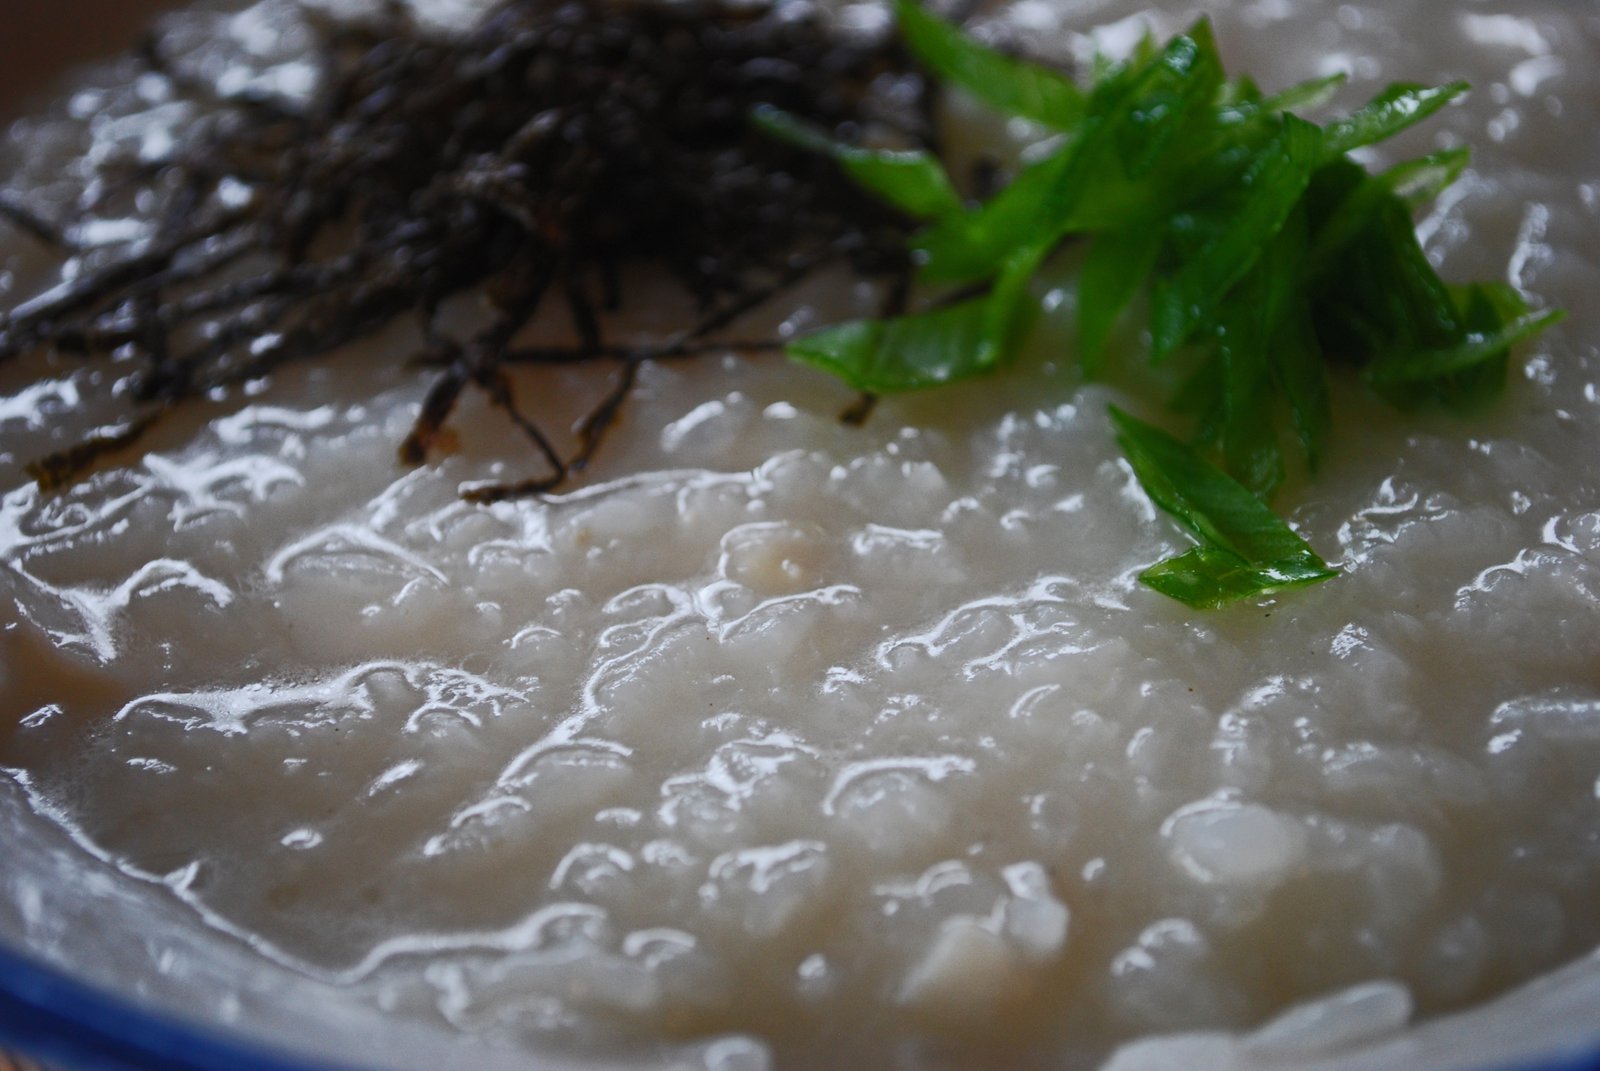
After being married for a while, you kind of develop a sixth sense when talking to your spouse. When you take a step back, and take time to think about it, sometimes it just doesn't make sense. I can understand deciphering that when the Missus said "Leo-hay-mans" She means Loehmann's, and of course there are times when I (thankfully) have no clue. But often, things just kinda click. Like when the Missus told me, out of the blue, "I want the porridge………" I don't know how I knew She was referring to Jeonbokjuk, but I just knew. It must have been fate, live abalone was on sale at Zion Market for $4.99 each.

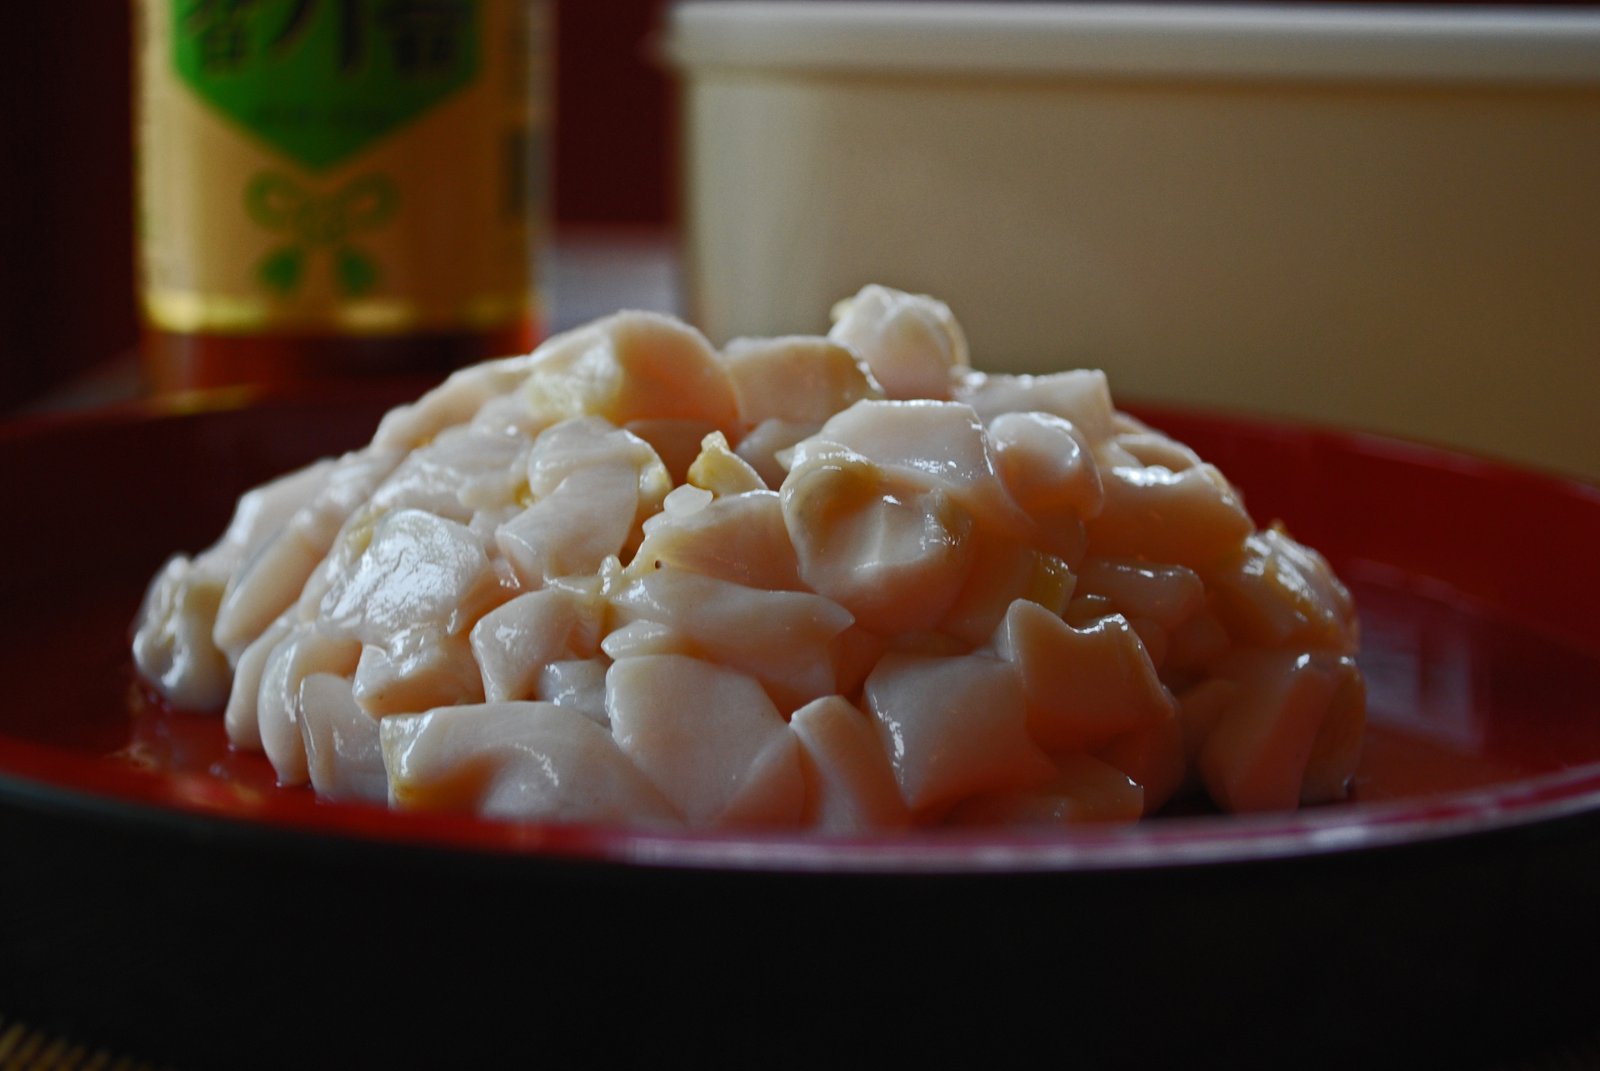
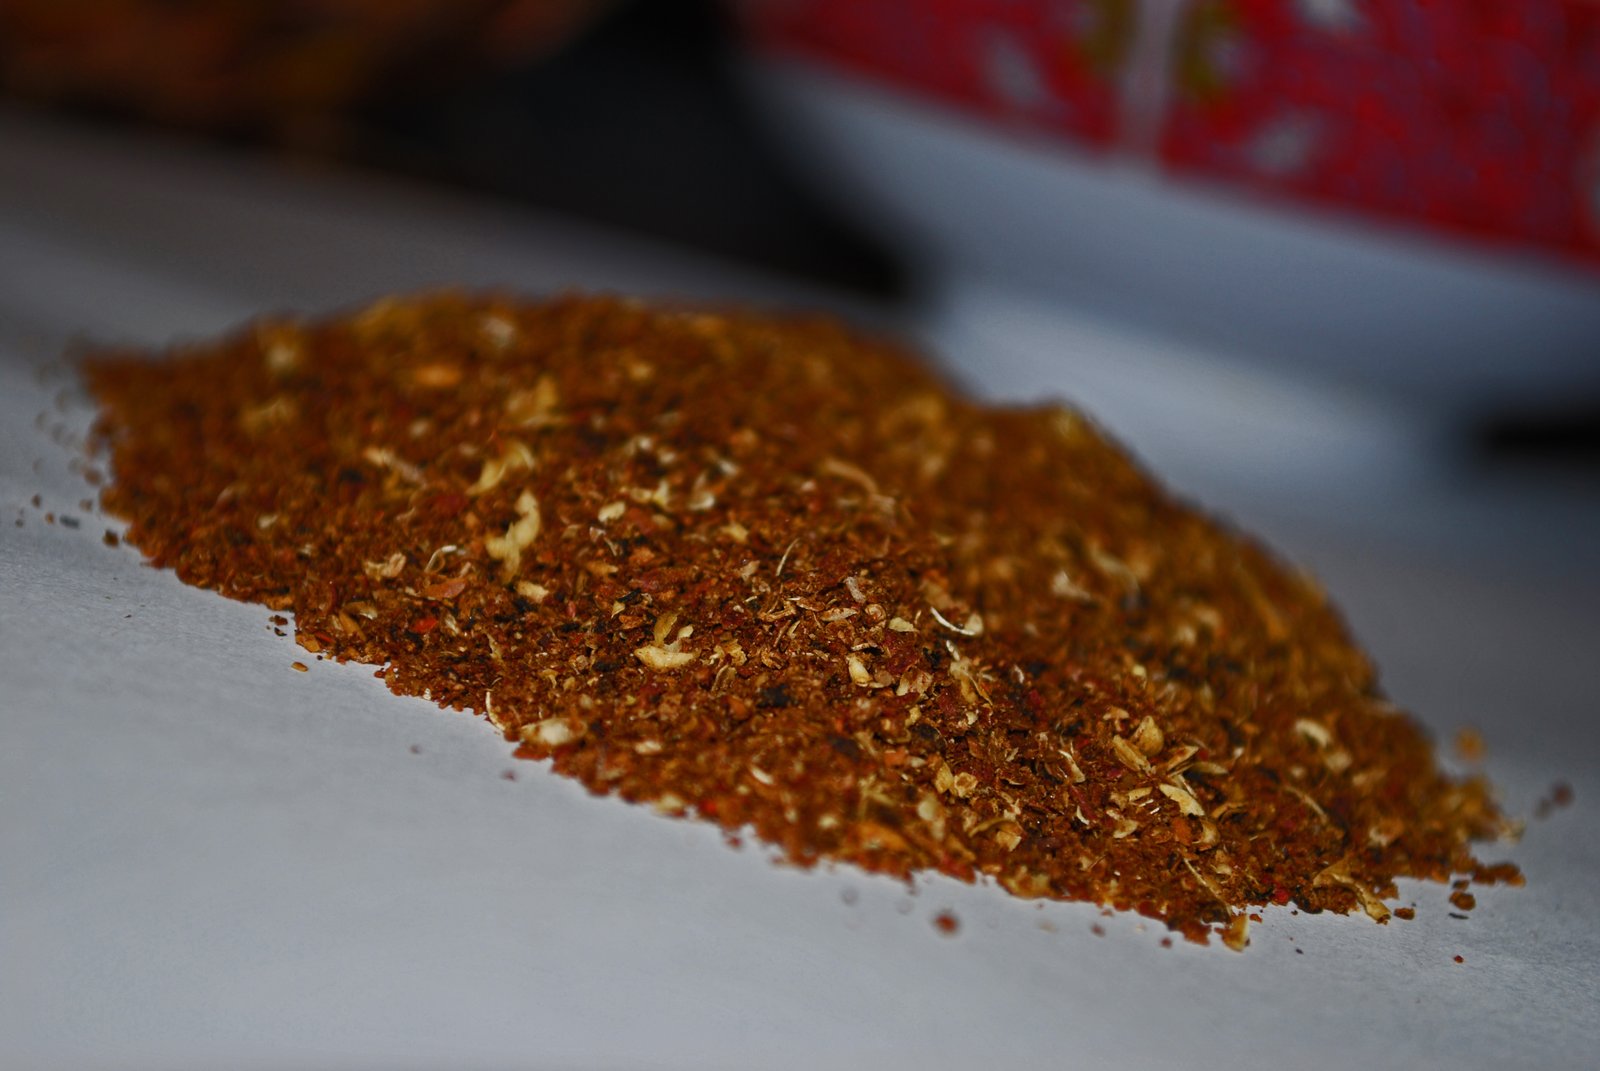
I once asked someone how to make this, and was given the basic outline of a recipe. I also checked 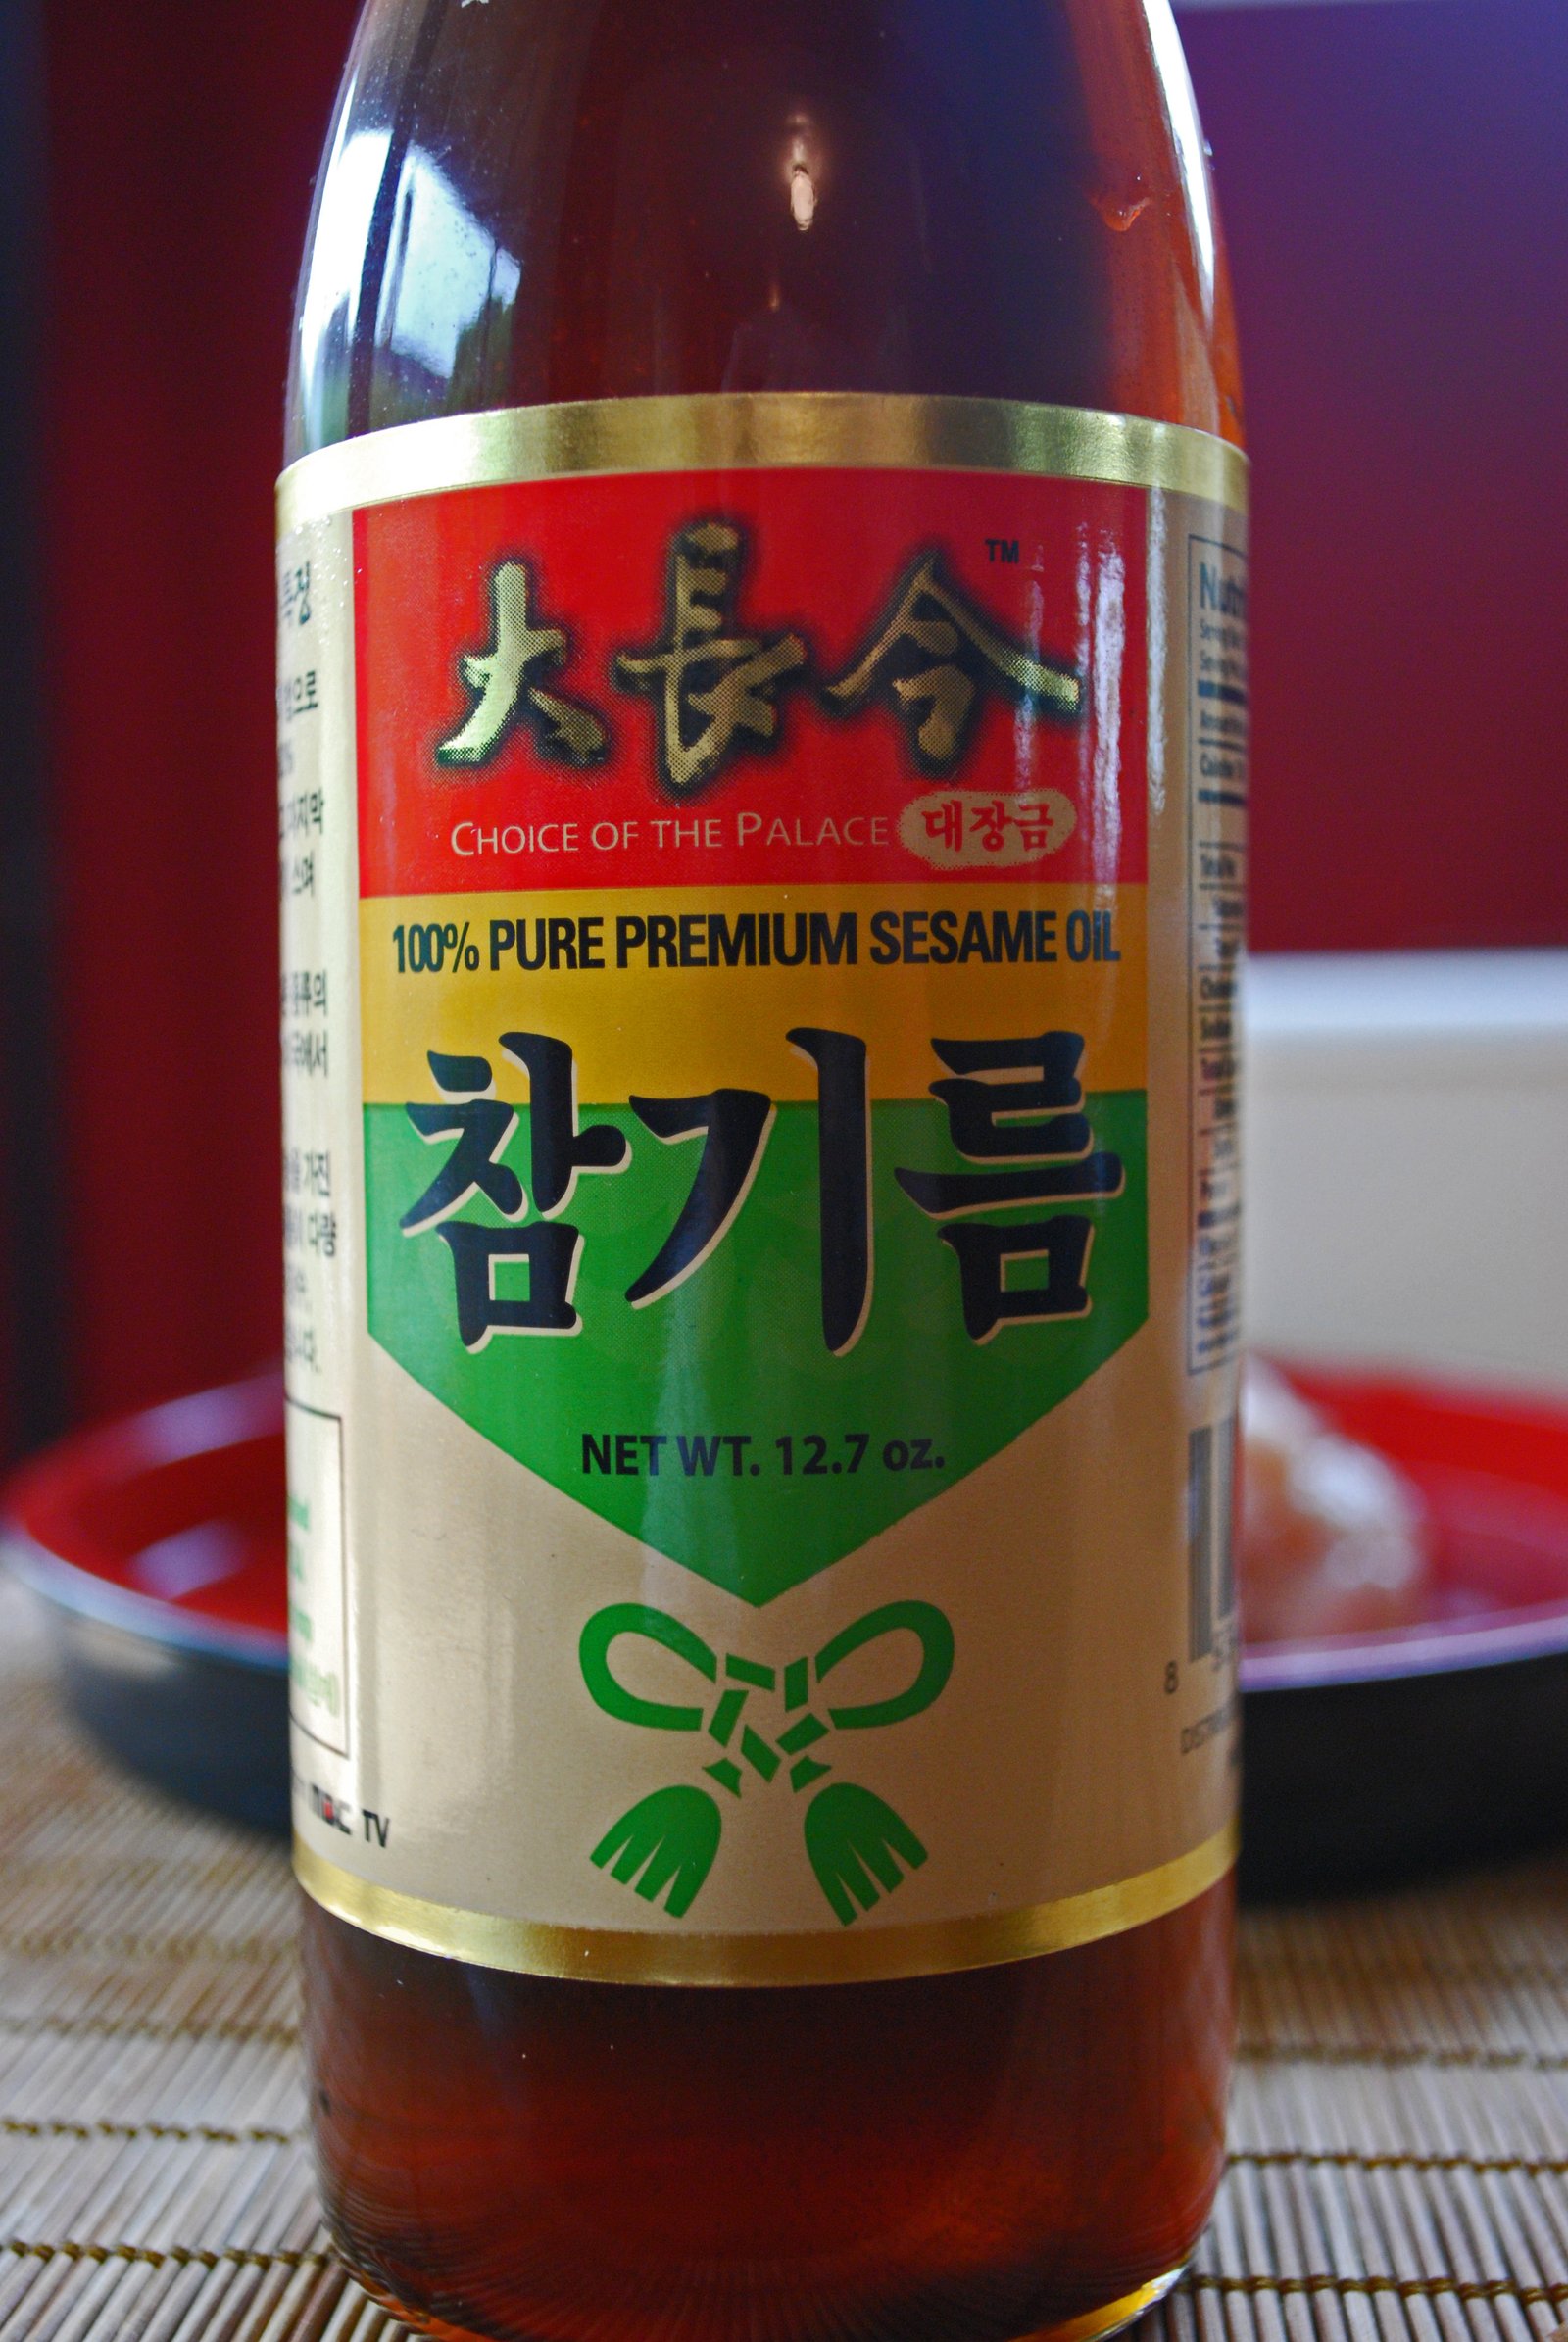 online, and one of my cookbooks. The recipe you see below is a mish-mash of what I gleaned. Like many recipes, there are more than few variations on the recipe. I'll list some of them in case your thinking about making this. Some recipes include chopped carrots, in the basic recipe I was given, I was told to blend the soaked rice with 5 cups of water for 10 seconds to "break the rice". One variation of Jeonbokjuk is green in color and includes the abalone innards. What's with the fish sauce, etc? I was kinda wondering the same thing when I saw the inclusion of fish sauce in a few of the recipes online. But after tasting the porridge, I knew. Farm raised Abalone, like the type I purchased is pretty mild in flavor, and need just a bit of "help". The meat has good flavor, but it just didn't impart enough of it to the porridge. Instead of fish sauce, I added a teaspoon of Dashi-no-moto to the porridge at the end. I know this is akin to adding MSG to a dish, but it really added a nice umami to the dish. If I had White Tamari, I would have tried that instead. I also used a good quality Sesame Oil, and would suggest putting that ubiquitous bottle of Kagoya away for this. Remember to scrub the abalone well, to remove all the black pigment and slimy "stuff".
Jeonbokjuk
1 – 1 1/2 Cup Fresh Abalone(approx 2) washed, cleaned, and diced
2 Cups Short Grain Rice
7 Cups water
2-3 Tb Sesame Oil
1/2 Tsp Sea Salt
3 cloves garlic minced
Fish Sauce, White Tamari, or Hondashi (optional)
Nori cut into thin strips
Scallions, green part only sliced
– Place rice in a bowl and cover with 3-4 cups water, and soak for 30 minutes.
– Drain rice in a colander
– In a pot or wok, heat sesame oil over medium-low heat. Saute garlic and abalone for about a minute.
– Add drained rice and mix with abalone for a minute or two.
– Add water, and turn heat to high, stirring occasionally.
– Bring porridge to a boil, uncovered for about 5 minutes, or until the porridge starts to thicken.
– Turn heat to low, cover and cook, stirring occasionally, until the desired thickness is reached. About 15 to 30 minutes.
– Taste the porridge, and add sea salt, and other flavorings if desired.
– Serve topped with Nori Strips and scallions.
It's a nice luxurious dish…..
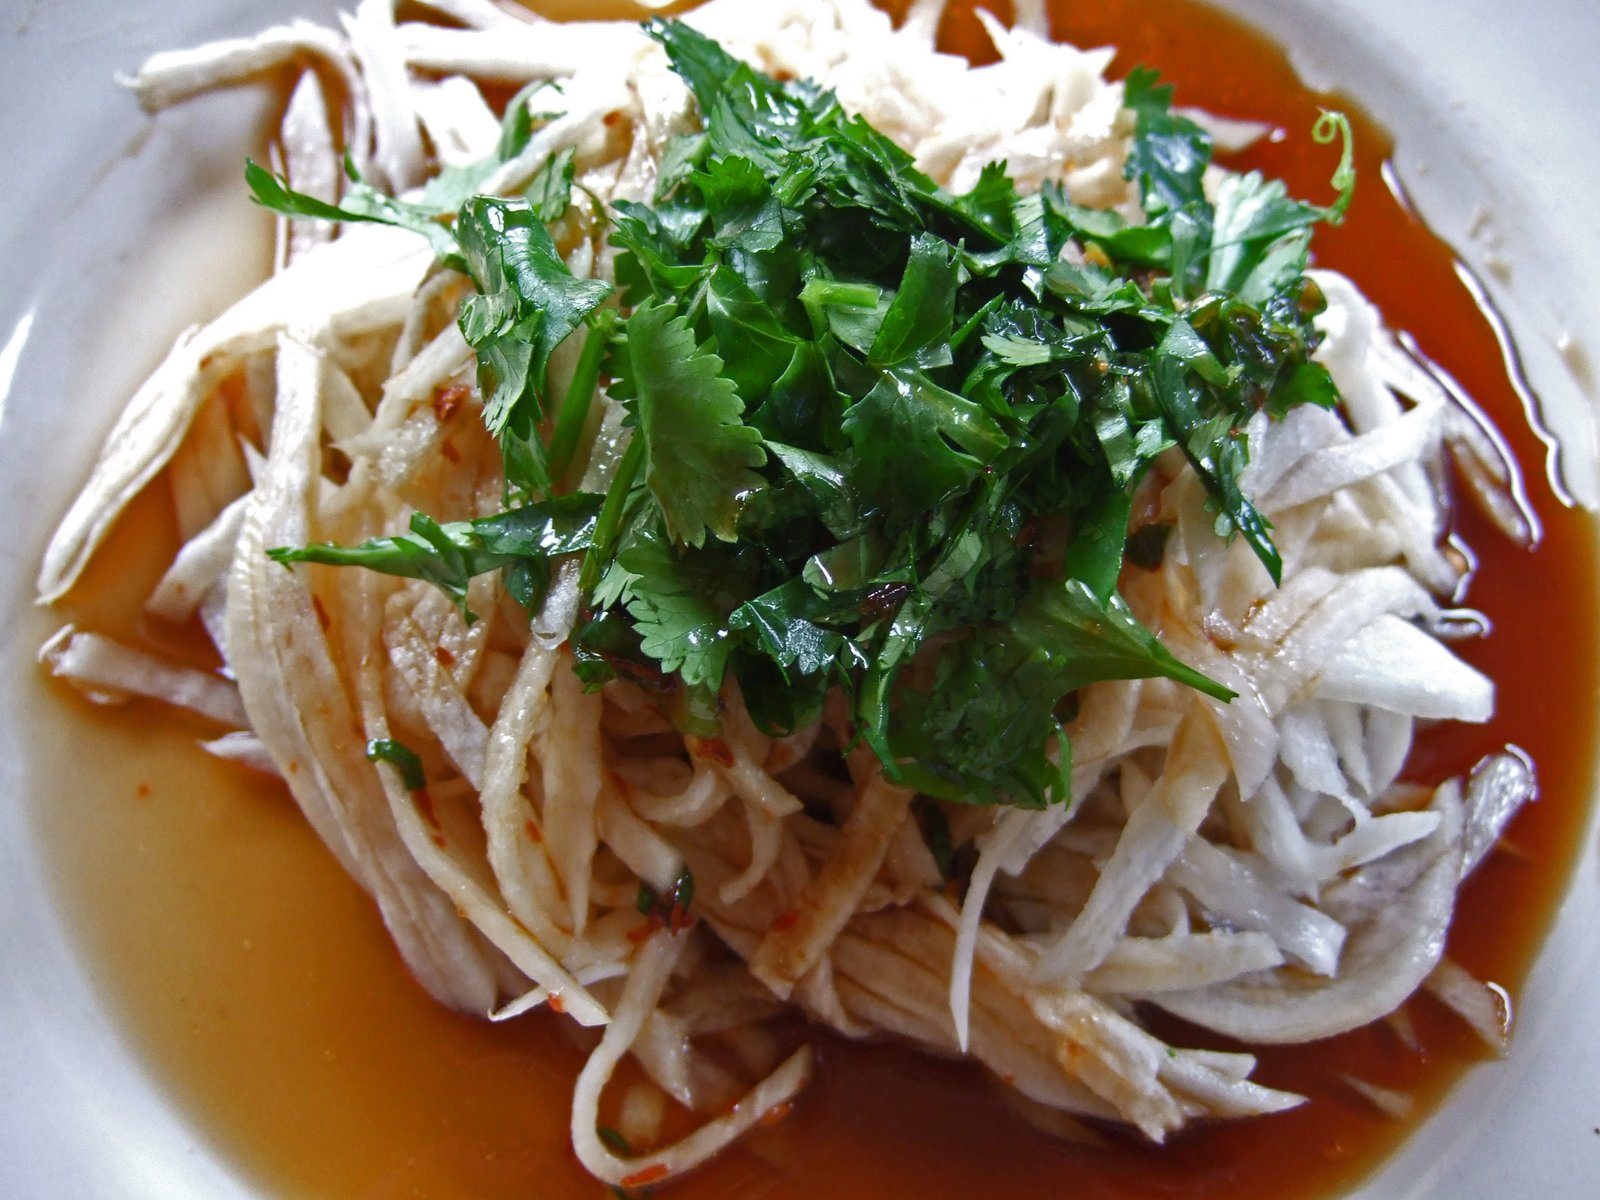
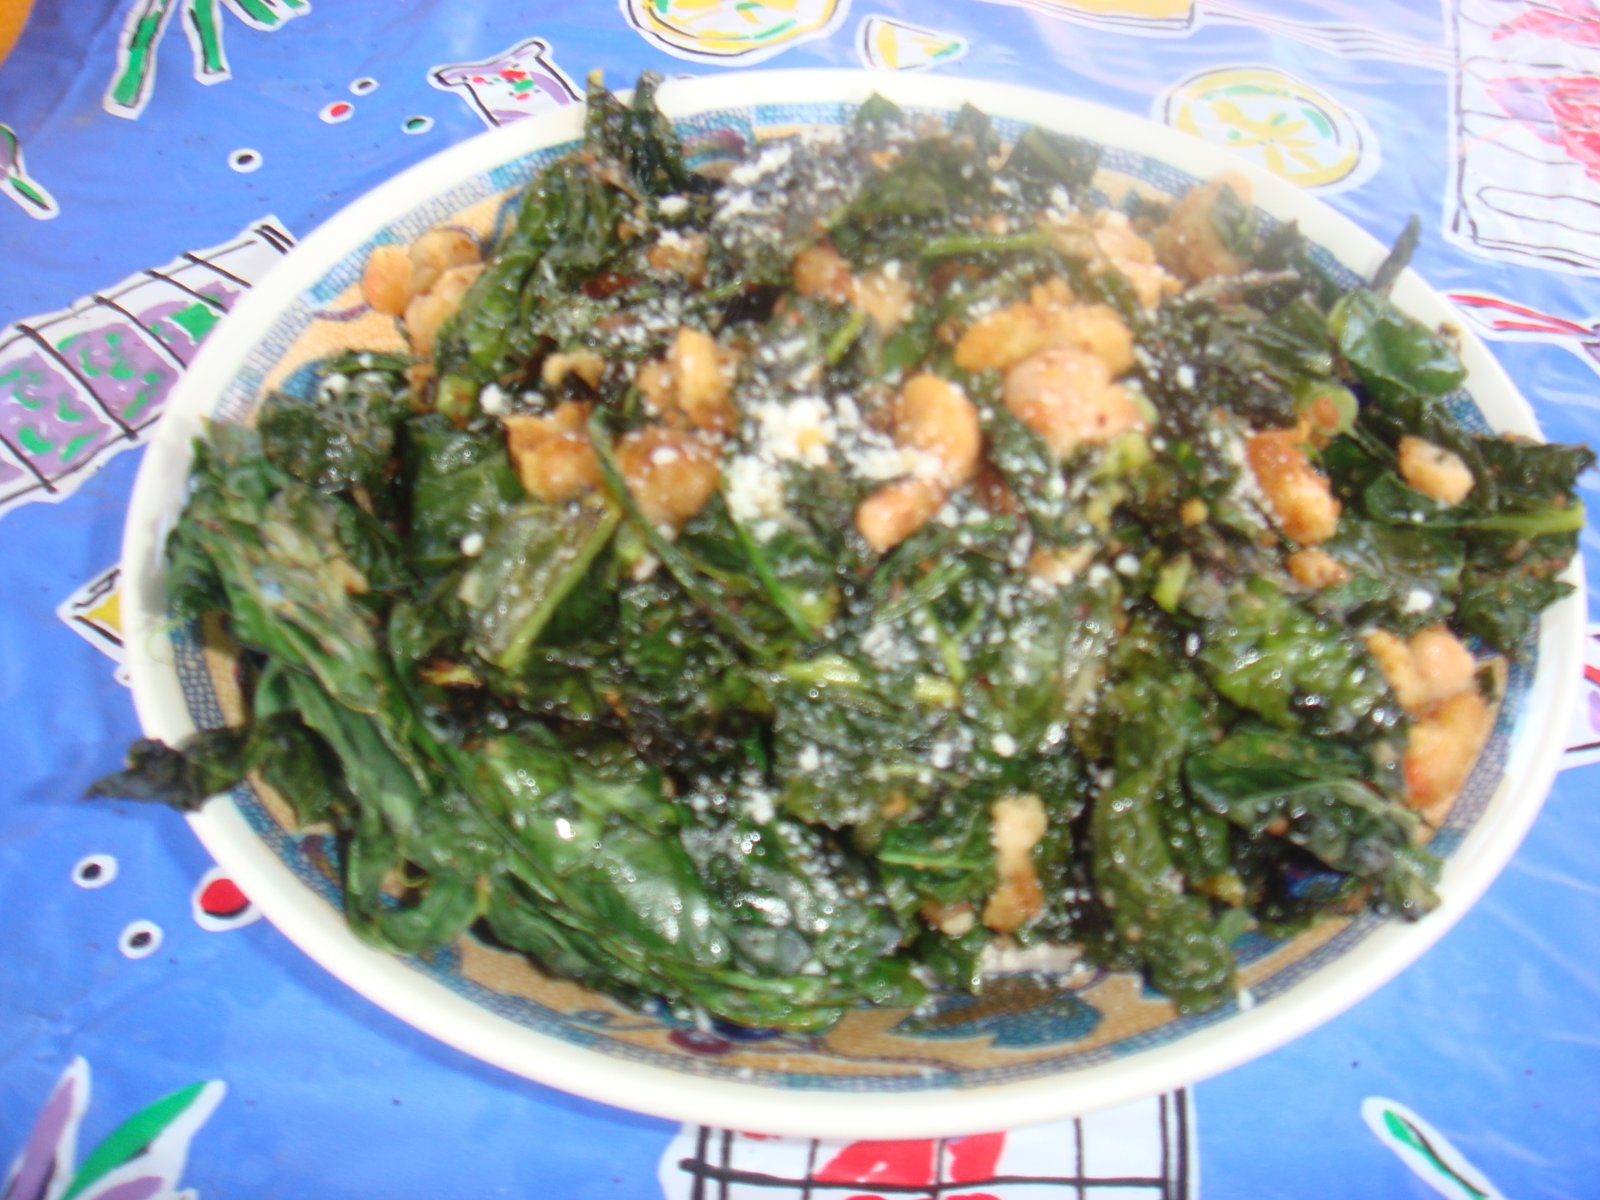
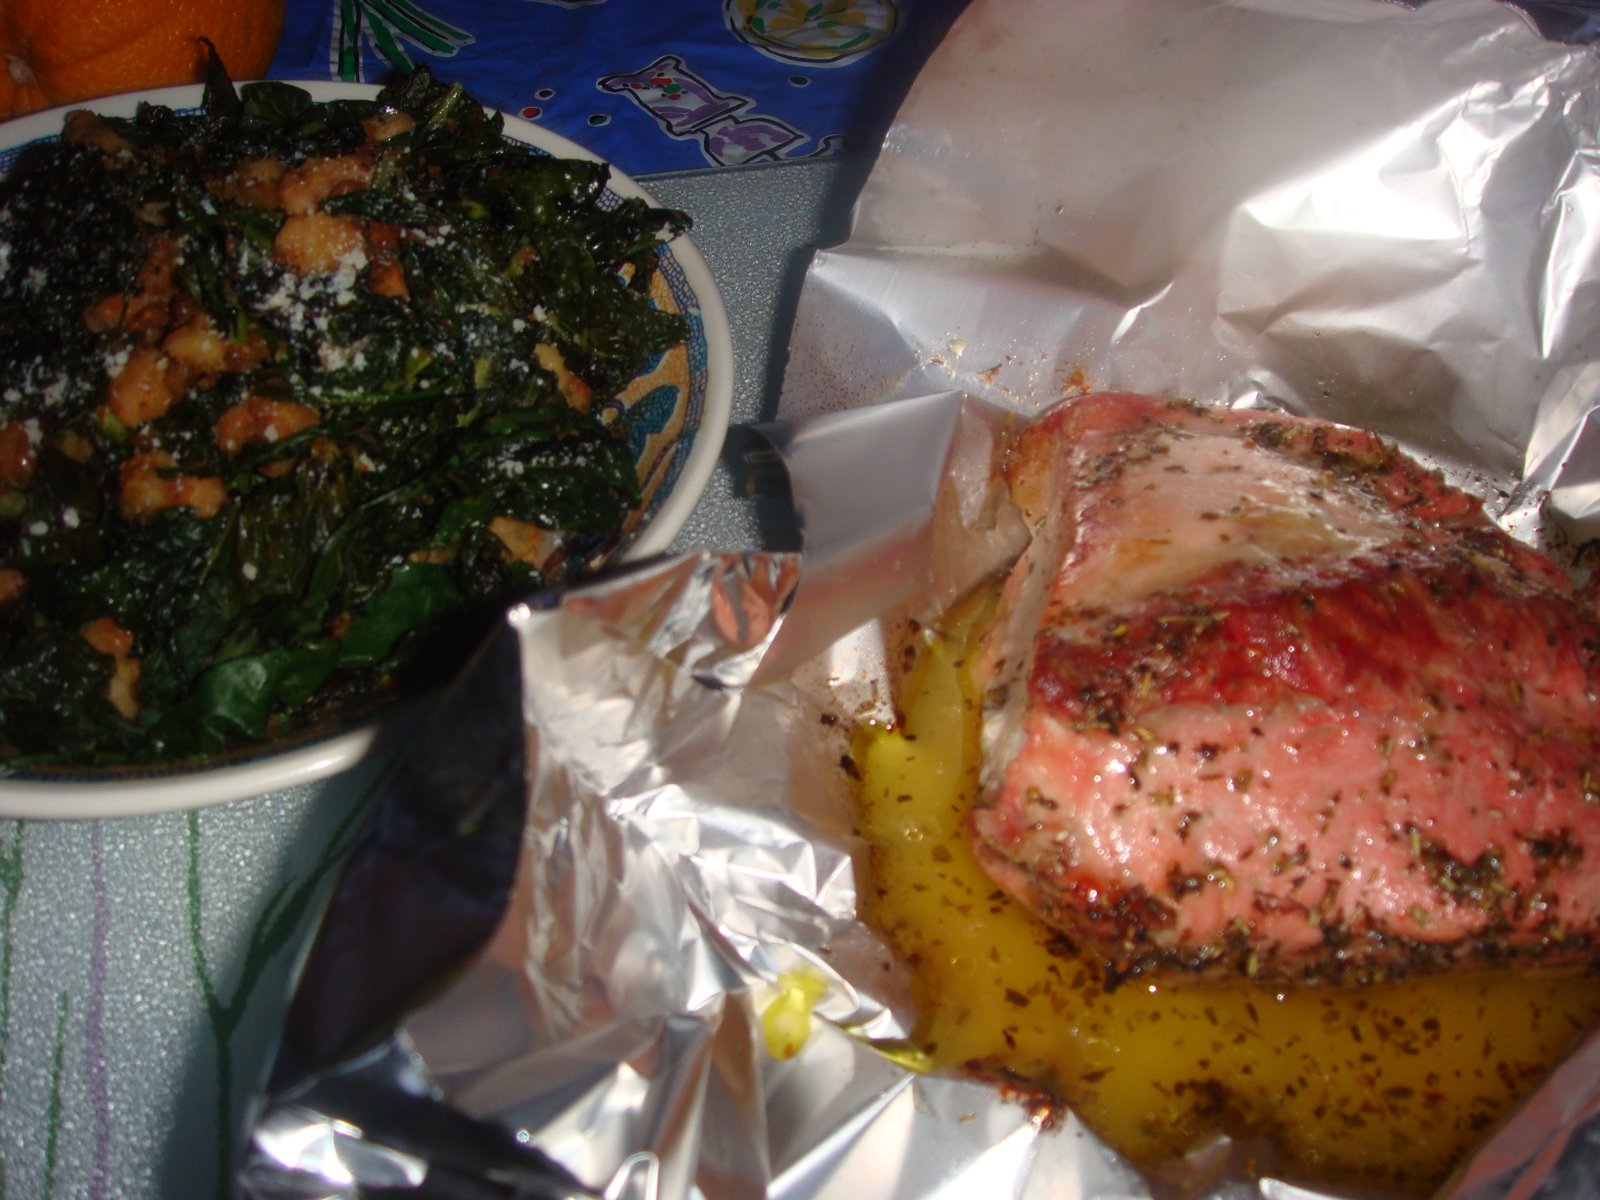
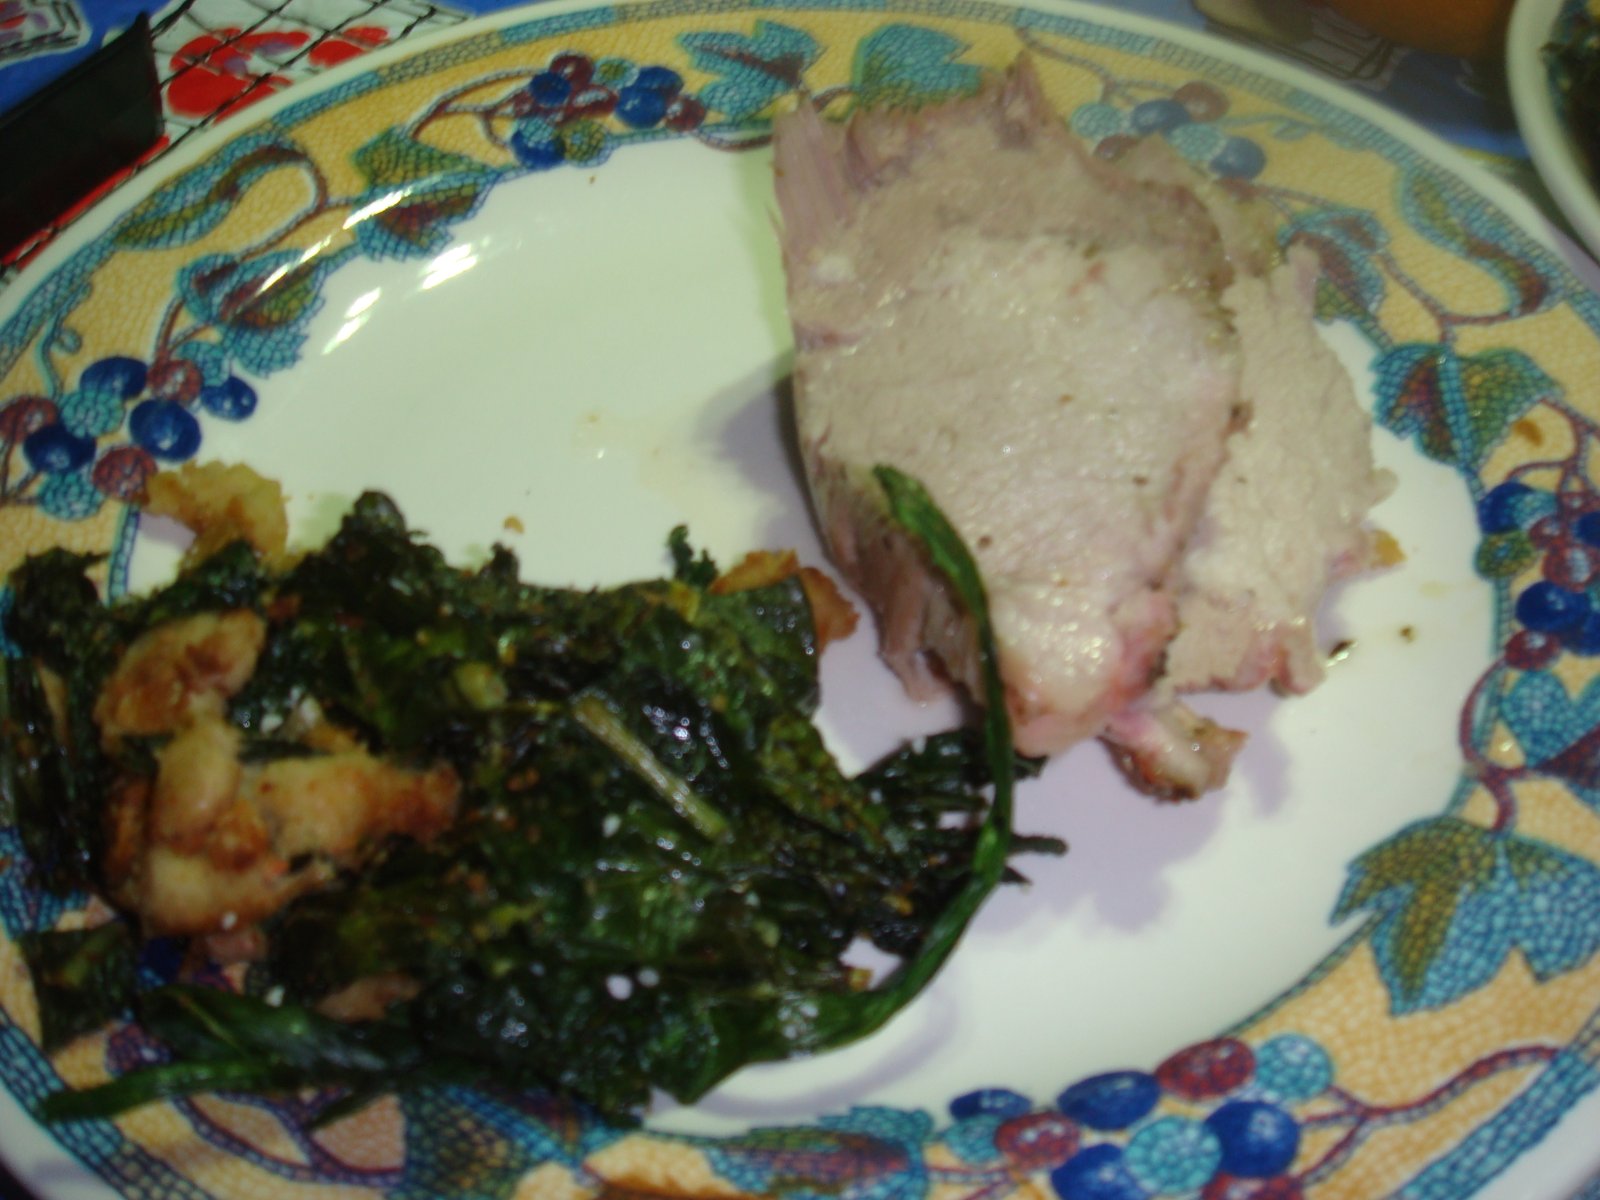
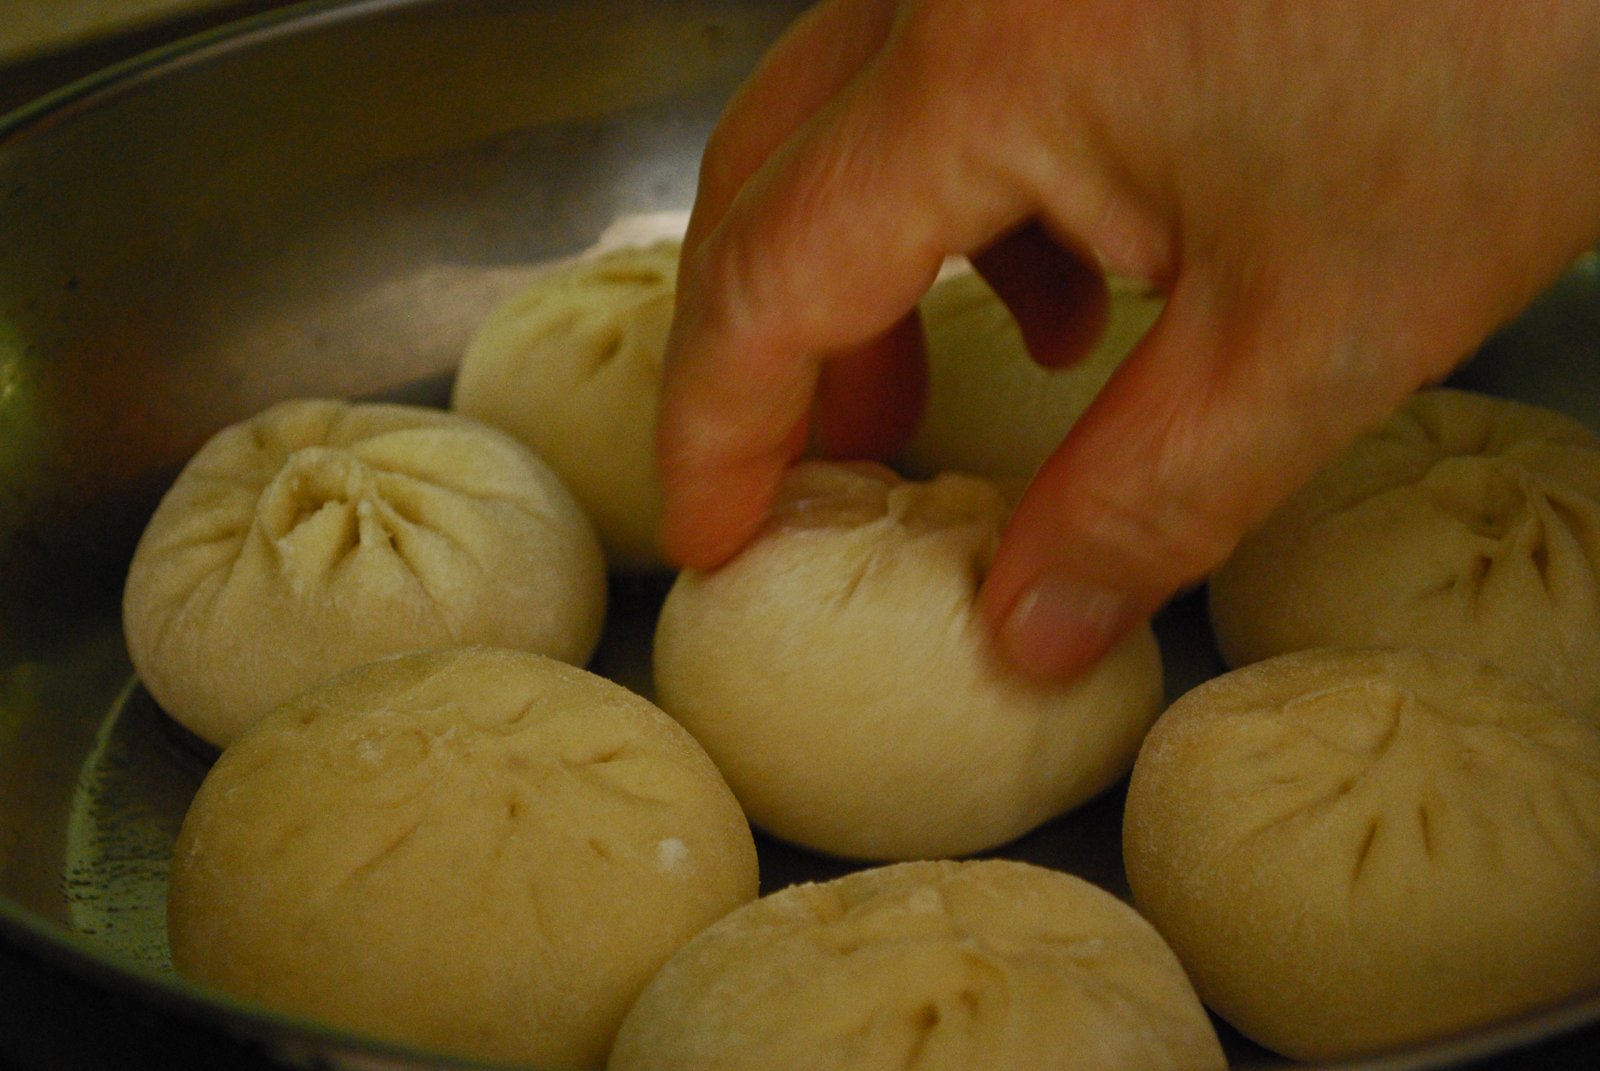
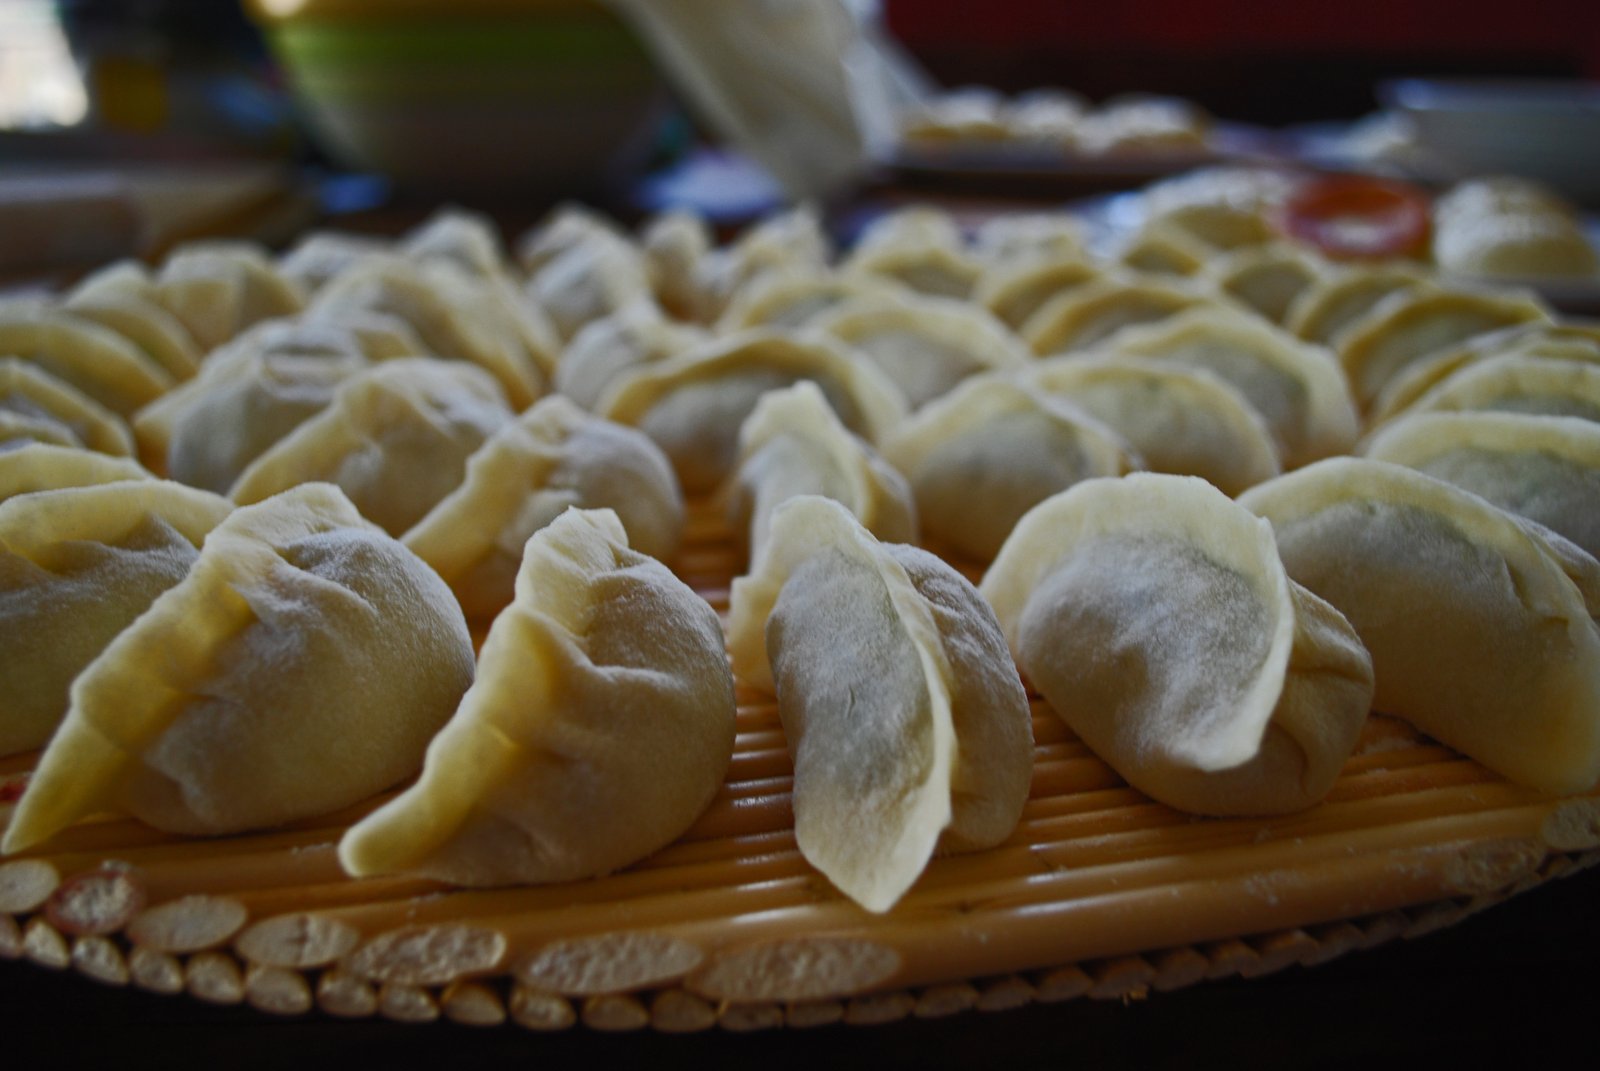
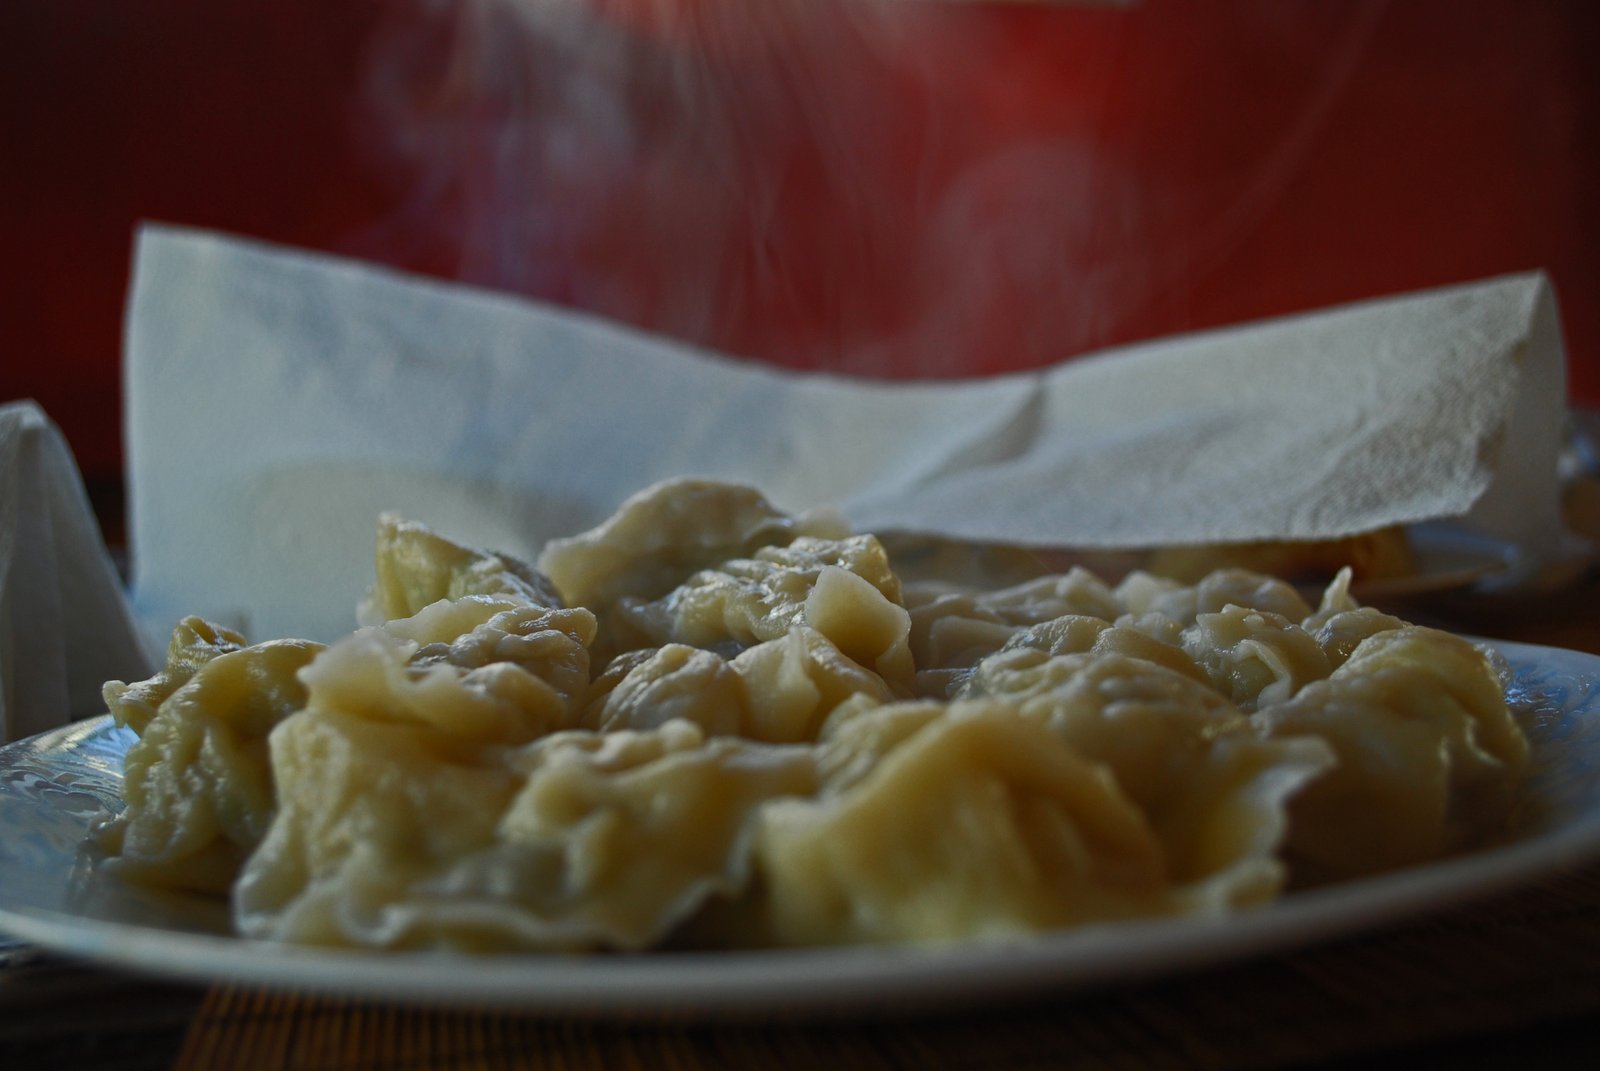
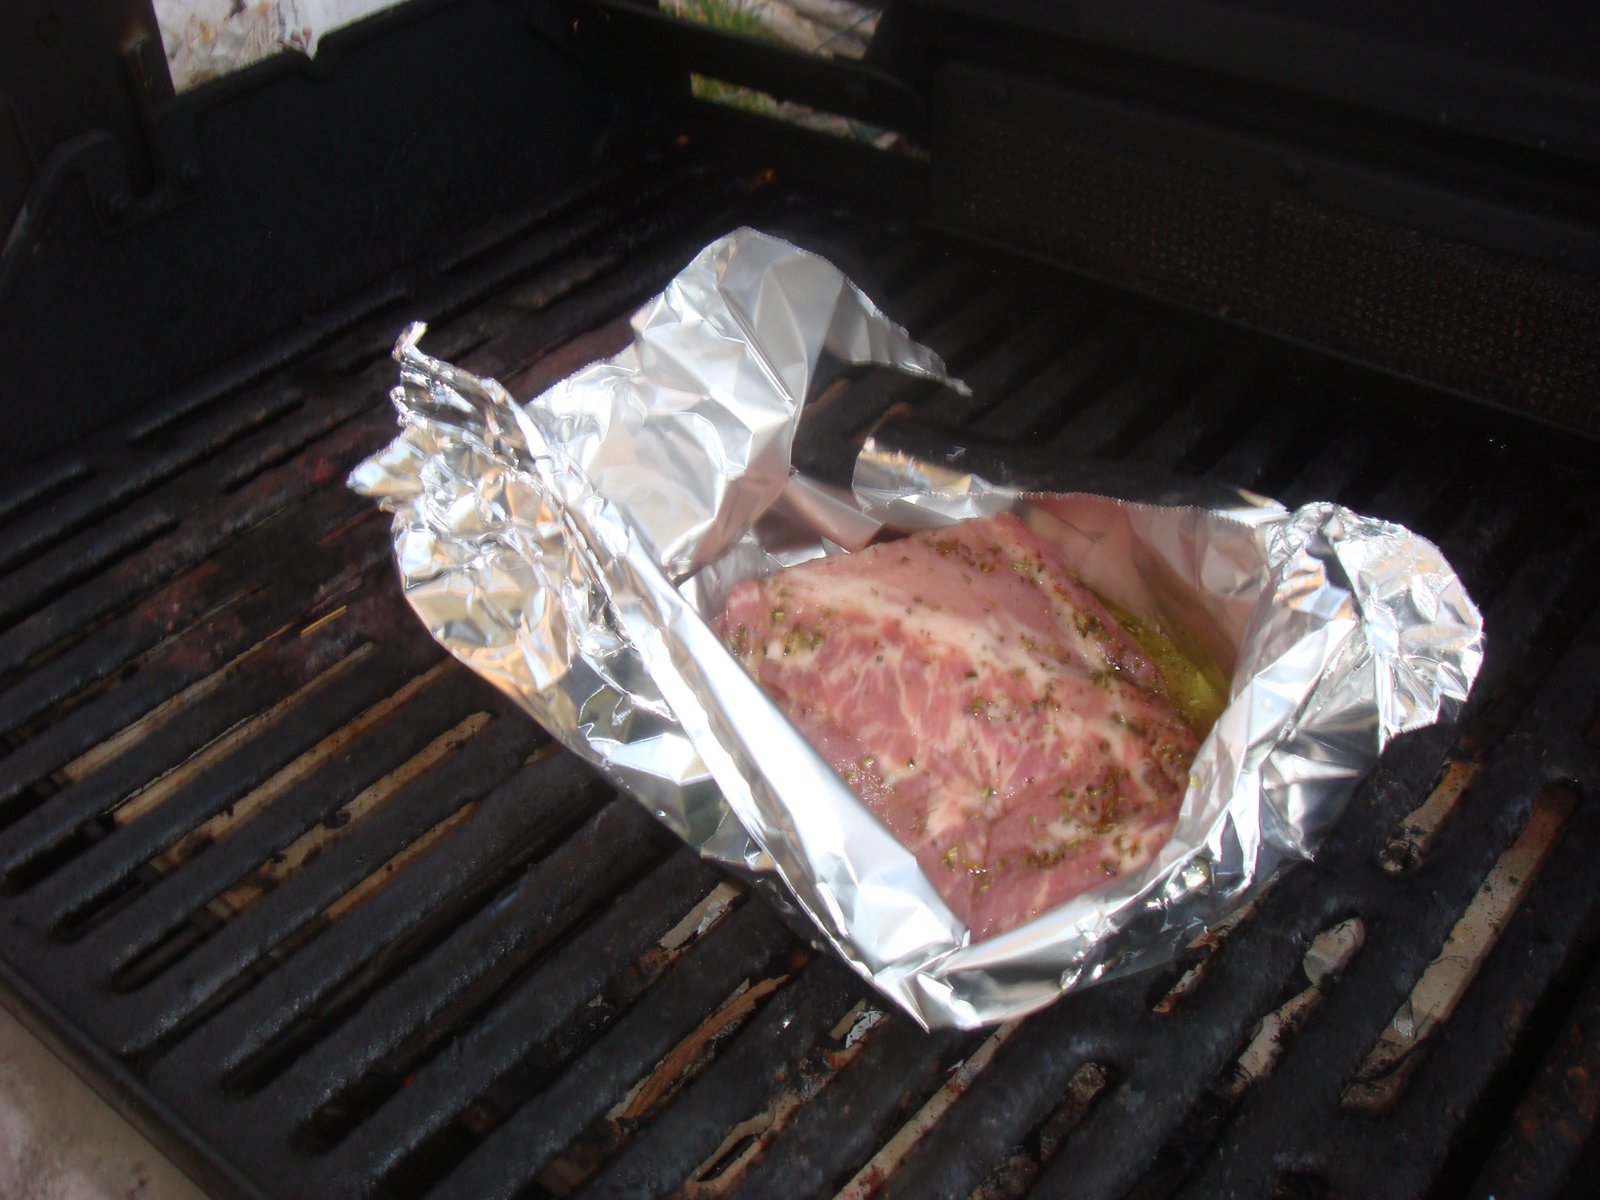
Of course one doesn't live on Jeonbokjuk alone, do they?

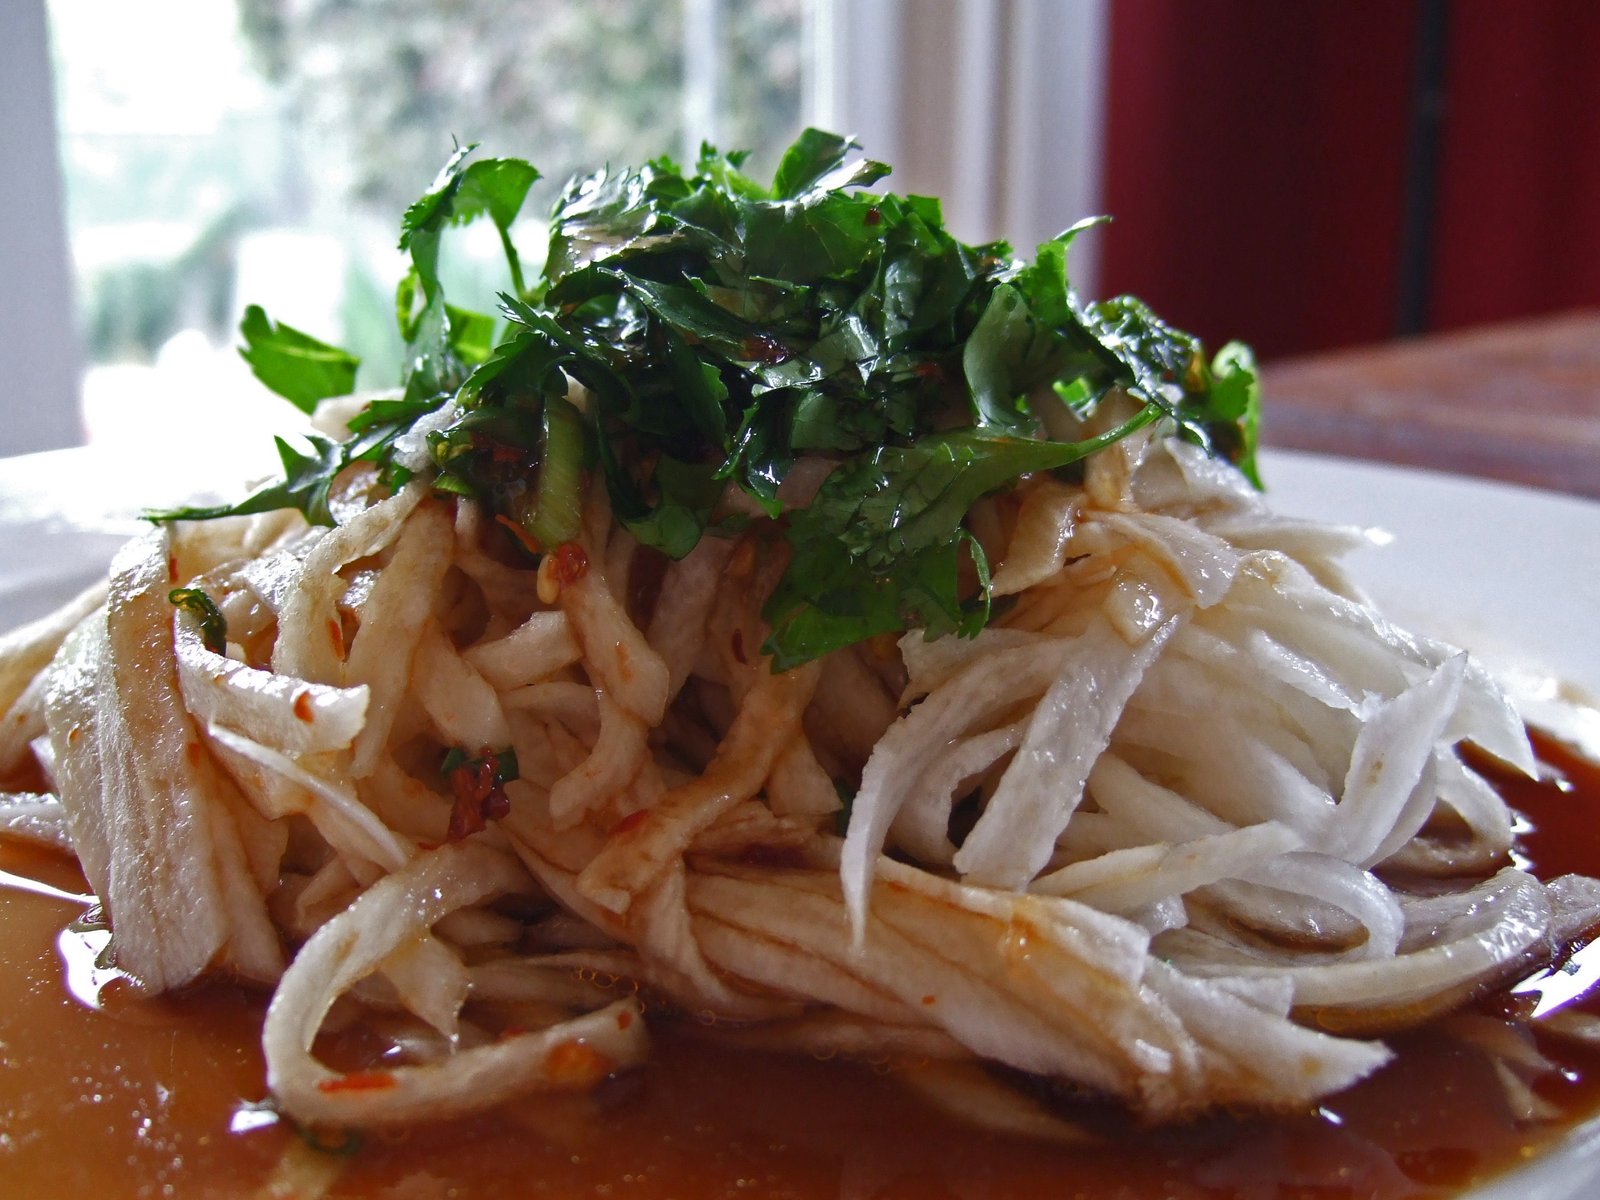
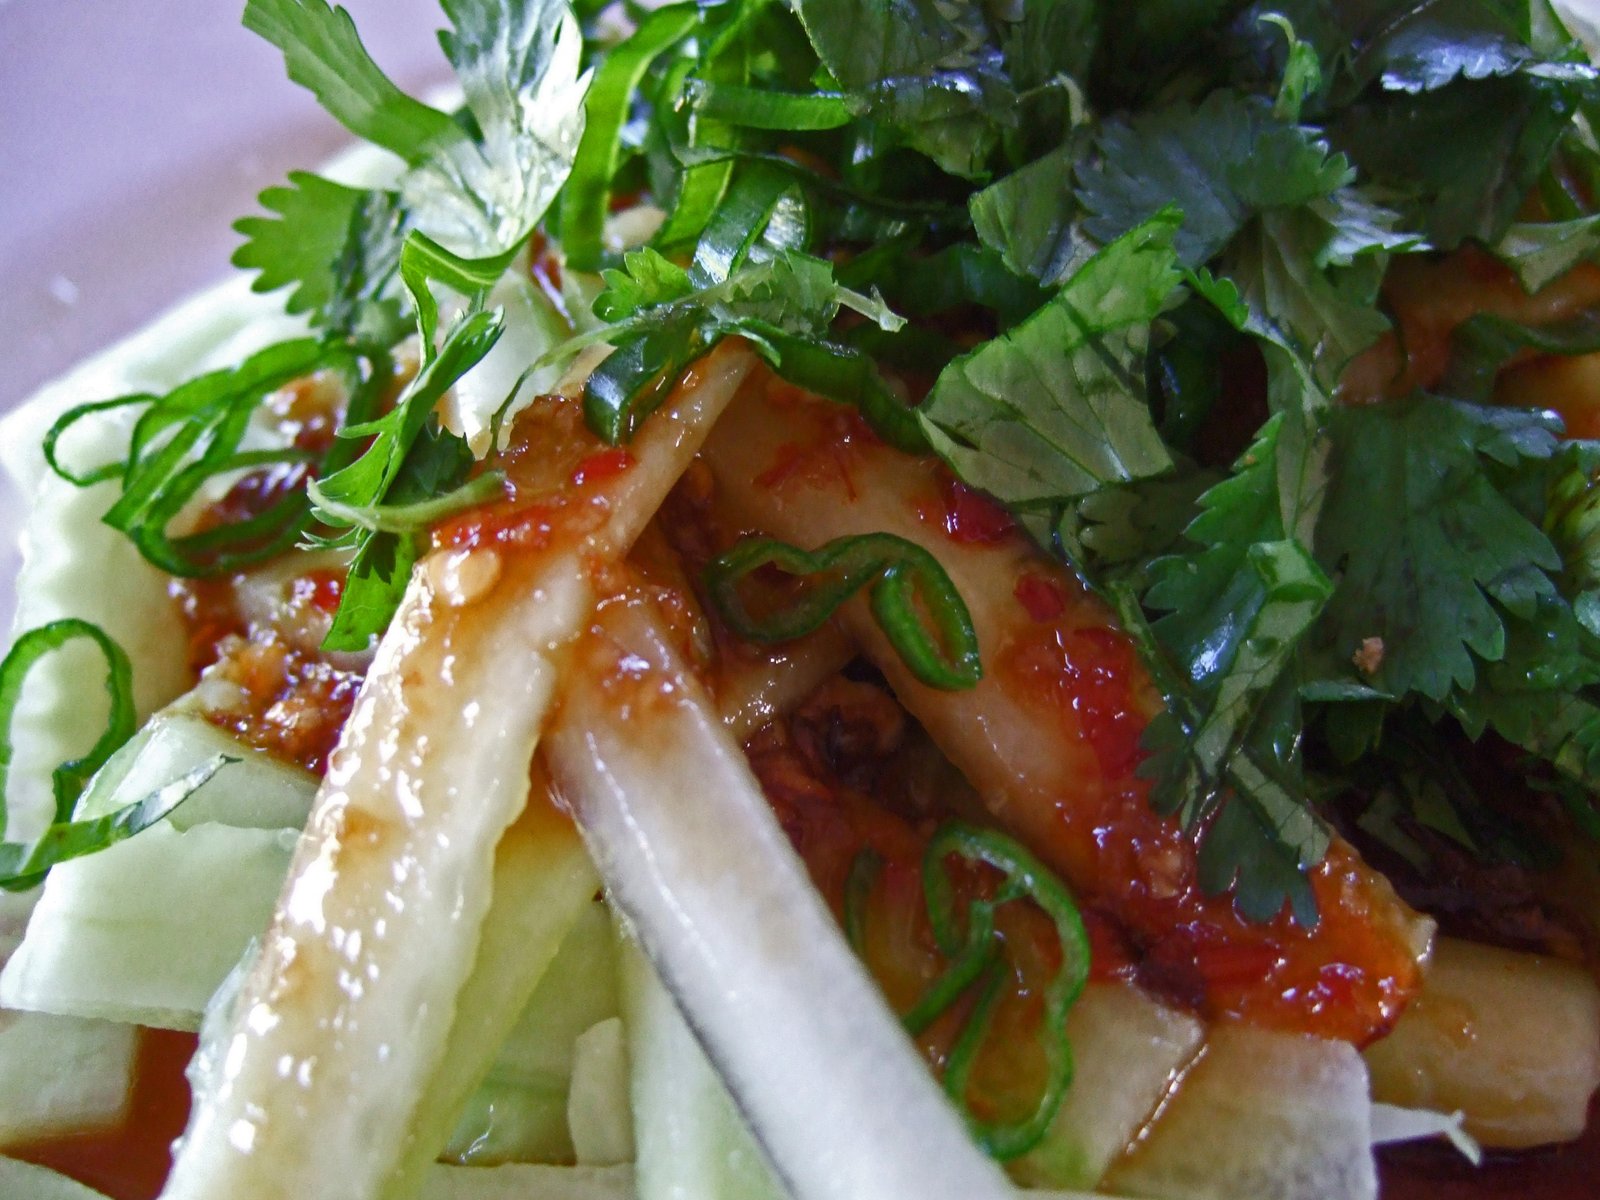


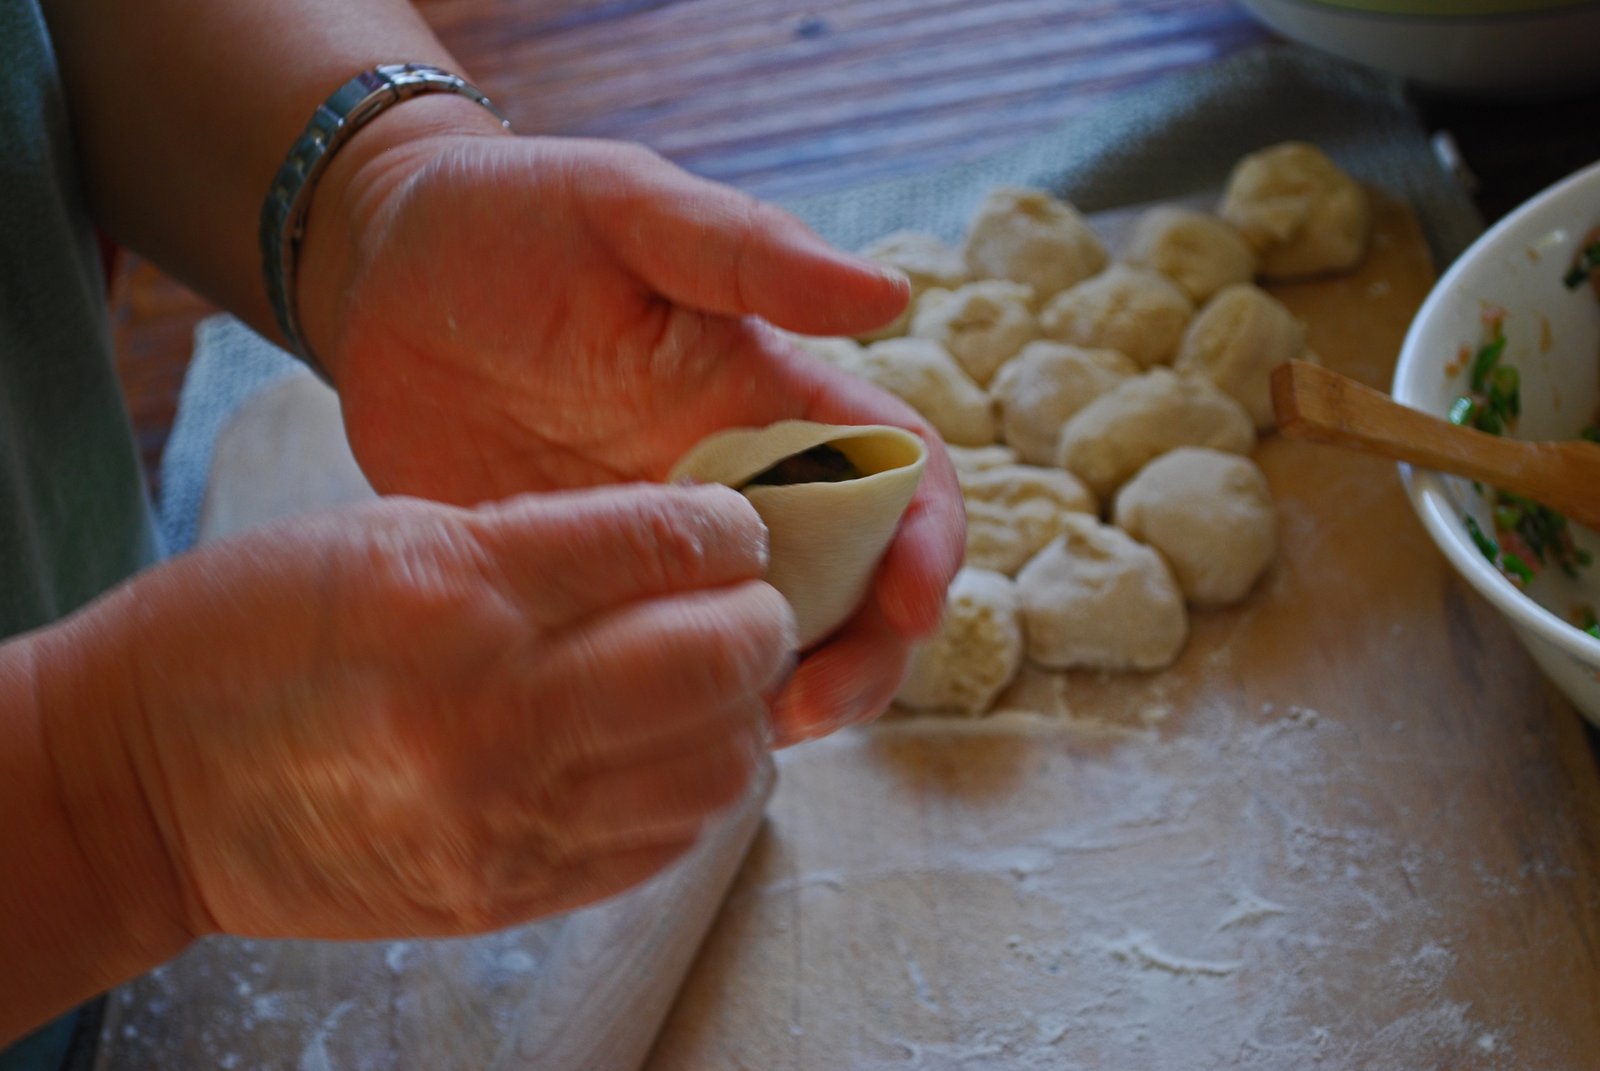

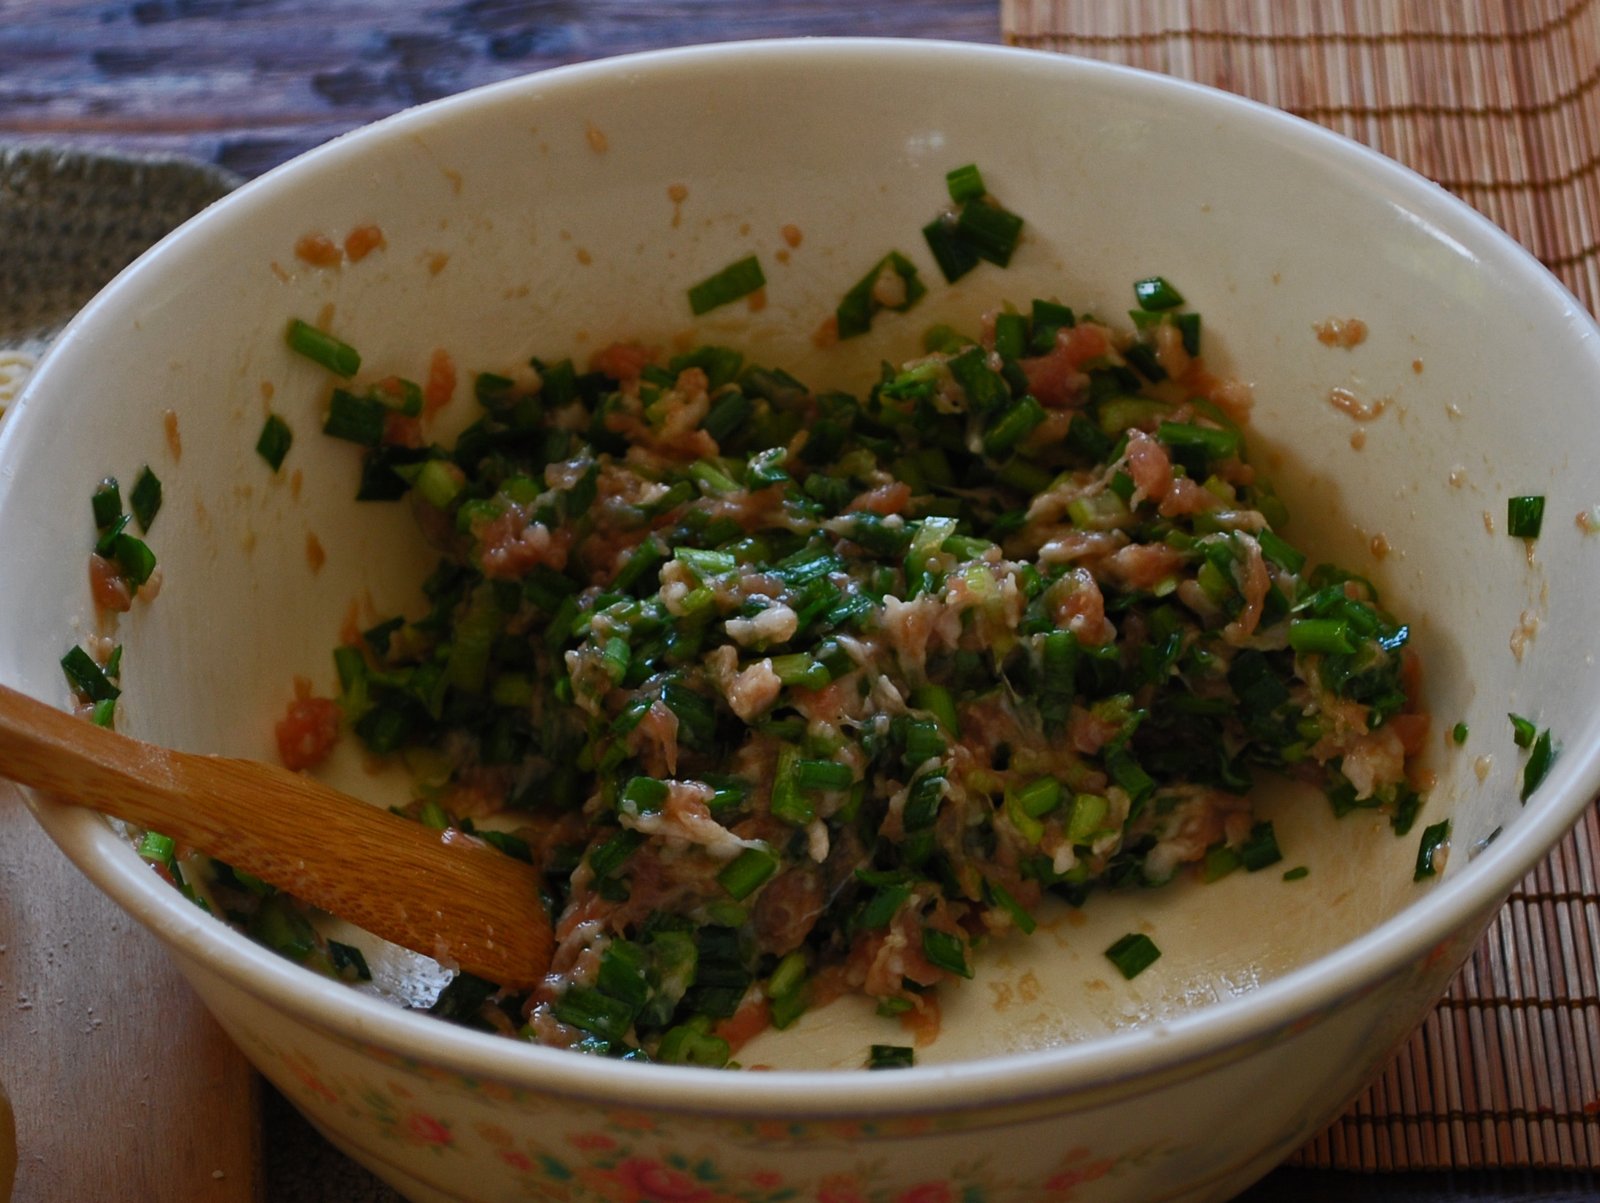

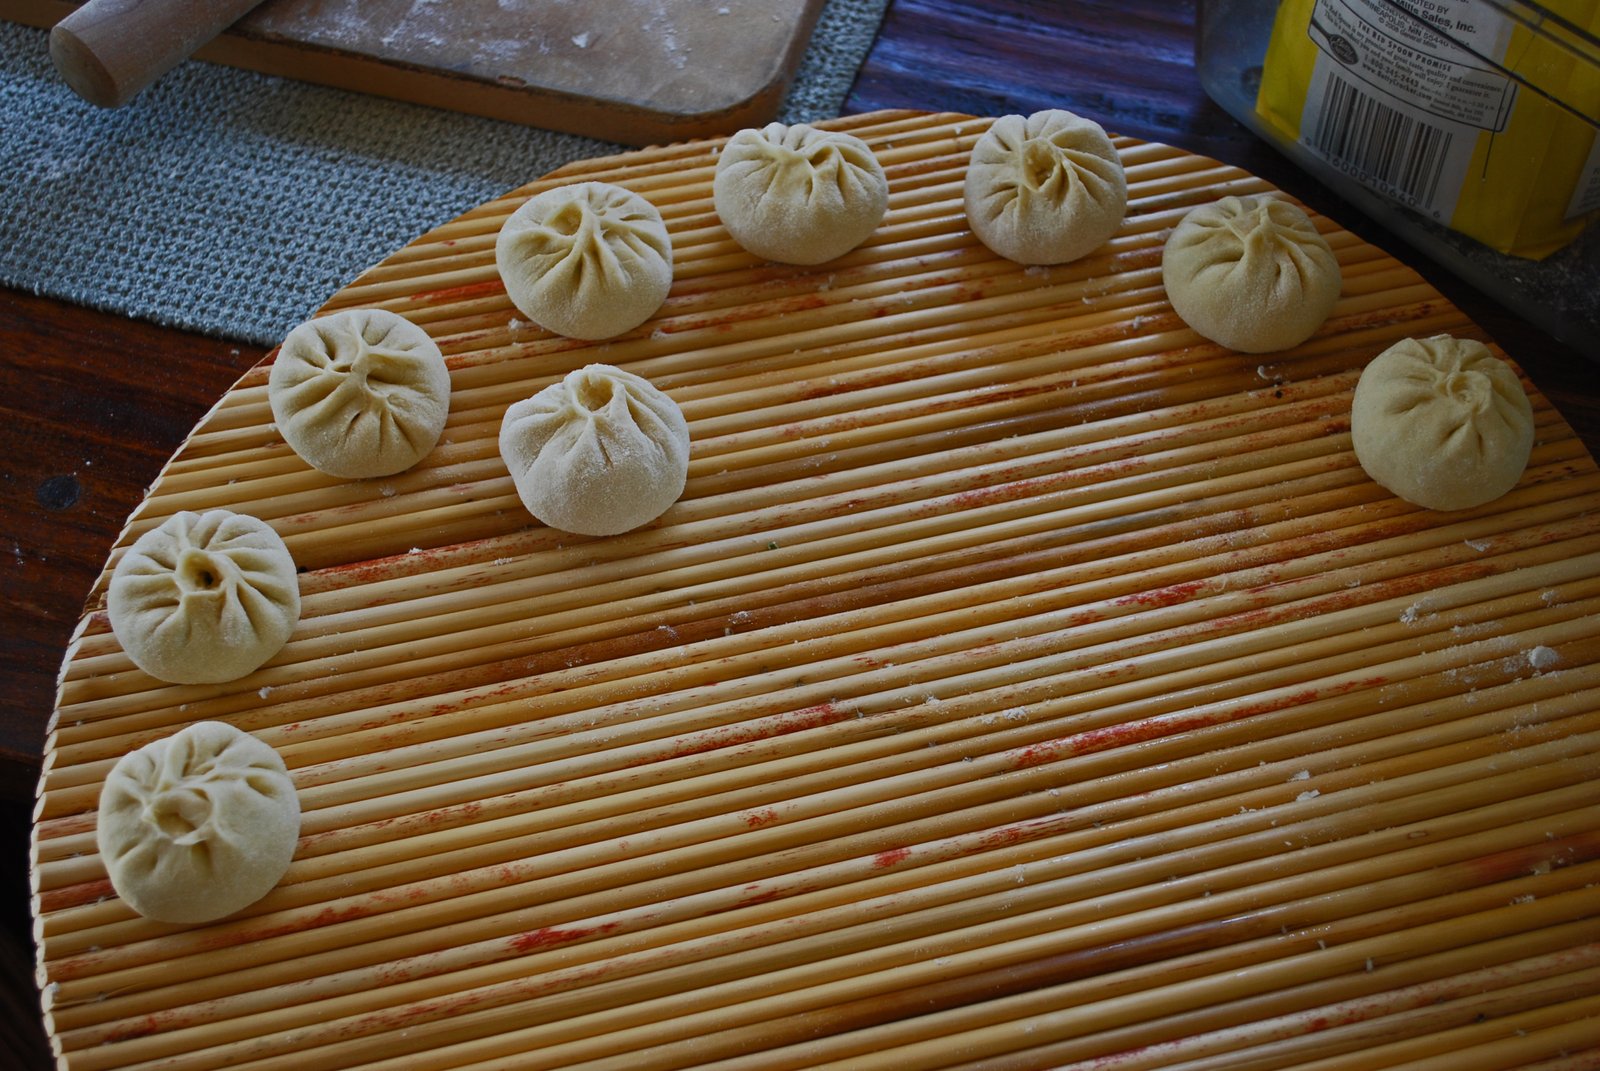


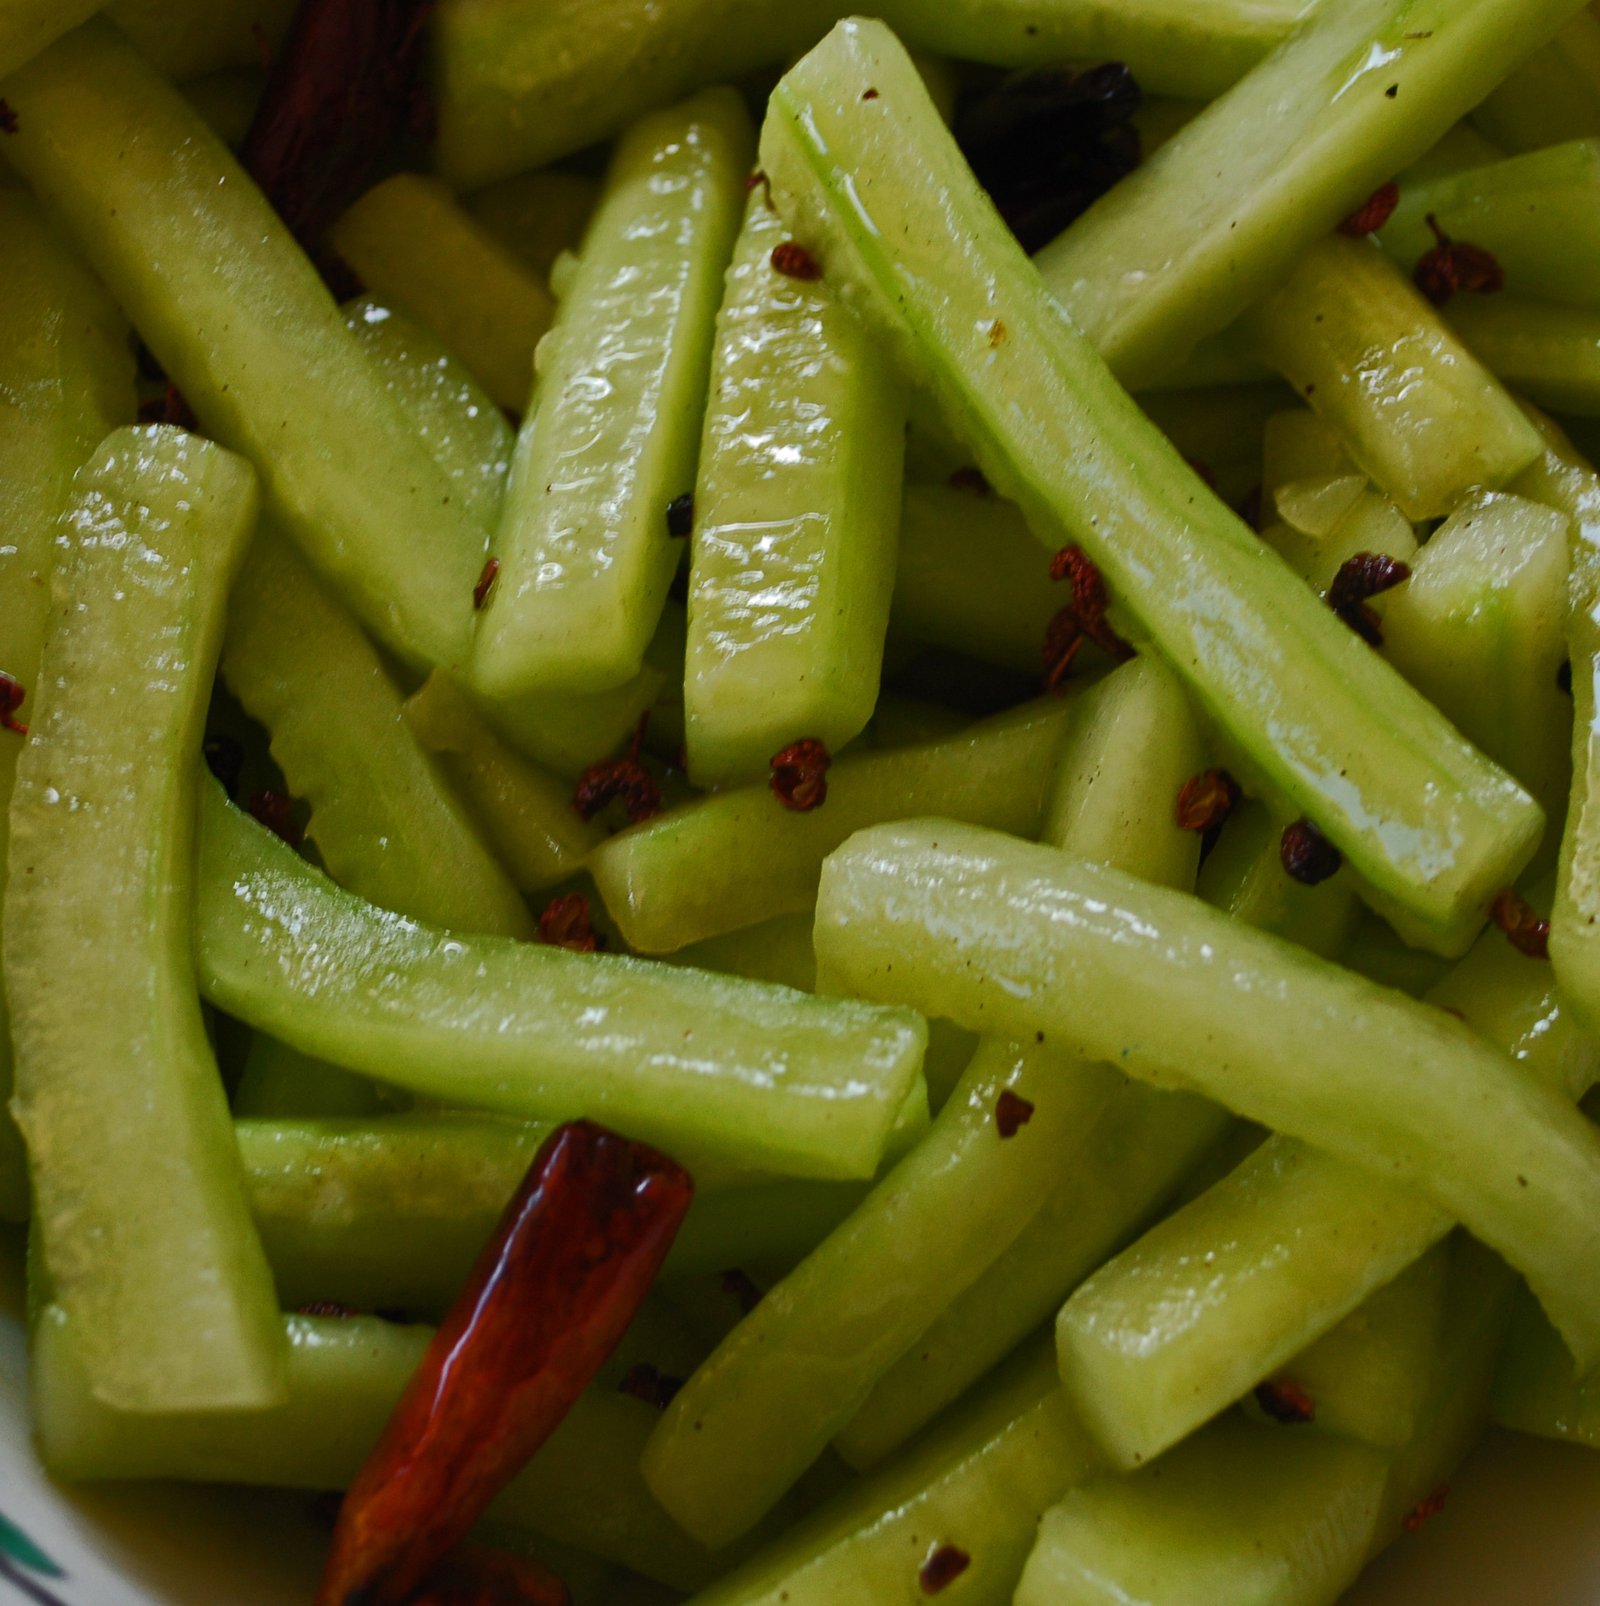

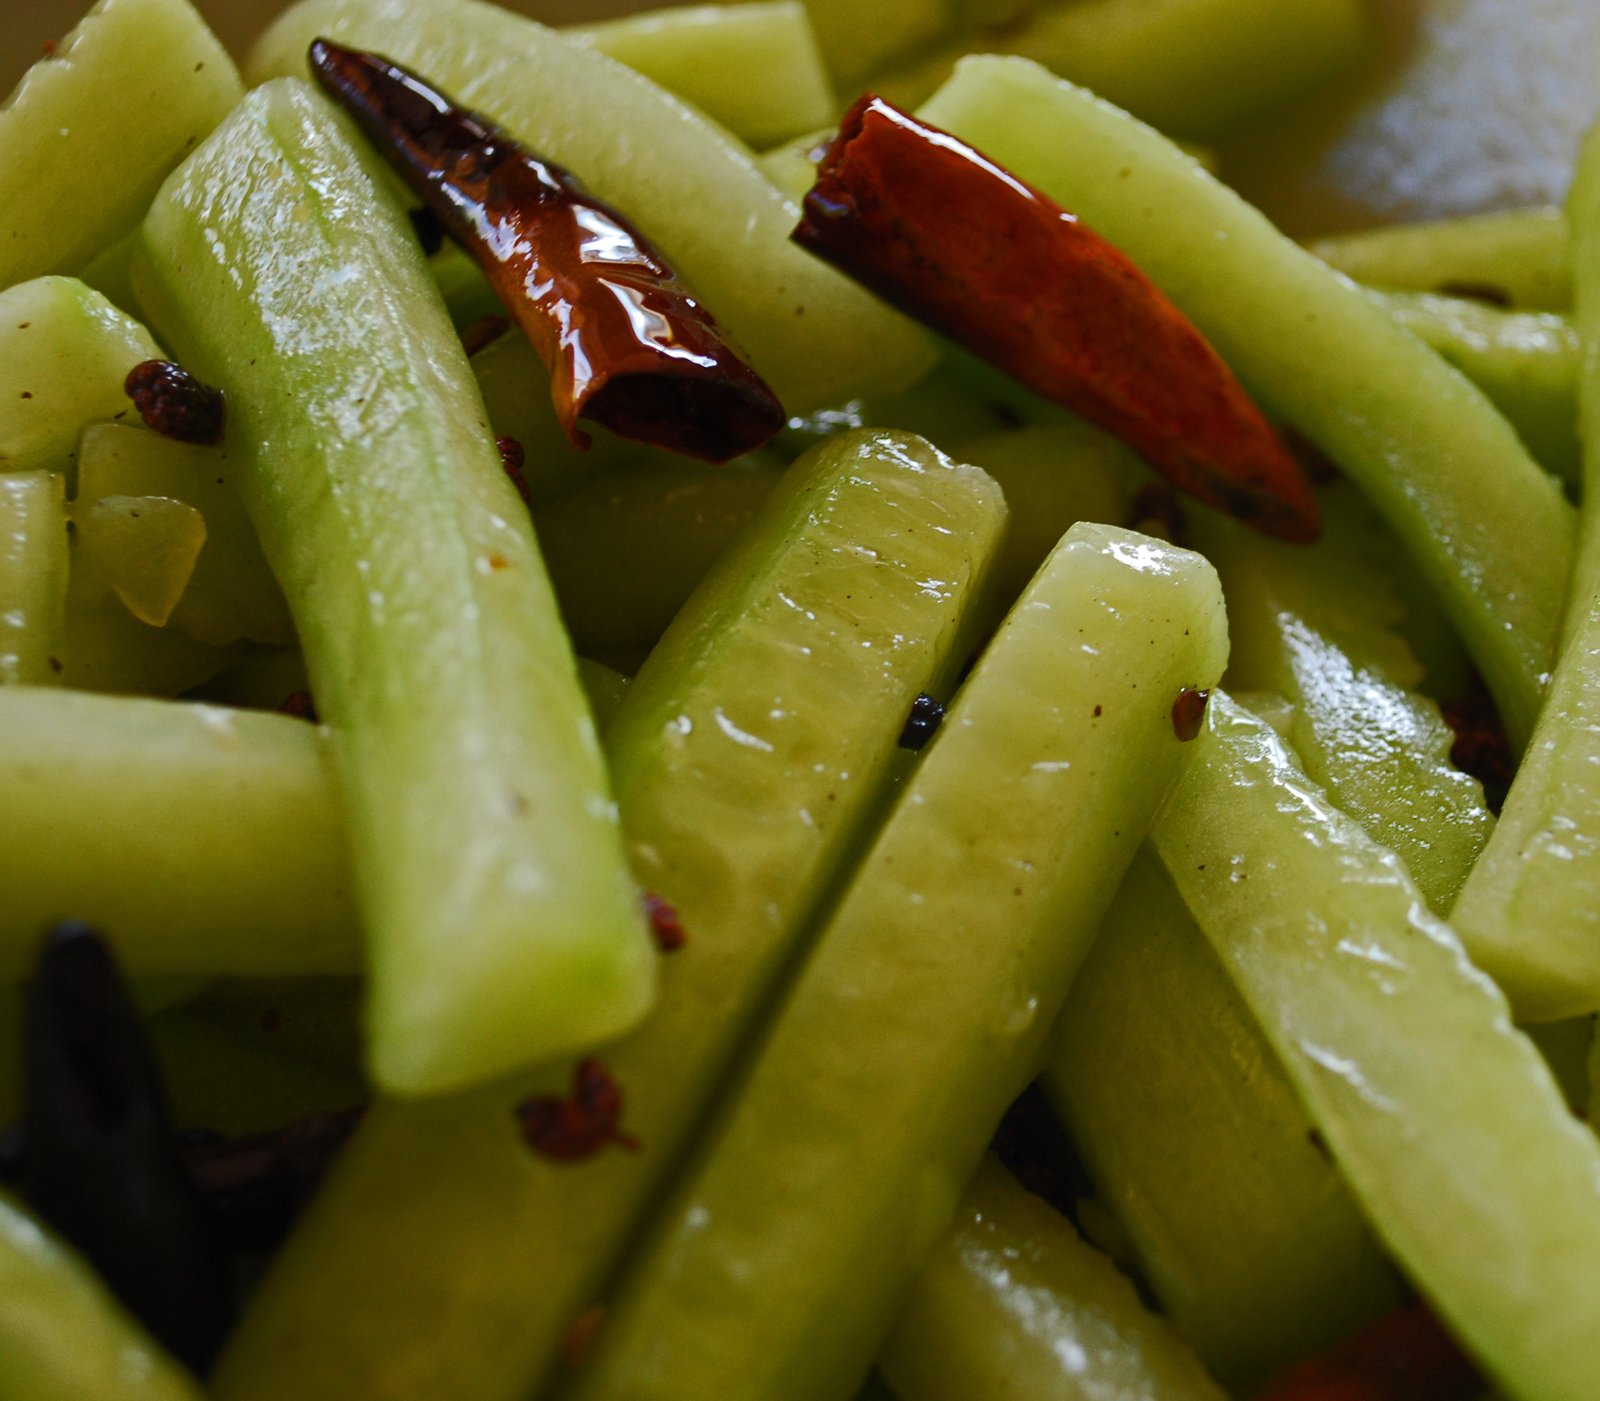


 mpulse, without too much planning, I replaced the ground pork with dried shrimp. Also, instead of deep frying the


