Juewei Revisited and 20 Minute Zhou/Jook/Congee

Juewei has become a semi-regular stop for us since they opened last November. What we’ve found is that they make the smoked chicken we enjoy on weekends, so we’ll drop by and pick one up ($17.99) with some side dishes.

Juewei Rev 01

Juewei Rev 02

Along with usually some quail eggs and yuba….in fact, the woman who runs the place just starts packing the yuba when I walk in the door!

Juewei Rev 04

And recently, we saw that they added a spicy braised beef….I dunno the name because the Missus orders it in Mandarin.

Juewei Rev 05

And of course the chicken.

Juewei Rev 03

Now, you may ask if we just eat everything as is…..well, sometimes. The yuba is a great side dish as is the beef. Though that chicken can be up to four meals. Here’s what we do.

We make baos with the meatier parts of the chicken and also with the beef. I have a microwave tortilla warmer pouch that I found does a good job of warming up the baos! I also will crisp up some of the skin in the air fryer for textural contrast.

For some reason, this winter – early spring we’ve been eating a lot of Zhou…which is what the Missus calls it. I have always called the dish using the Cantonese name; jook. The Missus had found the quite popular 20 minute congee recipes posted on Instagram and TikTok where you freeze the rinsed rice for 8 hours. After working thru the recipe a few times, I found an approach that we prefer. The porridge seems to come out a bit creamier and it only takes a couple of hours to freeze.

I rinse one-third cup of rice. I tend to prefer Koshihikari rice….yes, it’s a bit more expensive, but to me, based on the starch content worth using. Plus, we tend to use higher quality rice when cooking at home anyway. I then place the rice in a small metal mixing bowl and cover with one cup of water and freeze.

Juewei Rev 06

When I’m ready to make the porridge, I take out a donabe; a Japanese clay pot which I have. I place the metal mixing bowl on the stove and heat briefly to melt the edges of the ice. I then place the donabe on the stove, move the rice-ice and melted water into the donabe and add three more cups of water, heat, and bring to a simmer.

Juewei Rev 07

I then get my kitchen shears and slice the chicken carcass in half. I can make two portions of the porridge. I trim excess meat off the bones; usually from the thighs and drumstick…the breast and some of the thigh meat has already been used to make the baos we had previously. I chop the meat up into pieces. I separate the bones and place that in the porridge. While the Missus grew up eating plain boiled Zhou in QingDao, my mom used to make jook using turkey bones after Thanksgiving. Turkey Jook is very popular “back home”. Kathy from Onolicious Hawaii has a page and recipe on Turkey Jook here.

Because of flavor of the smoked chicken is quite strong, the flavor transfer is done fairly quickly. I then add in the meat, usually some green onions, white pepper.

Juewei Rev 08

The rice gets creamy in about 20 minutes, 30 minutes max.

The Missus likes some minced bitter greens along with the quail eggs in Hers. I like to add a little shoyu, yuba (of course), takana (pickled mustard greens), and kimchi garlic shoots, if I have them.

Juewei Rev 00

If there’s any chicken skin left; I’ll crisp up in the air fryer and top off the porridge with that.

Juewei has indeed become a regular stop for us because it provides us with additional options and ingredients for comfort food meals.

**** Juewei has closed

Juewei Food
4690 Convoy St. #103
San Diego, CA 92111
Current Hours:
Sun – Thurs 11am – 11pm
Fri – Sat        11am – Midnight

Okra Kurogomae

Hope you don't mind a quick and easy recipe for this Thursday!

A few months back, I noticed a new side dish at Nijiya; okra gomae. Knowing how much the Missus loves what the Japanese call "neba-neba"…that slimy-slippery stuff like natto…and okra. The Missus instantly enjoyed it. So, for the next couple of weeks, I'd get some when available.

Okra Kurogomae 01

But, you know how it goes….after getting this few times, the Missus started noticing how She would prefer this dish be made. More sesame flavor….not as sweet, etc. So, I was commissioned to create a version to Her taste.

I did mention not wanting to toast and grind sesame seeds. The Missus quickly came up with a solution to that. We had an unopened container of Black Sesame; the stuff you'd top desserts with in the cabinet.

Okra Kurogomae 03

Okay, we were off to the races. And this is what I've made a half dozen times since.

Okra Kurogomae 02a

Not the prettiest dish in the world, huh?

Anyway, there were a couple of things I've noticed when trying to make this. First, younger, thinner okra works best. Second, the "sauce" can be a bit too thick, so I thin out the sauce with a neutral oil, like avocado oil as necessary. To get the right texture, I blanch the okra for a minute in boiling salt water, then stop the cooking by placing the okra into ice water. Doing this also brings out the nice green color of the okra and also makes it more "neba-neba".

I call it Kurogomae because I'm using the black sesame for this. Anyway, this recipe is to the Missus's taste, less sweet, more sesame flavor. It's easy to adjust.

Okra Kurogomae:

1/2 lb Okra – Younger/thinner preferred
1 Tb Kosher Salt
8 Cups water
Ice water

Sauce
3 Tb Black Sesame Powder or 4 Tb Toasted Black Sesame Seeds Ground
2 Tsp Sugar
2 Tsp Soy Sauce
1 Tb Sesame Oil
1-2 Tb Avocado or other neutral oil (optional) Okra Kurogomae 04

– Rinse off okra
– Add kosher salt to water and bring to a boil
– Add okra. Blanch for 1 minute
– Drain and put okra into ice water to stop cooking
– Once okra has cooled remove form ice water and dry

– Mix together sesame powder (or ground sesame), sugar, soy sauce, and sesame oil.
– Check consistency. Add neutral flavored oil as needed to create an acceptable texture. Okra Kurogomae 05
– Taste and adjust.

– Slice okra into bite sized pieces
– Mix sauce and okra together and chill for a half hour
– Give the okra a mix before serving. Yes, it's going to be neba-neba, but that's one of the reasons you like this, right?

Okra Kurogomae 07

It makes a nice side dish.

Okra Kurogomae 06

Just had some today with some Meat Jun I made.

Okra Kurogomae 00

Why the Missus can’t eat Chicken Katsu at Restaurants

In the comments section of a recent post, "FOY" DerekR asked me what I've been cooking recently. I know that during Covid, I used to do many more cooking type posts. And to be honest, much of what I make these days are tried and true recipes that I've posted over the years. And to be perfectly honest, lot of what I cook just use techniques that I've picked up over the years.

For instance, these days you'll be hard pressed getting the Missus to order chicken katsu when dining out. It's got to be highly recommended for Her to try it. And the reason is totally my fault. You see, a few years ago, I mentioned having worked in a Drive In back home. We made chicken katsu a certain way….which wasn't super good. But, we also knew how to make it for us. And when we did, we never needed to use salt; the breading never peeled off, and the chicken breast was very tender.

And it was simply done by doing a quick brine and rinse on the chicken before breading. We also tenderized the chicken breast. I also added seasonings to the egg wash (shoyu) and ground black pepper to the panko.

It used come out very evenly fried. Though my version may not be as pretty since I pan fry it, sorta like schnitzel, not wanting to waste oil…I use Avocado Oil so it ain't cheap.

C Katsu 01

The combination of the brine, I also add a bit of granulated garlic, the shoyu in the egg wash, and the ground black pepper in the panko just adds layers of flavors.

C Katsu 02

C Katsu 04a

You can see the shoyu in the egg wash above and the freshly ground black pepper in the panko below.

C Katsu 05

Now because of how I make this; I only usually make two breasts at a time; it ain't cheap since I have to make the brine everytime I make katsu, but the Missus said it's worth it.

The Brine:

4 cups cold water
1/4 cup Kosher Salt
1/4 tsp Granulated Garlic (optional)

Combine ingredients, whisk until salt is dissolved
Brine tenderized breasts for 8-15 minutes (I usually brine while getting flour-panko-egg wash ready)
Rinse chicken and dry well with paper towels; remember food safety is paramount – avoid cross contamination, I use disposable gloves, make sure to clean up well.

Make sure chicken is dry before doing the flour-egg wash-panko

For the egg wash; I usually use 1 egg and 1/2 teaspoon Kikkoman Shoyu.

It's funny how some simple steps I learned so long ago have reappeared!

C Katsu 06

So, there you go……

If you do try brining your chicken before making katsu; let me know how it turns out.

Chard with Pesto, Pancetta, and Tomatoes

Man, it been a while since I did a recipe post. I have been doing a great deal of cooking, though most of it has been free-form, without recipes. This one started out that way, but I've made it many times, so I finally went ahead and measured things.

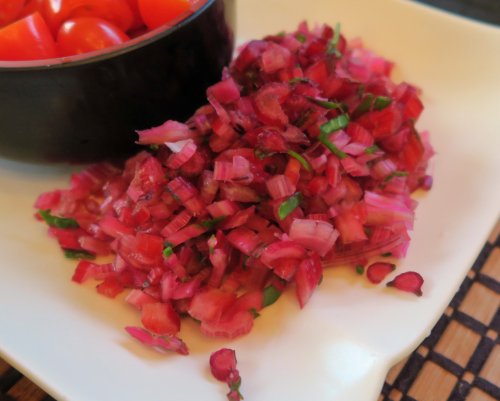
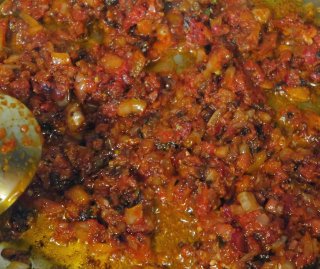
It started out with incorporating the stems and ribs of chard in recipes using standard items from our pantry. In the end, I came up with this recipe that utilizes the stems of the chard, what I call "quad tomatoes", that is tomato paste, sundried tomatoes (and oil), and cherry tomatoes. And things start with pancetta. Initially, my inspiration came from a Kale with Pesto dish from Tribute Pizza and like my Balsamic Brussels, I used bacon as the base. But after a couple of go arounds, we found that we preferred pancetta, and chard, which is more tender than kale.

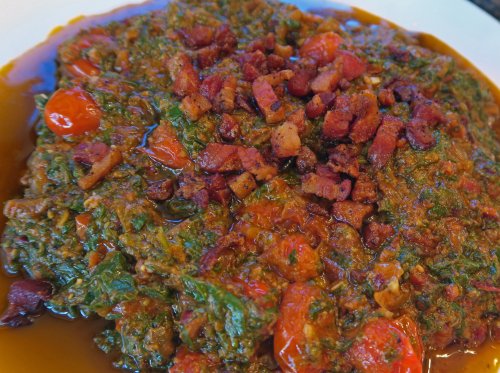
It ain't the prettiest dish.

Pesto Chard 01

But the Missus likes it with black lentils topping roasted cauliflower. I like it with bread as an appetizer, or mixed into a warm salad or even topping pasta/mashed cauliflower.

Along with the diced chard stems, I use onions, garlic, and cherry tomatoes.

Pesto Chard 02

Pesto Chard 03

I also use double concentrated tomato paste, both sun dried tomatoes and the olive oil from the tomatoes, and garlic paste to adjust seasoning.

Pesto Chard 06

Another key point is that I don't add salt until after I mix in the pesto and taste. I squeeze out the olive oil from the sun dried tomatoes to help make that tablespoon. Please check the label on the pesto you use; make sure it has pine nuts, olive oil, and at least Pecorino Romano cheese on the ingredient list. Of course it should have Basil….I've seen so called "pesto" using spinach! Or just make your own!

Chard with Pesto, Pancetta, and Tomatoes

2-3 oz Pancetta sliced into lardons
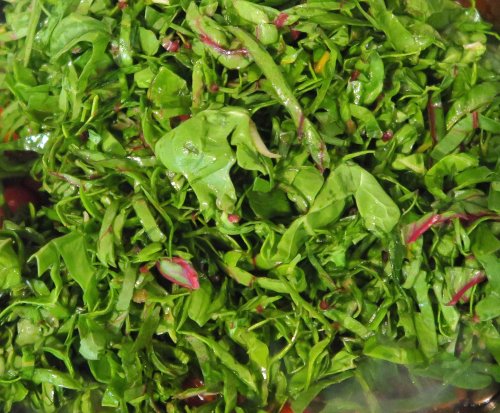
1 bunch Chard leaves stems and large ribs removed.
1 cup Minced Chard stems
1/2 (about 1 cup) Onion diced
1 Tb Sun Dried Tomatoes in Olive Oil minced
1 Tb Olive Oil from Sun Dried Tomatoes
3-4 Cloves Garlic minced
1 Tsp Oregano
2Tb + 2Tb Extra Virgin Olive Oil
3Tb (More if needed) Double Concentrated Tomato Paste
Garlic Paste (if needed)
1 cup Cherry Tomatoes halved
2 Tb Crisp White Wine
1-2 Tb Balsamic Vinegar
3-4 Tb (More if needed) Pesto
Salt and Pepper to taste

Add 2 Tb Extra Virgin Olive Oil to a pan along with Pancetta and cook over medium heat to render out the fat. Pesto Chard 05
Remove Pancetta to paper towel lined bowl once cooked.
Turn heat up to high and add 2Tb EVOO (to the rendered pancetta fat), chard stems, diced onion, sun dried tomatoes, oil from sun dried tomatoes, oregano, and garlic to pan and saute.
Once onions turn translucent and ingredients start to soften add cherry tomatoes and stir.
Add white wine to deglaze, then add Balsamic vinegar and saute.
When the tomatoes start to break down stir to move all ingredients to the edges of pan.
Add chard to pan. I also then add an additional 2Tb EVOO on top of the chard.

Pesto Chard 07

Fold chard into other ingredients. When chard starts to soften I stir and mix well.
When the chard mixture has reached the desired texture, I lower the heat and mix in the pesto.
When pesto is mixed in, I turn off the heat, taste, and add fresh ground black pepper, salt, and more pesto if desired, and mix well.
I usually then remove to a large storage container for use. Top with crisp Pancetta when serving.

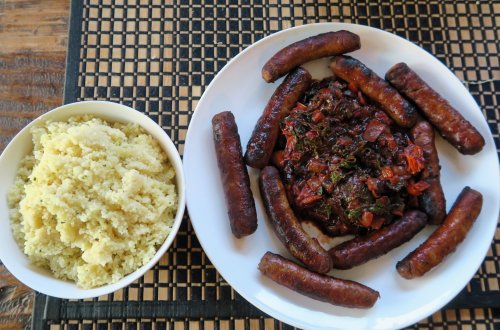
I also use the same technique using merguez, harissa, cumin, and coriander for a similar dish which went well with couscous.

IMG_8587

As I mentioned in previous posts, this is more about technique than a precise recipe. If you try it out, let me know how it goes!

Pesto Chard 08

Have a great week!

Cassoulet Soup

It's been a while since I've done a recipe post and I thought I should get this done before "soup weather" leaves us!

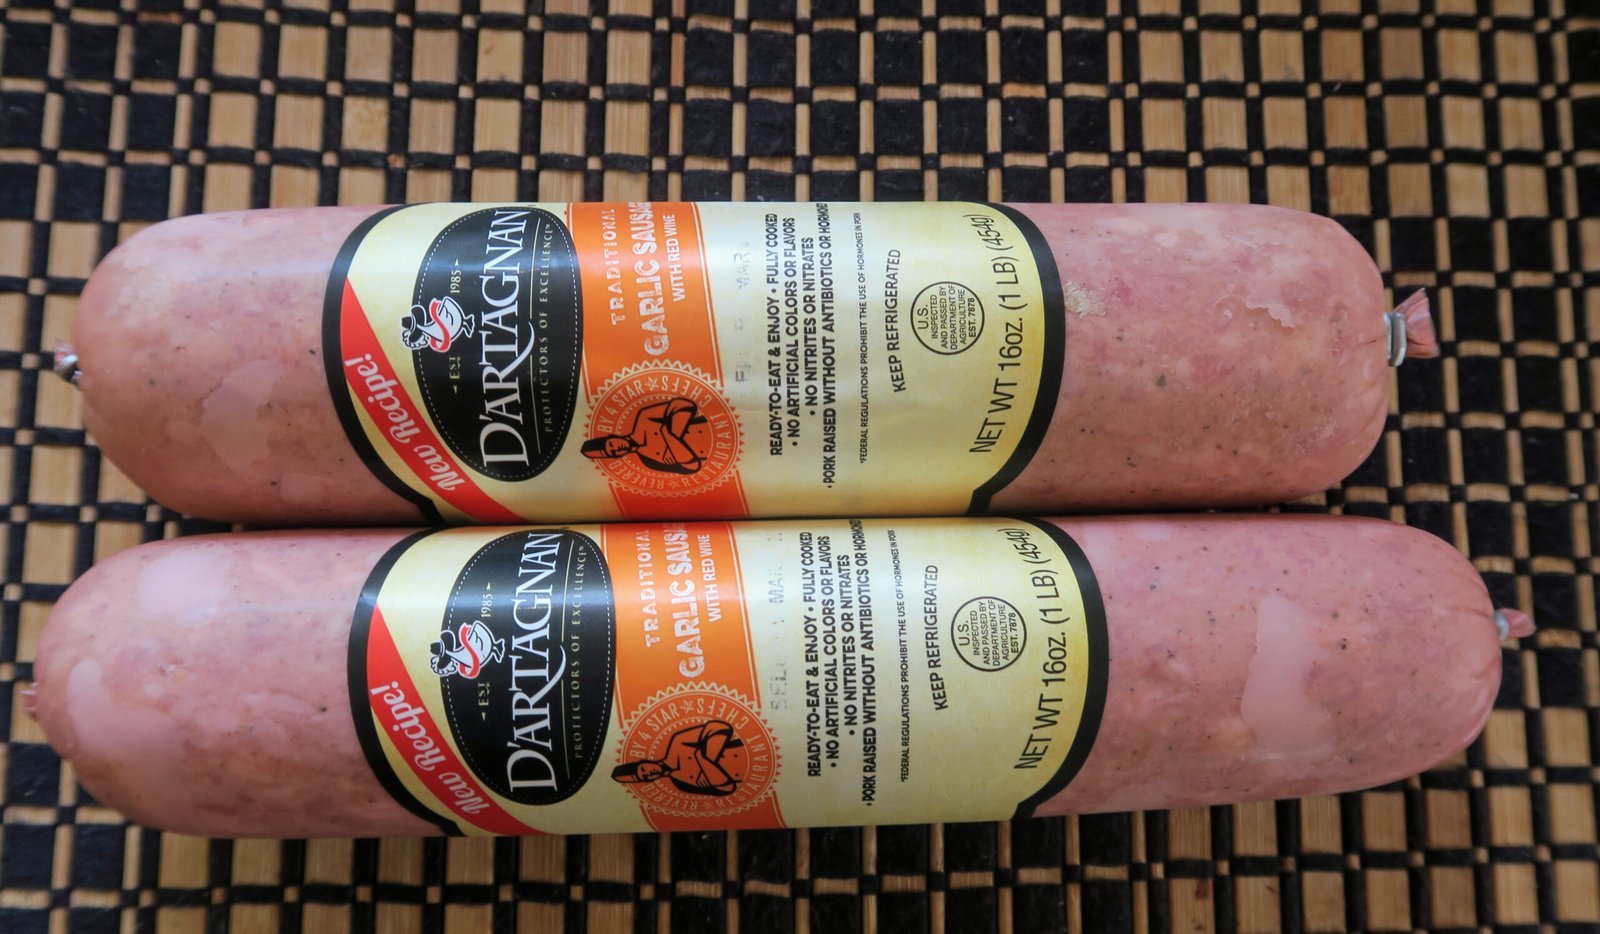
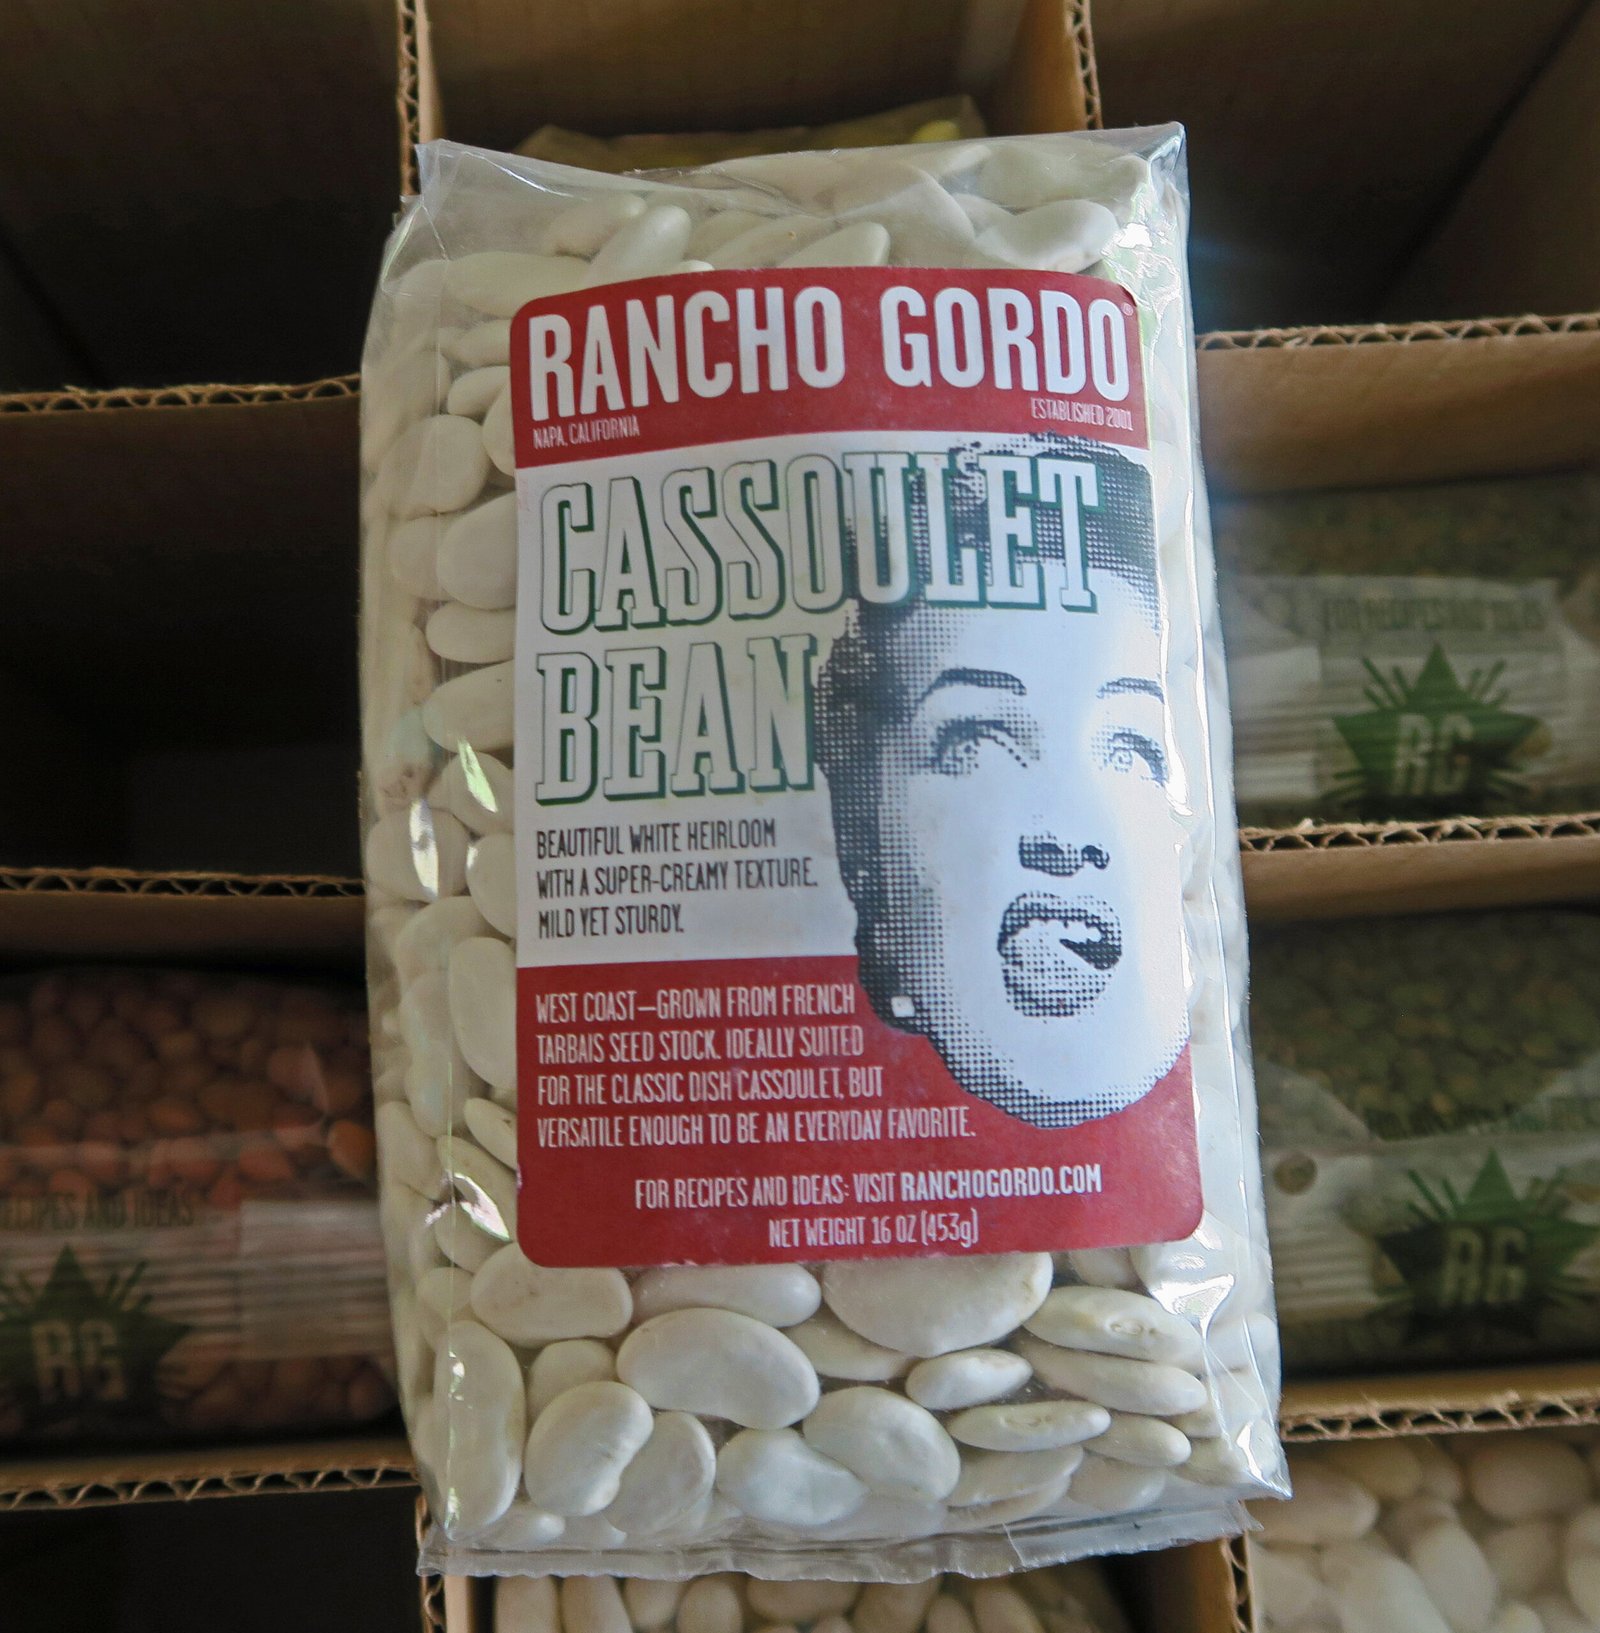
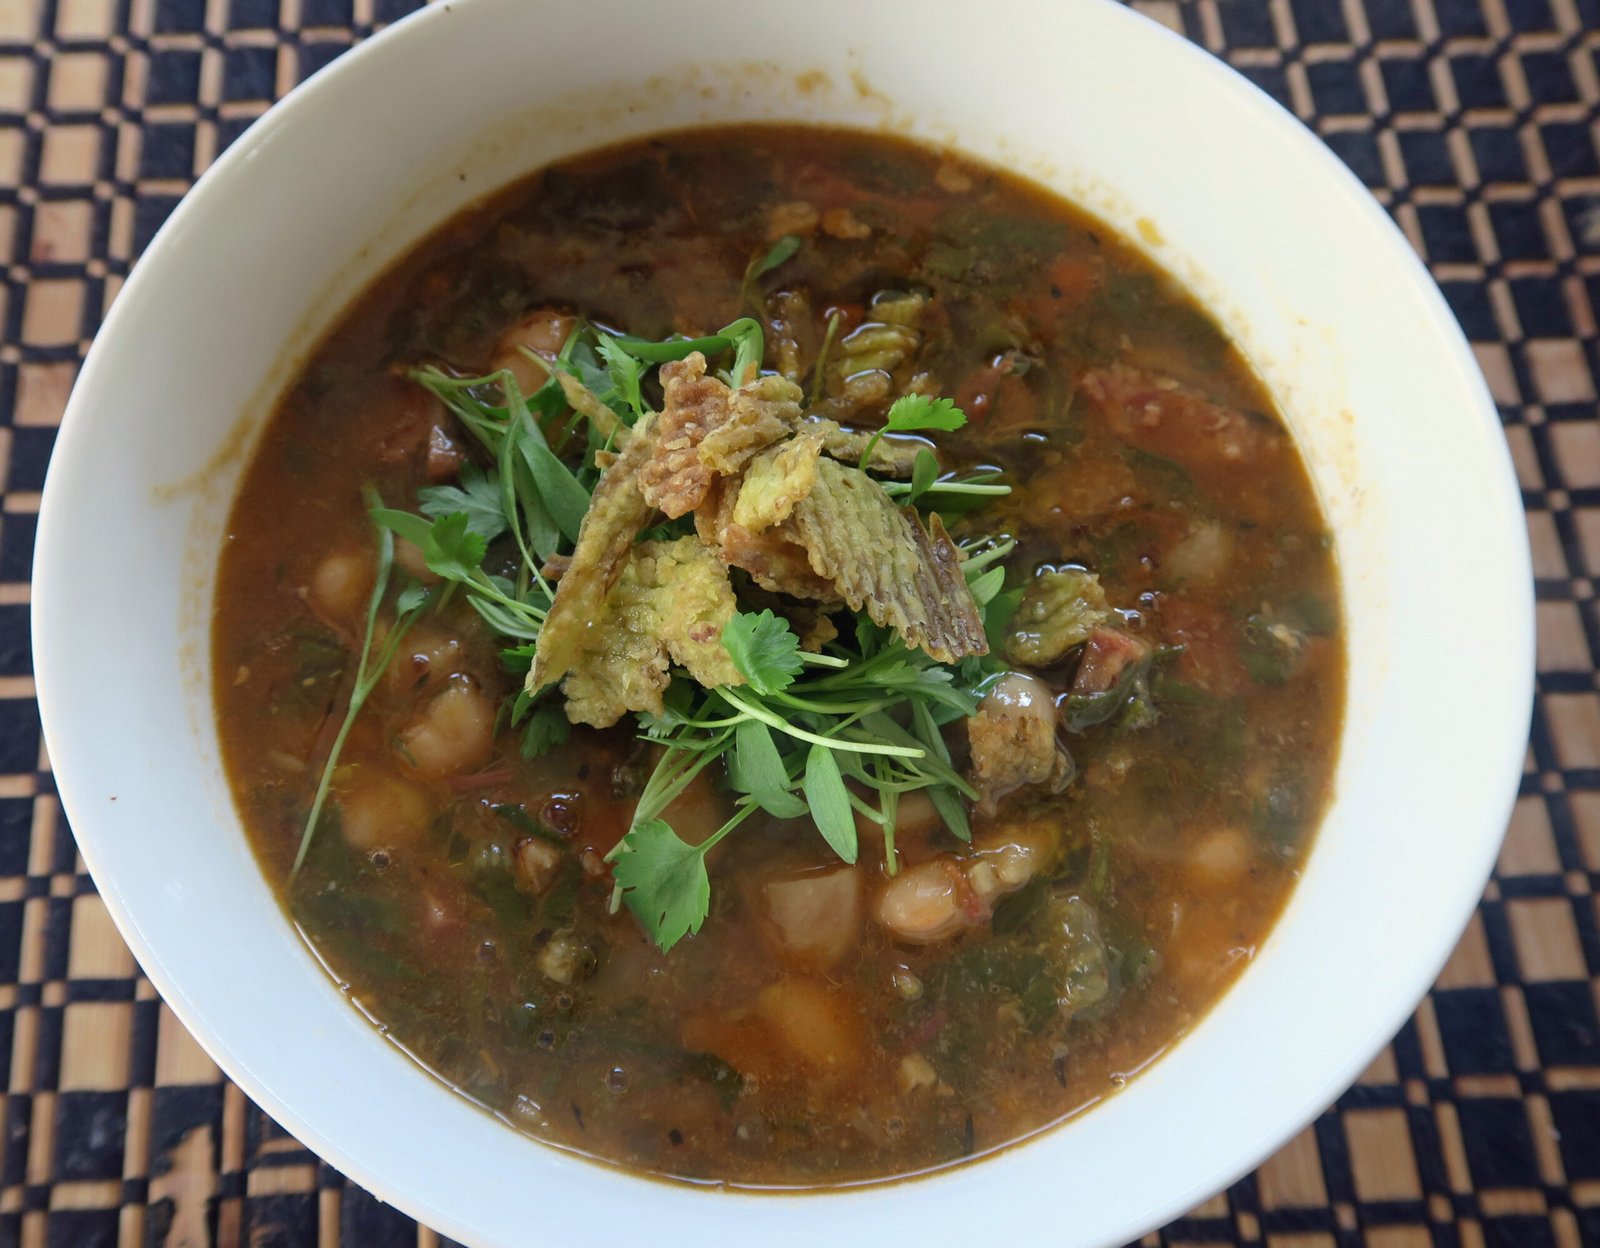
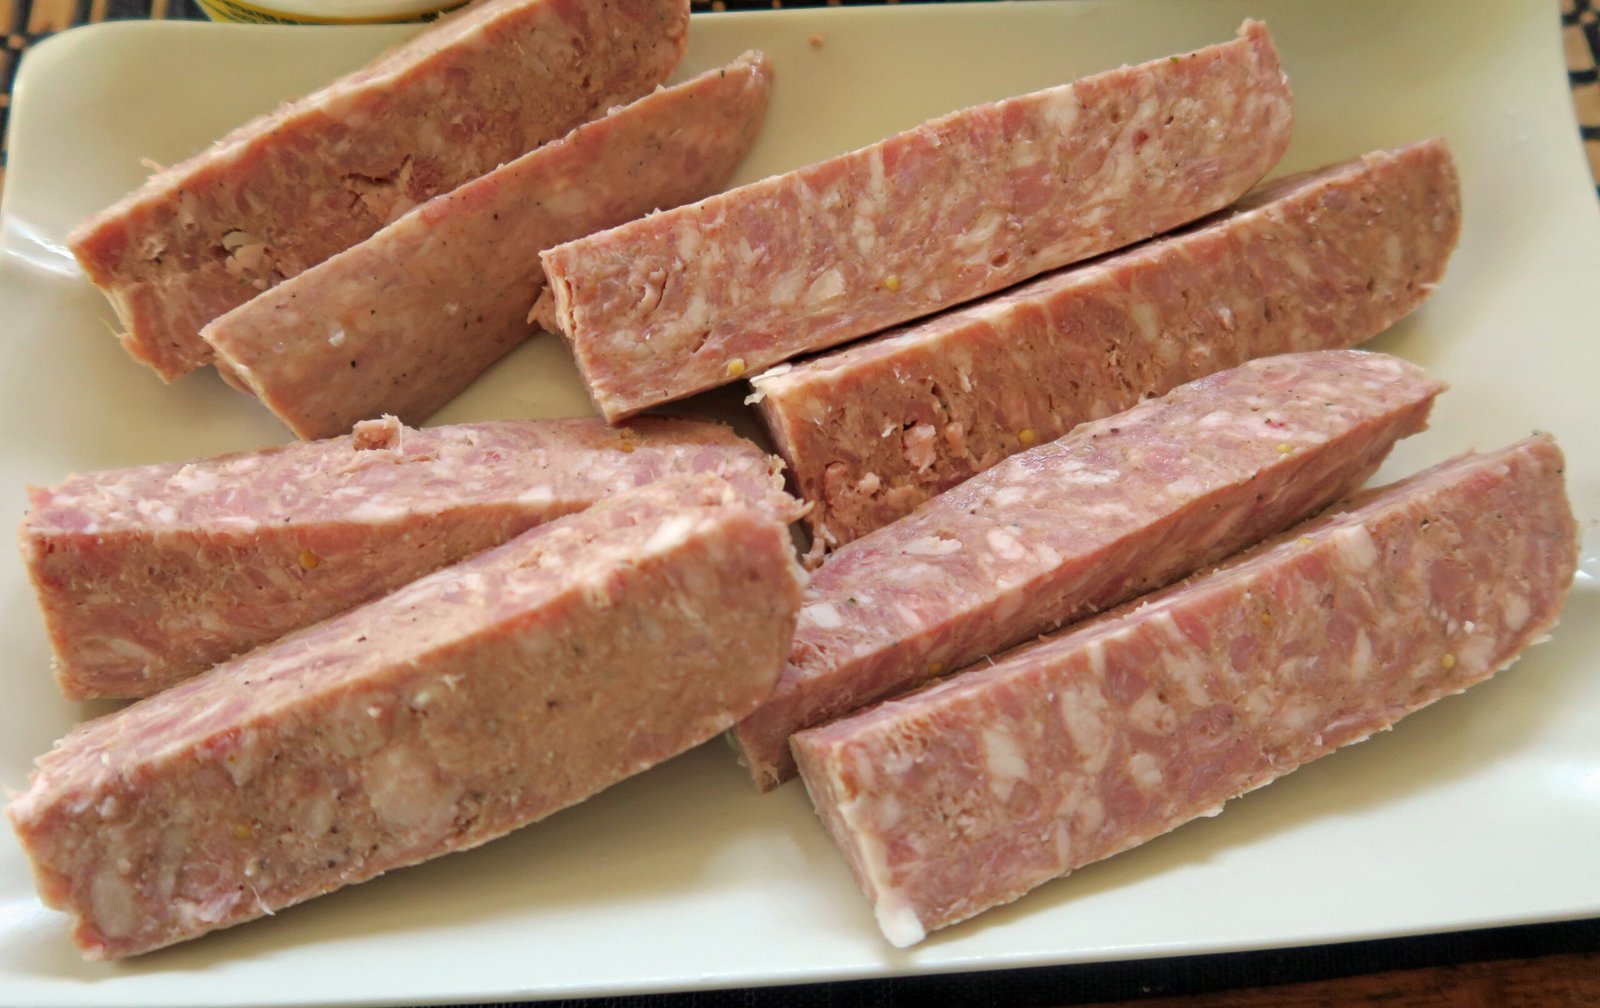
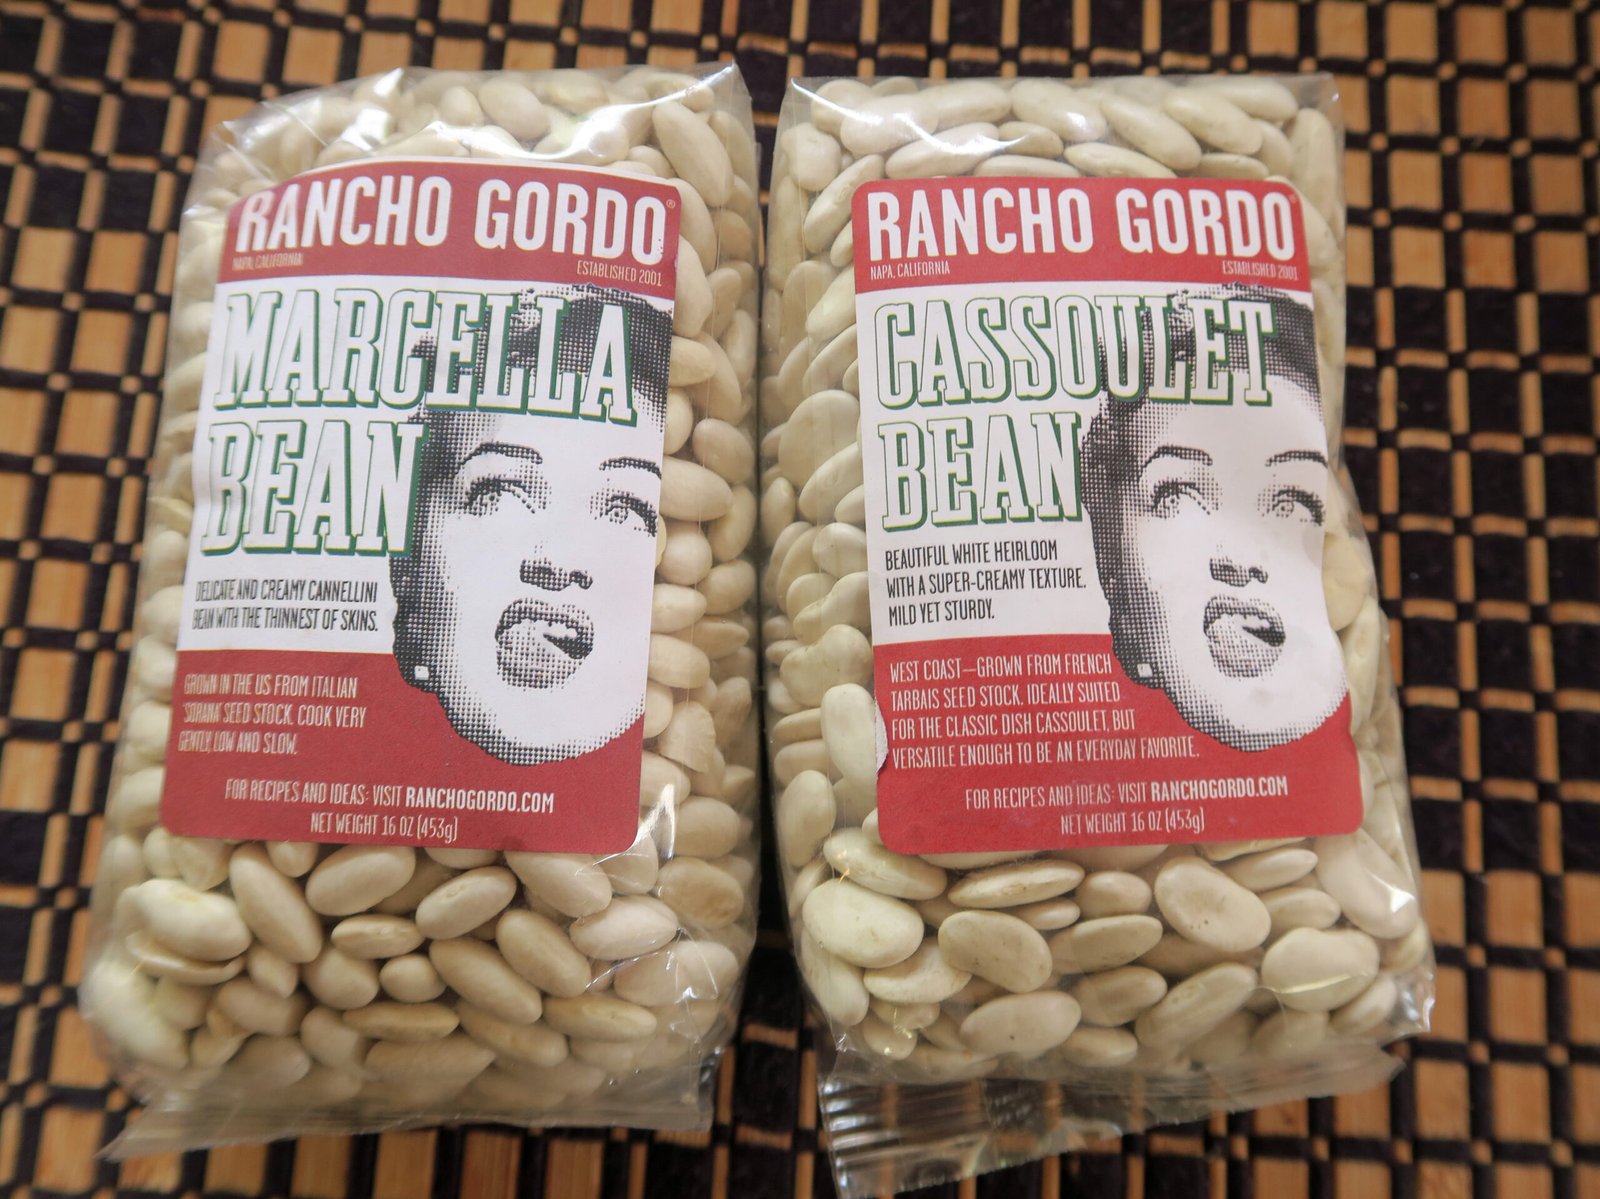
I'm sure long time readers recall that I will make duck confit and then my version of Cassoulet every year. Well, since we've been getting the amazing Cassoulet Beans from Rancho Gordo and also the Garlic Sausage from D'Artagnan; well, it became a regular item…..until the Missus decided that She preferred having a bean soup with these flavors. So, I started making a Cassoulet-ish bean soup.

Cassoulet Soup 02

We've been ordering from Rancho Gordo a couple of times a year since right before the pandemic started. And when they started having the cassoulet beans….really these are from Tarbais seed stock. IMG_2317 Tarbais are AOC protected and are also really expensive to boot. I used to use Flageolet Beans; until I tried these. I've also used Rancho Gordo's "Marcella" beans, especially since RG will often run out of Cassoulet beans; a type of Cannellini Beans as well. If you'd like an interesting guide to beans with recipes, I still open up my copy of the Rancho Gordo Heirloom Bean Guide every so often.

Anyway, we had the bean thing and the French Garlic Sausage thing solved.

But what happens when I run out of duck confit to make my soup? Well, I'm really not going to make more until next year, or maybe not for even longer. And ordering duck confit? Man, that's a bit too pricey since I was (and am) making this bean soup every 2-3 weeks these days!

Then one day I used something we always have on hand from D'Artagnan; duck rillette. And these days; the Missus prefers that version to the one that used the duck confit!

When I first started making this….it kinda looked like this.

Cassoulet Soup 01

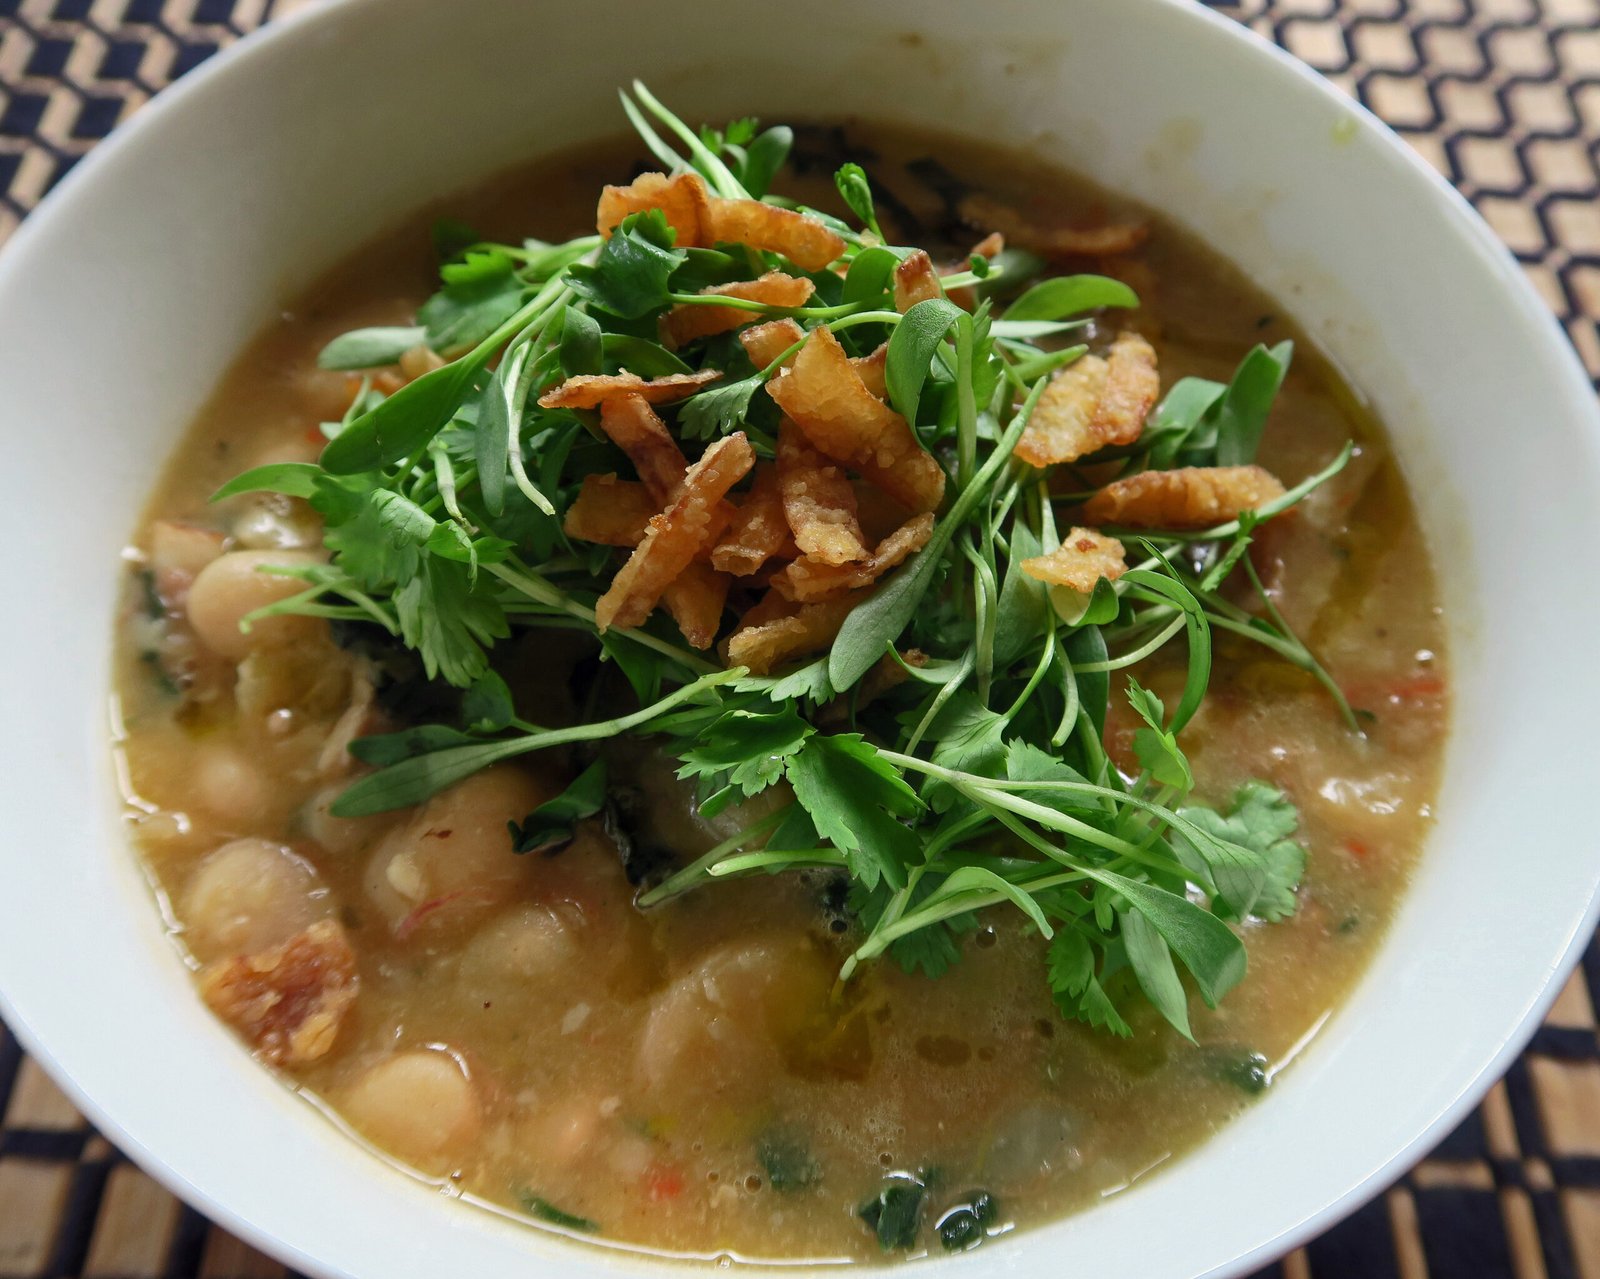
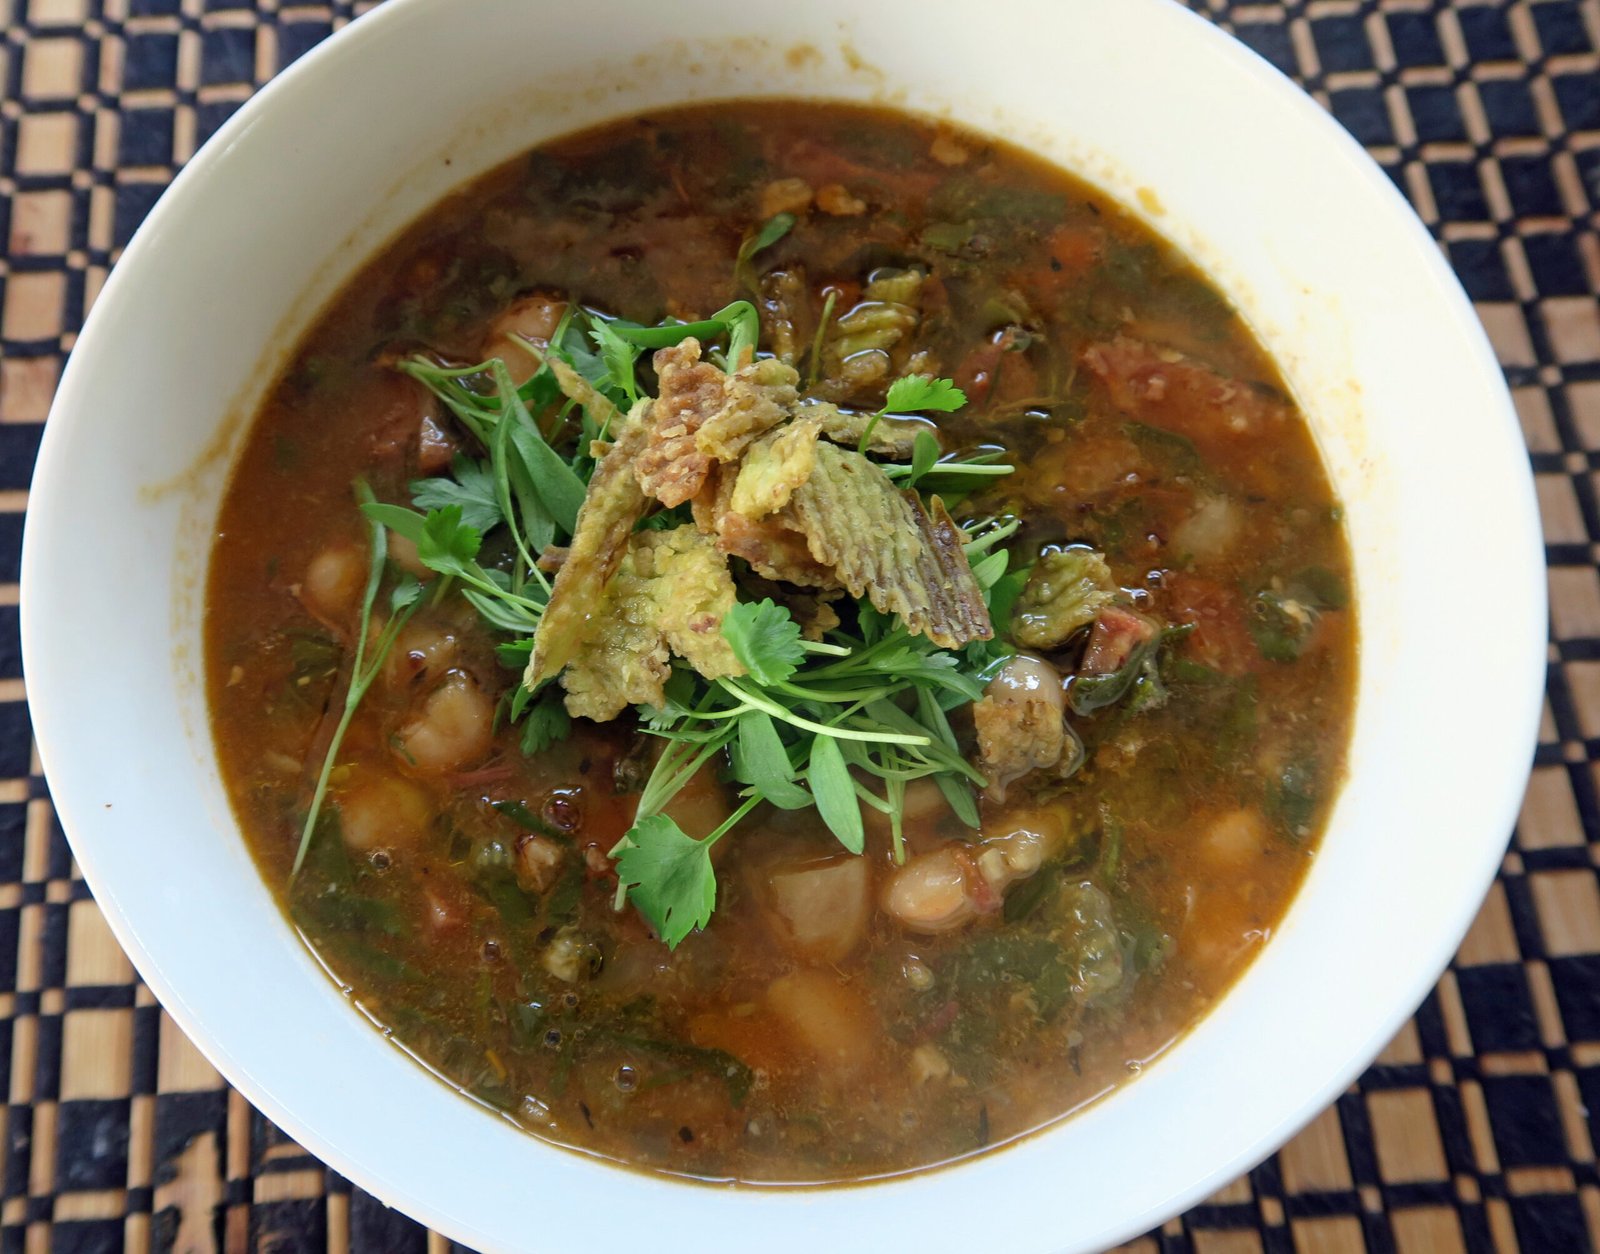
After making adjustments to the recipe….well, I've had over a year-and-a-half to work on things; this is what it looks like these days.

Cassoulet Soup 01b

The two big additions to the soup are tomato paste and a touch of tarragon

Cassoulet Soup 03

Well, and there is the eternal bean query; "to soak or not to soak"…..that is the question. After trying several different techniques (here's a good primer from the Rancho Gordo website); I now always soak my beans overnight. An additional bonus to this….I use 2 cups of the soaking liquid in the soup. As for that flatulence thing; I'm not quite sure what it is, but since I've used beans from Rancho Gordo and soaked them overnight, the Missus and our good friend "Alle" are both surprised that there's no, ahem "music involved". Strange…..but we'll take it!

Anyway, here's the base recipe……I've noted items that are "optional" in my opinion, but of course, this is made to our taste, so adjust away!

Cassoulet Soup:

Day 1 – The Beans
1 Lb dry Cassoulet(Tarbais), Marcella (Cannellini), or Flageolet beans
Water to soak

Late on the evening before making the soup, soak the dried beans in enough water to cover by 2-3 inches. The beans will soak up the water and expand, make sure to check the water level several times.

Day 2 – Let make some soup

2 Tb Duck Fat
2 Tb Extra Virgin Olive Oil
1 – 1Lb French Garlic Sausage cut in half, then lengthwise into quarters Cassoulet Soup 04
4-6 Ounces Diced Pancetta (optional)
6 Ounces Duck Rillette
1 1/2 Cup Diced celery
1 1/2 Cup Diced Carrots
2 Cups Diced Yellow Onion – about 1 medium
3 Tb Double Concentrated Tomato Paste (optional) – to start
1/2 Cup minced garlic (yes, for real)
1 Cup Crisp Sauvignon Blanc
2-3 Bay Leaves
1 1/2 Tb Dried Turkish/Mediterranean Oregano – to start
1 Tsp Dried Thyme
1/2 Tsp Dried Tarragon (optional)
6-8 Cups Water
2 Bunches Chard sliced thinly
Kosher Salt and Pepper to taste
Garlic Paste/Double Concentrated Tomato Paste/Maldon Smoked Salt/Granulated Garlic – to adjust flavors as necessary

-Drain beans over a bowl to reserve soaking liquid
-Saute the sliced French Garlic Sausage in duck fat and olive oil over medium heat to render fat in a large pot/Dutch Oven
-Remove sausage when slightly browned and set aside
-Add Pancetta and Duck Rillette to pot stirring constantly
-Once pancetta turns translucent add onion and garlic
-Once onions softens add celery, carrots, and tomato paste(if using), stirring often
-After a minute or two, crush bay leaves, oregano, thyme, and tarragon (if using) and stir into the pot.
-Once fragrant, add drained beans to pot and mix well
-Deglaze with white wine
-When wine has reduced add in two cups of bean soaking liquid and 6 cups of water
-Bring to a slow-low simmer. Do not cover the pot all the way. Check every 30 minutes add hot water as necessary
-*Optional step, the Missus likes Her bean soup at a "stoupy" (soupy-stewy), so when the beans are soft, I'll remove some and mash by hand and add back to the soup until desired consistency is reached
-Slice browned Garlic Sausage cross wise into thin slices, add to soup. and bring back to a simmer
-Once simmering, add the sliced Chard and bring back to a simmer
-After 30 minutes, taste, add more salt and pepper if needed, and adjust other seasonings.

The Missus enjoys Hers with micro cilantro, a good dose of Pasolivo Olive Oil, and usually more salt.

I like mine with micro cilantro, olive oil, and fried jalapenos for an extra kick.

Cassoulet Soup 05

Man, those beans from Rancho Gordo are so good…..and I'll do a post on Pozole using their hominy soon!

Cassoulet Soup 06

Have a happy and safe Easter!

My Creamy Mushroom Soup Recipe

**** I'm dedicating this post to "FOY" Lynnea, who has been asking for this recipe for a while. Sorry I took so long getting around to it!

With our recent cold spell; I thought I'd finally get around to doing a post on my mushroom soup. I know "FOY" Lynnea asked for it a couple of years ago. 

Mushroom Soup 00  Mushroom Soup 00a Honestly, it ain't the most photogenic soup around, but it packed with flavor. It's also not a "large portion" soup; but really good as a starter with some toasted bread, a drizzle of good EVOO and so forth.

There are a couple of interesting things about this recipe:

1 – These days, I'm not big on measuring things out; but this recipe is an exception. I do measure quite a few things out and even weigh out the porcini mushrooms; which are quite pricey, the cremini mushrooms, etc.

2 – One of the key ingredients to this recipe is my mushroom broth/stock it adds another nice layer of flavor. When I make a batch; I always portion the stock out in 1 1/2 containers, specifically for making this soup. Mushroom Soup 00b

3 – I have very few innovative ideas and this recipe is not exception. It is based on Jacques Pepin's  Dried and Fresh Mushroom Soup recipe in his cookbook, Essential Pepin. I thought the recipe interesting, but when I made it was quite bland for our taste. I made a bunch of changes to the recipe, but kept what I thought was the heart of it; in "essense " (no pun intended), to me the base of the recipe is the use of potato and leeks….so, you could say, it potato leek soup in disguise.

4 – Jacques Pepin also uses porcini soaked in milk; I soak my porcini in hot water, but use 1 1/2 cups of which I strain and use 1 cup for the soup and save 2-3 tablespoons which I add to heavy cream, instead of milk.

Anyway, here goes…..

Mushroom Soup:
1/2 Ounce Dried Porcini Mushroom soaked in 1 1/2 Cup Hot Water for 1 hour
1 cup + 2-3 Tb Porcini Soaking Liquid
1 1/2 cup Mushroom Stock
1 Tb Extra Virgin Olive Oil
1/4 Cup Crisp-High Acidity White Wine (I usually use a Sauvignon Blanc)
4 Ounces Cremini Mushroom
1 1/2 Cup Slice Leek
1 10-12 ounce russet potato cubed
1 Cup Hot Water
1/4 Cup Heavy Cream
1/2 tsp Turkish (or similar) Oregano
Salt and Pepper to taste

  • While Porcini Mushrooms are soaking…
    – Slice Cremini Mushrooms. Set aside slices for garnish. You can either keep them in slices or slice to matchsticks for garnish or a little of both
    – Slice the leeks
    – Once the porcini have soaked – remove the mushrooms and chop finely. Mushroom Soup 00d
    – Save and strain the remaining porcini soaking liquid. Keep one cup of the liquid in a cup and another 2-3 tablespoons on the side
    – Add mushrooms to a cold pot. Turn up heat to medium-high and let sit until the mushrooms start giving up its liquid before stirring
    – Add chopped porcini, leek, oregano, and saute until fragrant
    – Add white wine to deglaze
    – Add mushroom stock, 1 cup of porcini soaking liquid, and hot water.
    – While bringing the liquid up to a simmer, peel and cube the potato
    – When soup starts to boil add the potatoes
    – Simmer gently for 30-45 minutes Mushroom Soup 01
    – Add 2-3 tablespoons reserved porcini liquid to the heavy cream and set aside
    – Once potatoes are very soft, put into a blender and process until smooth
    – Pour blended soup back into pot and heat to a low simmer
    – Add mushrooms and fold in Heavy Cream mixture
    – Serve

Mushroom Soup 02
Mushroom Soup 02

When making for friends….our good friend "Alle's" mom loves this soup; I reserve the slices and add in after blending. The Missus prefers Hers without the mushroom slices and garnish and just uses a good Extra Virgin Olive Oil and crusty bread. As always, make it the way you want.

Mushroom Soup 04

So, there you go Lynnea, I hope you try this out and enjoy it. Thanks for being so patient!

Niku Dofu

Since I wanted to start the New Year on the right foot……FOY "Som Tommy" mentioned wanting the recipe for Niku Dofu in my NYE post….he also mentioned that I really hadn't done a true recipe post in ages which is kinda true. These days, most of my cooking is pretty much by "feel"; though I will try to do a couple of recipes of items where I need to measure stuff out and such. Anyway, here goes one of those now rare recipe posts!

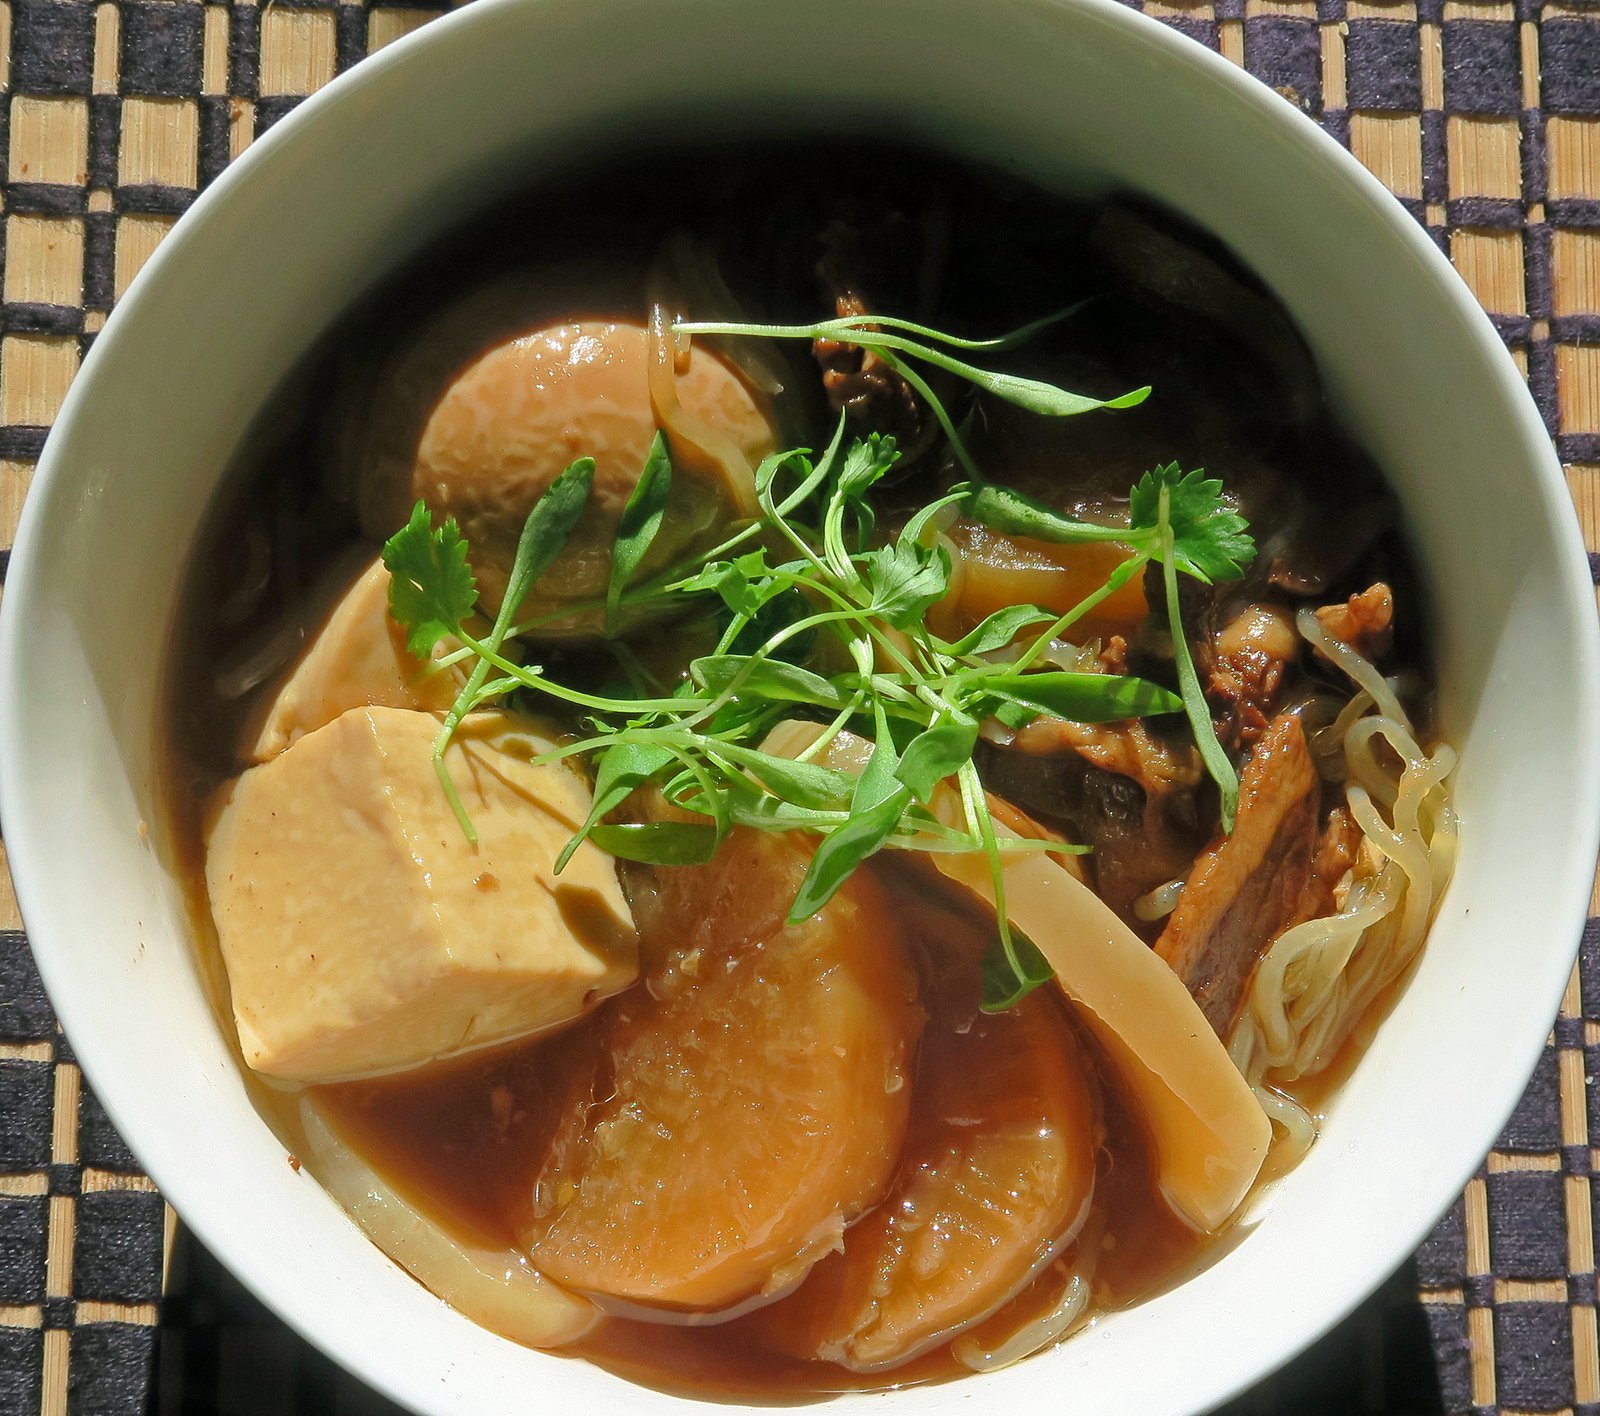
Niku Tofu 01

A couple of notes before I get started. The Missus is all about the tofu, daikon, and boiled eggs in this recipe….and of flavor. I've found that using the Kurobuta Pork Belly from Nijiya works the best for Her tastes. I have even snuck in fried shrimp to add another dimension to things. As always, please adjust the recipe to your taste.

Niku Tofu 02

Also, feel free to substitute veggies – you know shiitake mushrooms, that kind of stuff. Because, to be perfectly honest, I started making this as a low(er) maintenance way of keeping the Missus happy when She wanted Sukiyaki.

As for the tofu, I do one block at a time. I add the second block the next day. I found that soft tofu will start breaking down and the Missus prefers intact squares that are still super soft and moist.

I do put in one chili de arbol, which actually does make a difference in flavor and adds a bit of heat to the dish.

Niku Tofu 03

Also, I found that She prefers the straight forward "heat" from white pepper.

Anyway, here goes….

Niku Tofu 04

Niku Dofu:

1 1/2 Cup Soy Sauce – a neutral flavor like Aloha or Yamasa
1 1/2 Cup Mirin
1 Cup Dark Brown Sugar
3 Cups Water Niku Tofu 05
1/2 Cup Sake
3/4 tsp Dashi No Moto(optional)
2 cloves garlic either grated or ground into a fine paste (optional)
1 Chili de Arbol (optional)

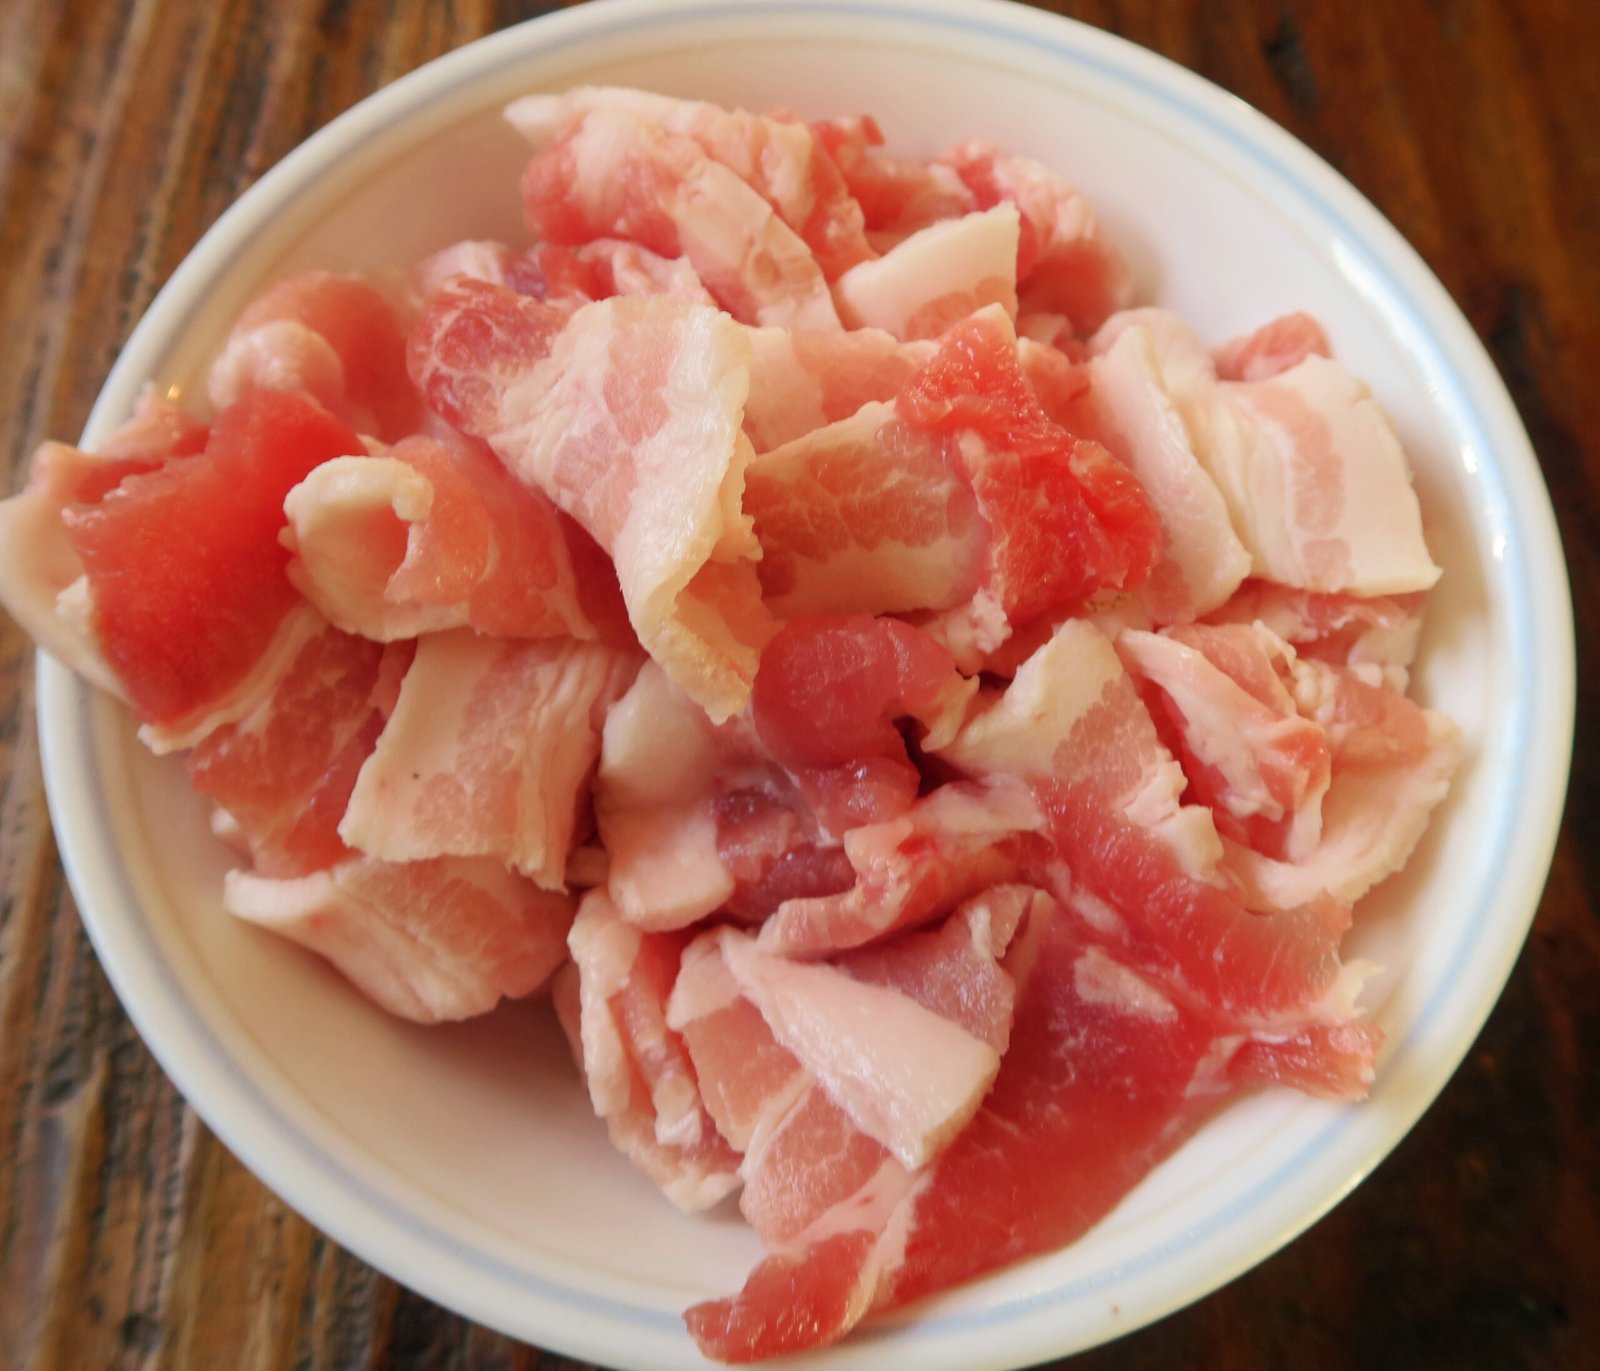
12 Ounces thin cut pork belly (you can substitute beef) – sliced into 1/2 inch pieces
1 1/2 – 2 Pounds Daikon peeled, cut into 1/2 – 2/3 inch rounds, edges rounded off
1 Medium Onion Sliced into thin strips
2 Packages Shirataki(Yam Noodles), open packages and place in a colander. Pour boiling water over Shirataki to remove the "smell".
2 Blocks Soft Tofu (see note below)
6 Soft Boiled Eggs
2-3 TB Avocado or a neutral cooking oil
White Pepper to taste

  • Open one block of tofu, drain, place a clean dish cloth, cheesecloth, or paper towels around and then a plate on top to remove moisture.
    – In a pot heat the oil until it starts to shimmer add chili de arbol if using to flavor the oil
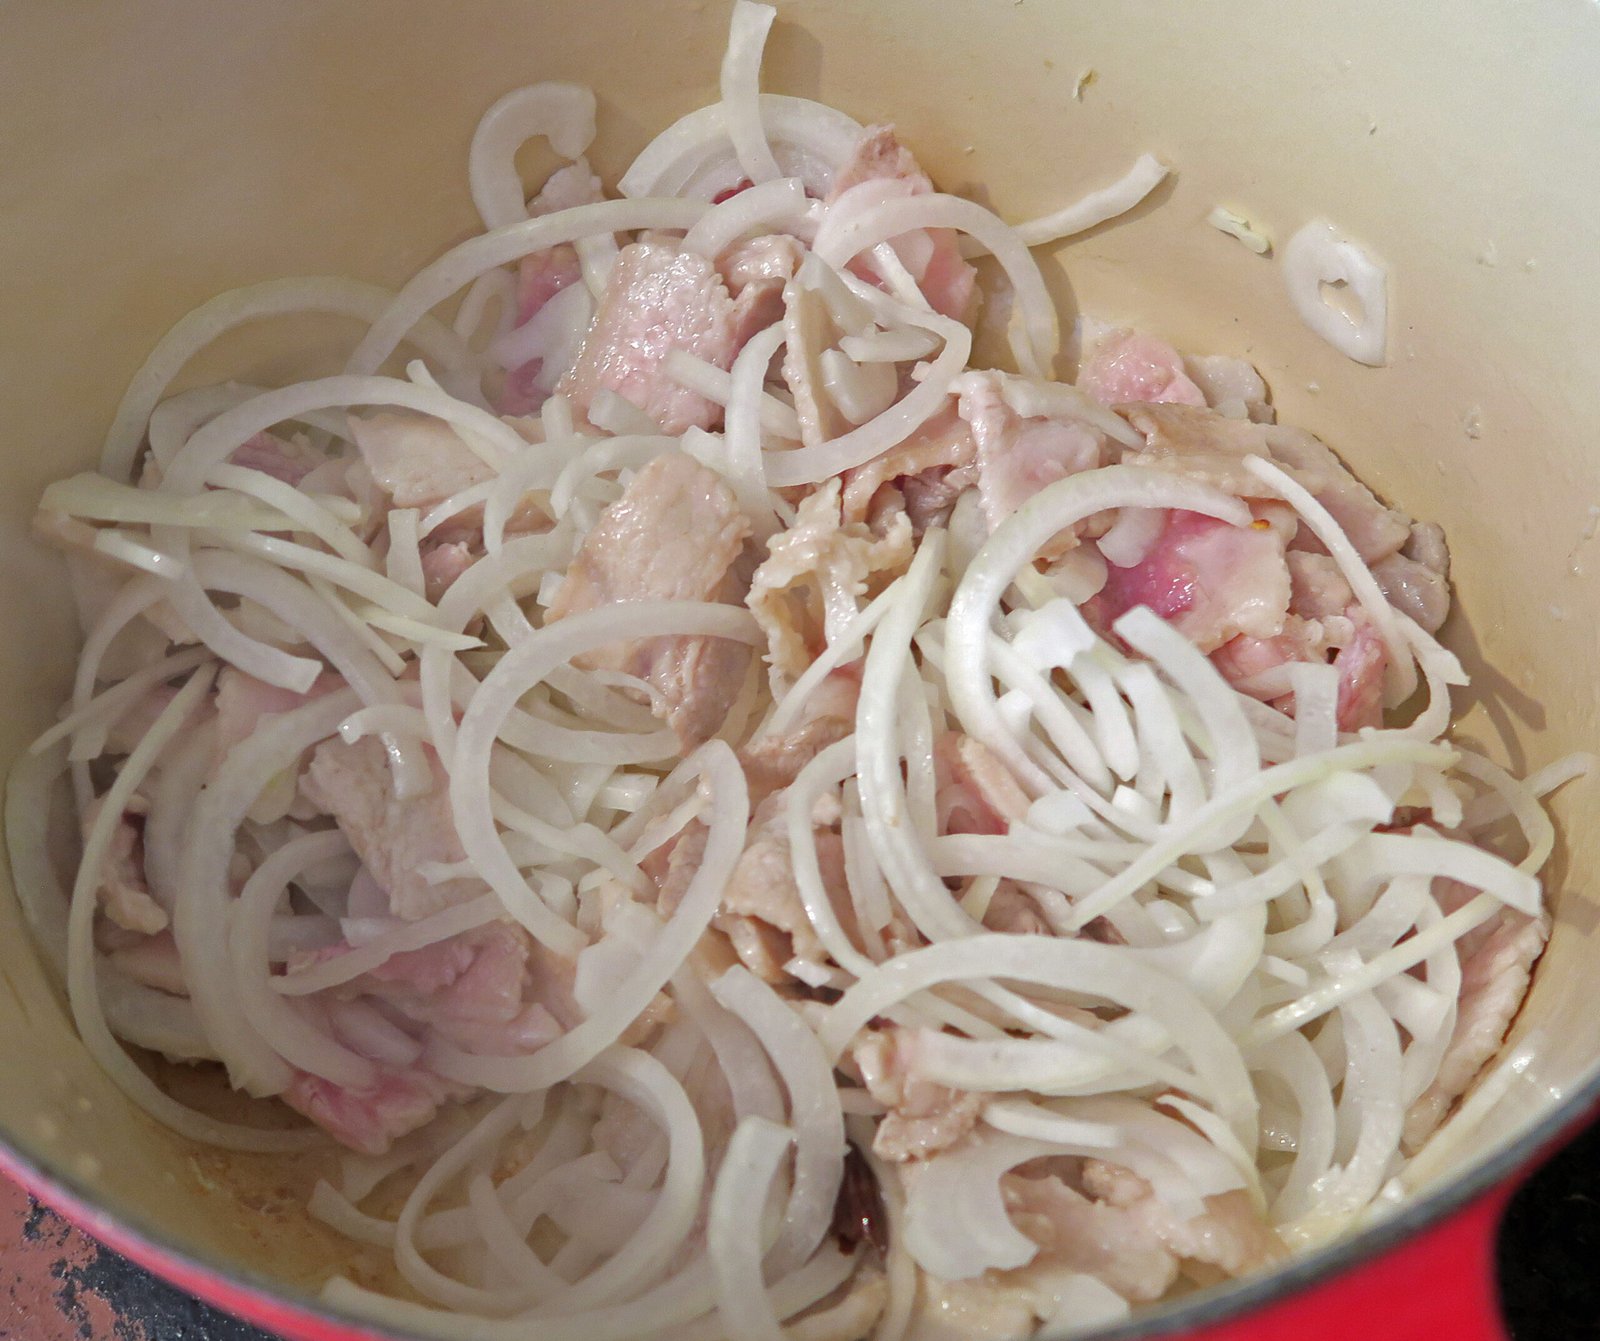
    – Add pork belly and saute until the pork just starts to cook through – season with white pepper if using Niku Tofu 06
    – Add onions and garlic cook until onions are soft and translucent
    – Add mirin and sake and bring to a boil and stir occasionally to burn off alcohol
    – Add soy sauce and sugar, stir well and return to a boil. The miasma should be quite fragrant right now. If you have a taste; it will be very salty and sweet….thus
    – Add water and return to a boil. Let simmer for a few minutes and lower the temperature.
    – Add Dashi no Moto if using; stir well
    – Add slices of daikon and simmer for 20-30 minutes until the daikon start absorbing the sauce and soften. Use a skewer to check doneness. If you have a drop lid you might want to use it now. Or place parchment paper to make sure the daikon is completely submerged.
    – Add shirataki and combine
    – Once daikon reaches desired tenderness; cube the tofu and gently add.
    – Let simmer
    – A few minutes before serving; add the boiled eggs

So there you go….kinda easy. "Niku" basically means meat, so feel free to sub your favorite….I mean really; this is "meat and tofu"…..

Niku Tofu 08

Hope you enjoy ST!

Ume Dressing

Ume Dressing 01The Missus was getting tired of Her typical Arugula/green salad, even though I made the vinaigrette from scratch.

So, I decided to start looking thru my cookbooks for some inspiration. This one is from Yotam Ottolenghi's Plenty More. The recipe uses ume puree….so I went hunting for umeboshi paste and found a couple of different brands. The one that won out; both for intensity and balanced flavor was also the most expensive, $8.99 at Nijiya. Regardless; the Missus loves this sprout salad. I use three different types of sprouts; radish, a milder more conventional (i.e. broccoli) sprout, and something with a bit of peppery boldness – arugula or kale sprouts.

I usually make double this recipe, which is good for four good sized salads – in other words four lunches for the Missus.

It does deviate a bit from the original in Ottolenghi's book; but not greatly. I use more ume paste, less Sesame Oil, freshly ground black pepper, I also use more neutral oil (avocado); and also sneak in agave syrup (of course).

Ume Dressing 02

Ume Dressing – Inspired by Ottolenghi's Recipe in Plenty More:

2 Tsp Ume Paste (depending on brand, you may need more)
1 Tb Organic Rice Vinegar
1 Tb Lime Juice – Fresh Squeezed
2 Tb Minced Shallot
1 Tb Soy Sauce – I found the Kikkoman works well in this recipe
1 Tb White Sugar
1 Tsp Agave Syrup
1/4 Tsp Sesame Oil
5 Tb Avocado Oil
salt and fresh ground pepper to taste

– Combine first 9 ingredients in a bowl and whisk
– Taste and season with salt and pepper

That's it!

To make the salad I mix the base ingredients in a salad bowl – 1 cup shelled edamame, thinly sliced radish and onion (sliced then briefly soaked in cold/ice water to remove the harshness), thinly sliced red cabbage, cilantro leaves, sliced cherry tomatoes, the three sprouts…

Ume Dressing 03

I put into a Pyrex container for the Missus and add several more items….what She calls "the good stuff", sliced avocado, cucumber, and either thinly sliced smoked duck or duck prosciutto (we get ours from D'Artangnan). Add a container of the dressing. The Missus adds in a container of roasted sliced almonds and pumpkin seeds.

Ume Dressing 04

And we have Her current favorite salad. Which She's been enjoying during the recent heatwaves…….

Recently Consumed (and some cooking tips) – Covid-19 Edition

I'm pretty much bushed; so just a quick post of things that came out of our kitchen.

We finally got our delivery of beans and lentils from Rancho Gordo; yes, they are swamped and out of a lot of items and delivery was delayed a couple of times; but believe me, their product is worth waiting for.

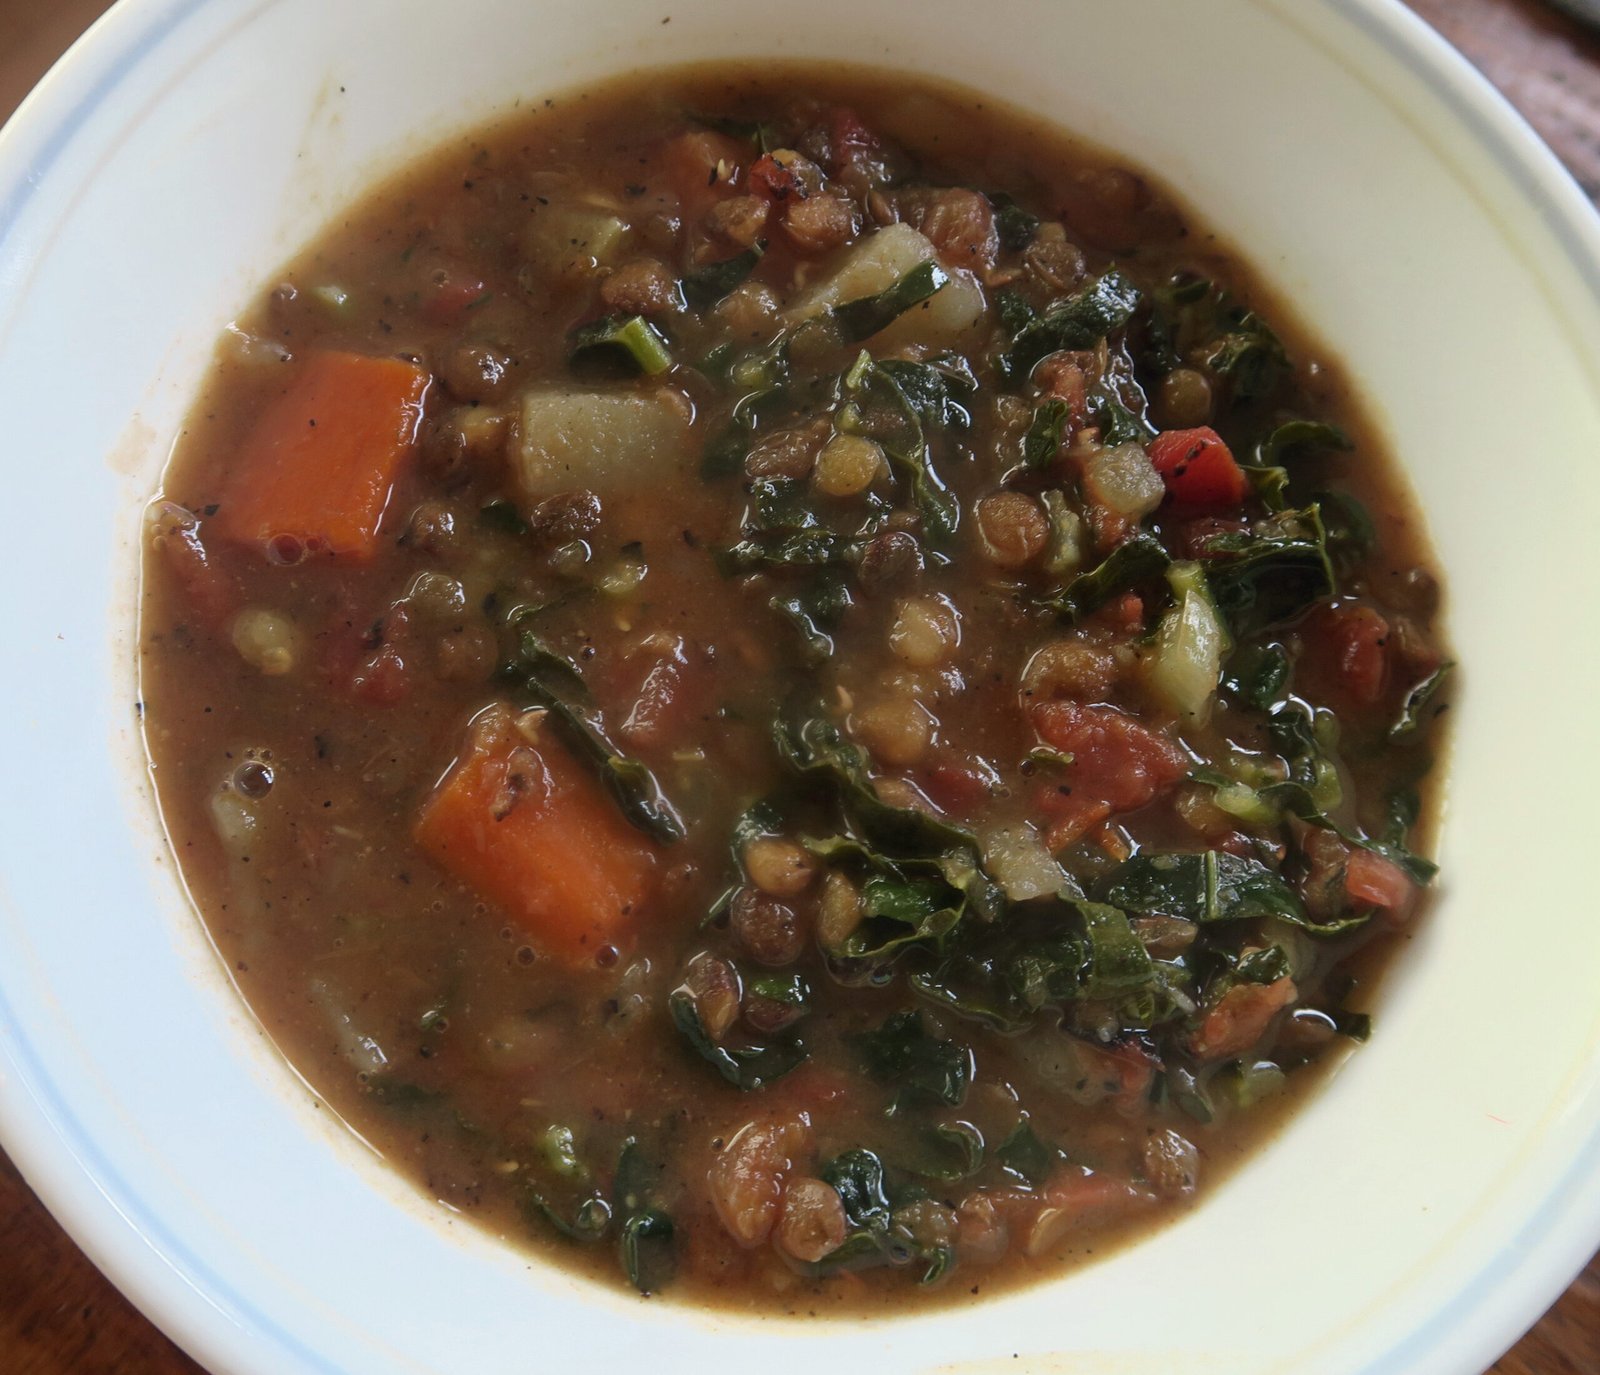
Made a Lentil and Kale Soup….made with…well, bacon fat of course.

IMG_5879

And the missus just "needed" a couple of poached eggs. I've learned a couple of key points when making poached eggs over the years:

1 – The fresher the eggs; the better the outcome is. The older the eggs are, the more runny the whites are, which will make for very "wispy" poached eggs.

2 – Strain your eggs before poaching. This will remove the really runny whites

IMG_5876

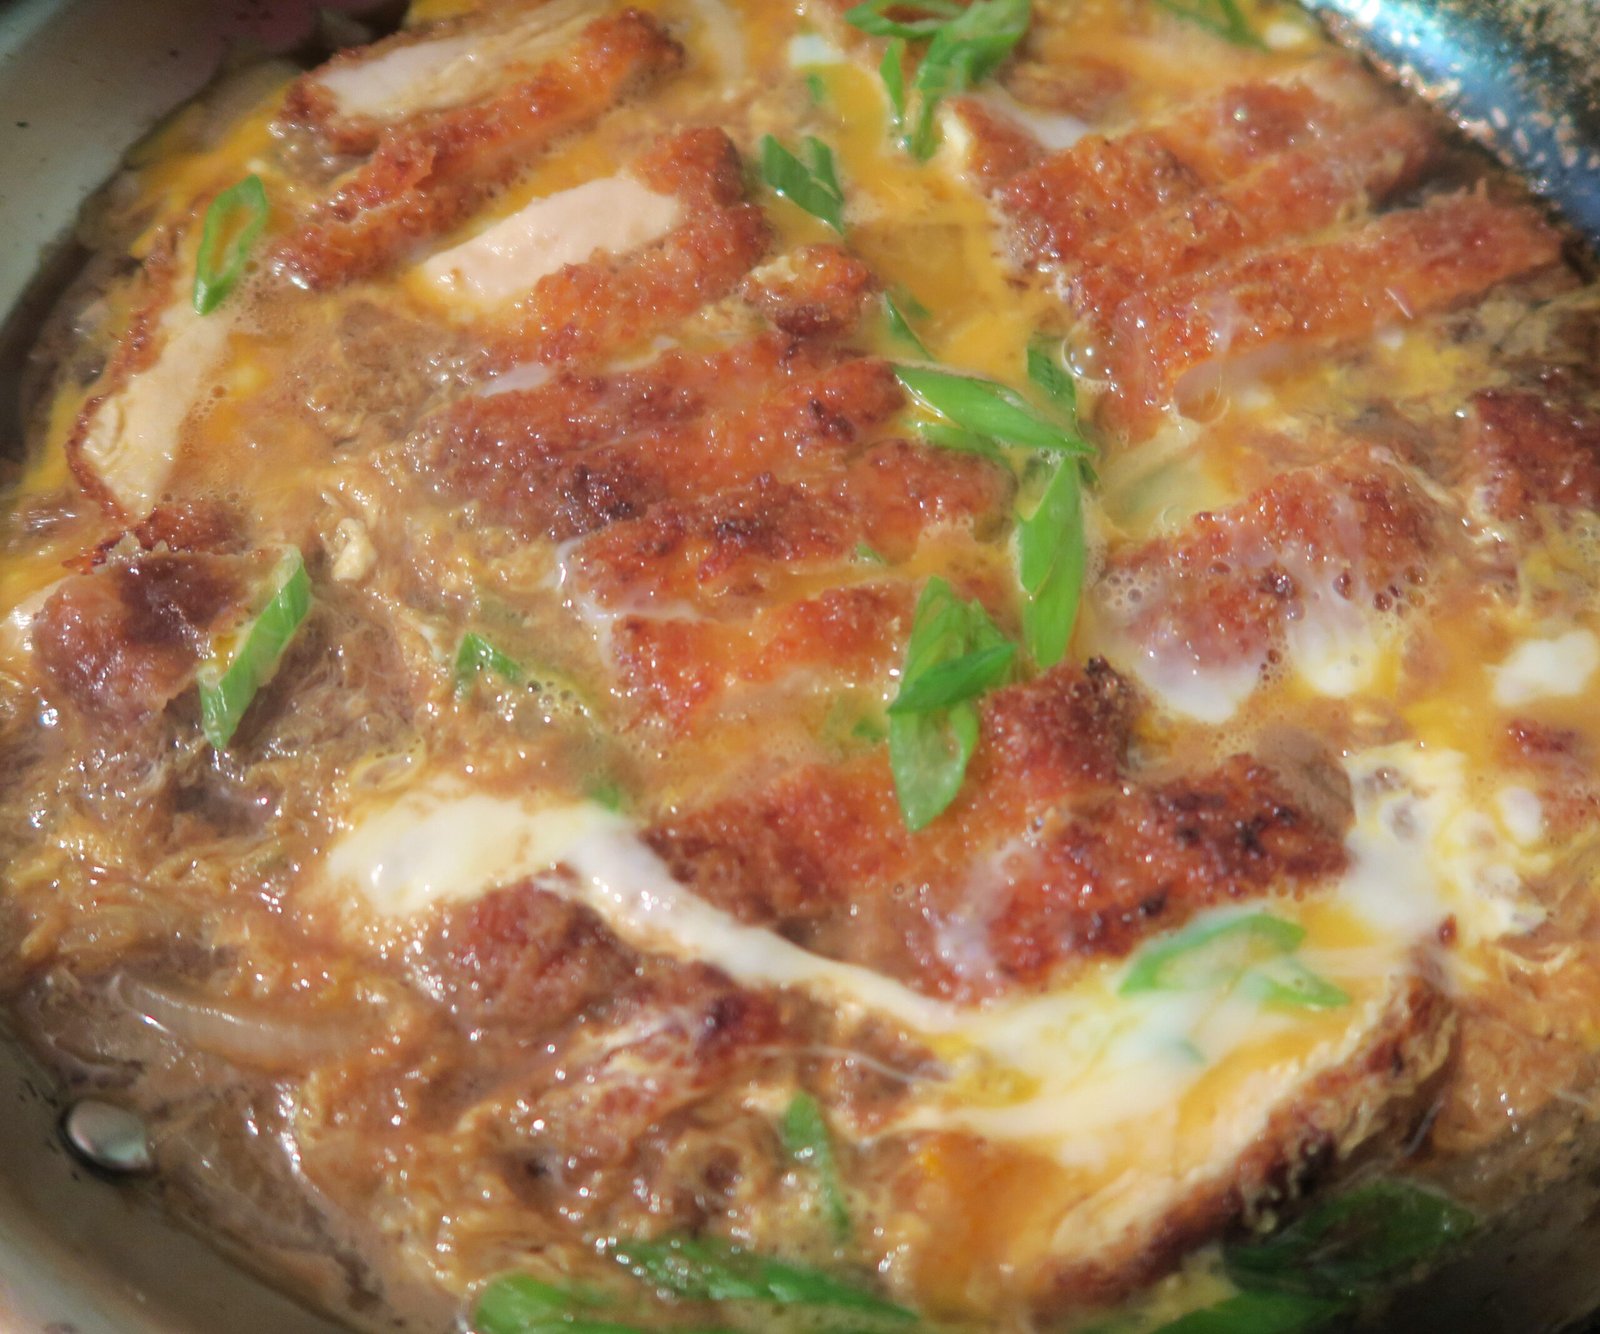
The Missus requested Katsudon a favorite of Hers a few nights back.

IMG_5880

She will even eat the leftovers cold….I think She might even prefer them that way!

For me; one of the key steps is a short 15-20 minute brine of the chicken breast. I use a basic brine similar to what I use for smoking chicken.

For one pound chicken breast; cut and pound to an even 1/3 inch thick, then brine is a solution of 1/4 cup kosher salt, 1/2 tsp granulated garlic, 1 quart water for 15-20 minutes. Make sure to dry the chicken well before initiating the breading process.

You'll find that you won't need to add much more seasoning when breading the katsu.

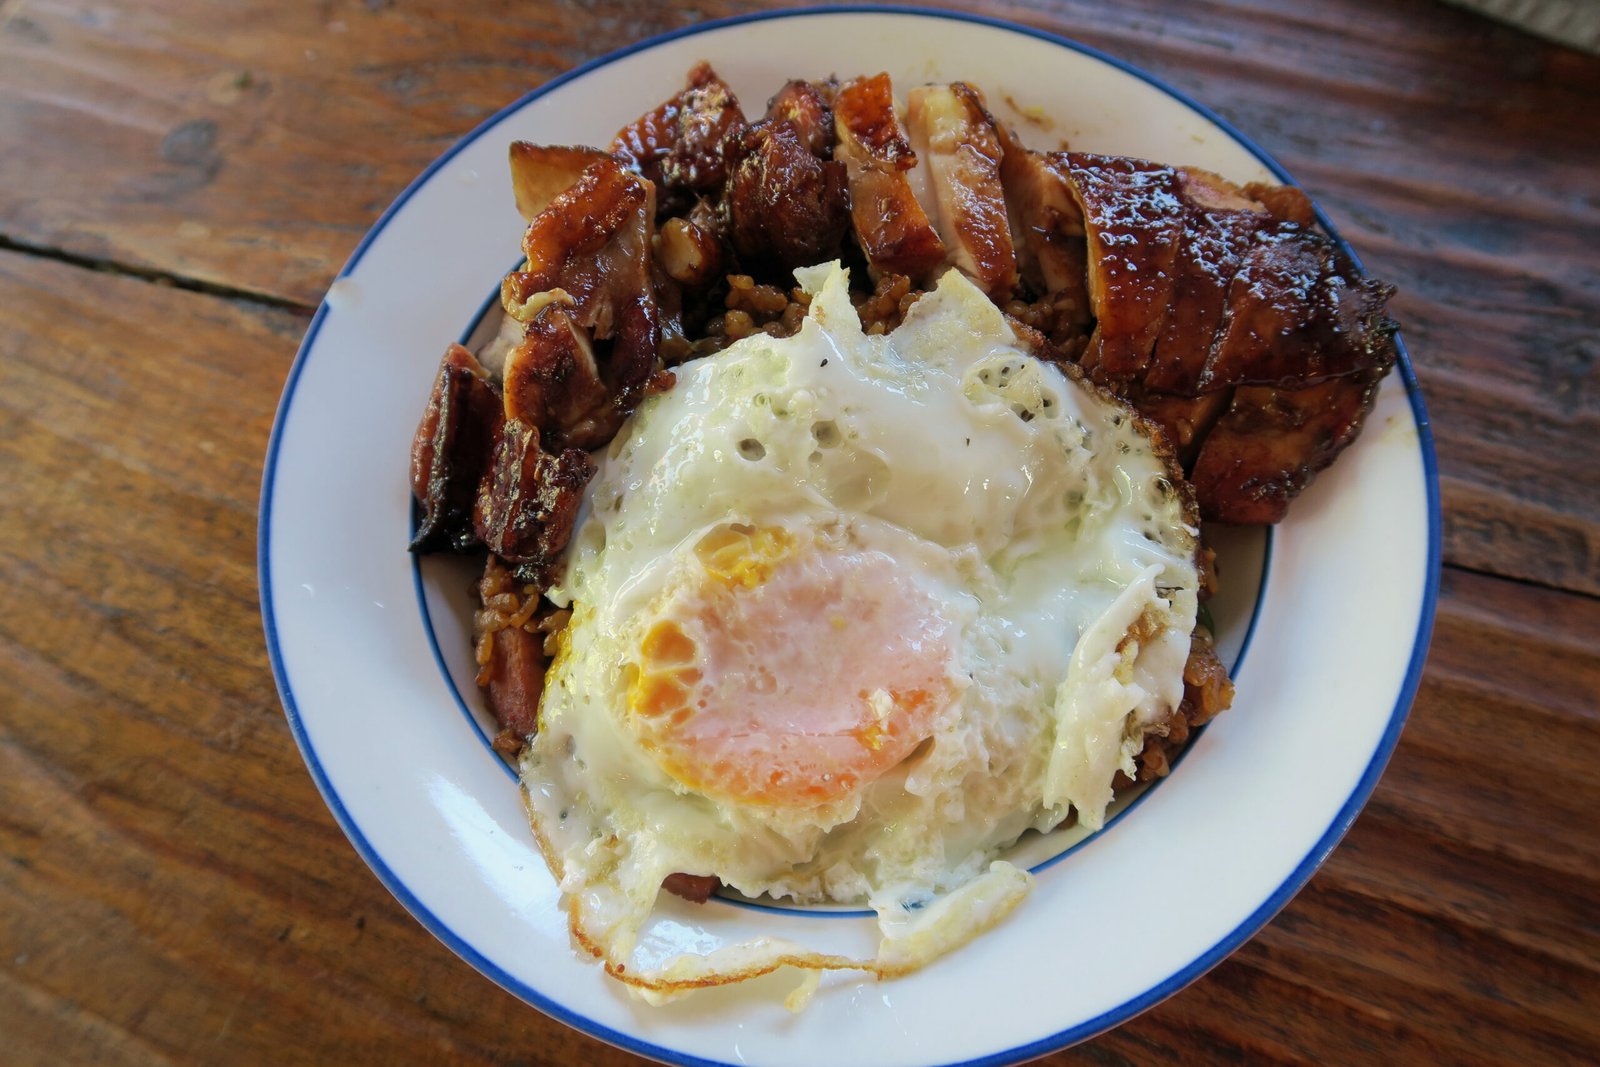
Here's something I made for myself when the Missus was working – Kimchi Fried Rice with Chashu Chicken and of course….it just needed an egg!

IMG_5849

Hope everyone has been eating well!

Have a safe and delici-yoso weekend!

Basic Mushroom Broth/Stock

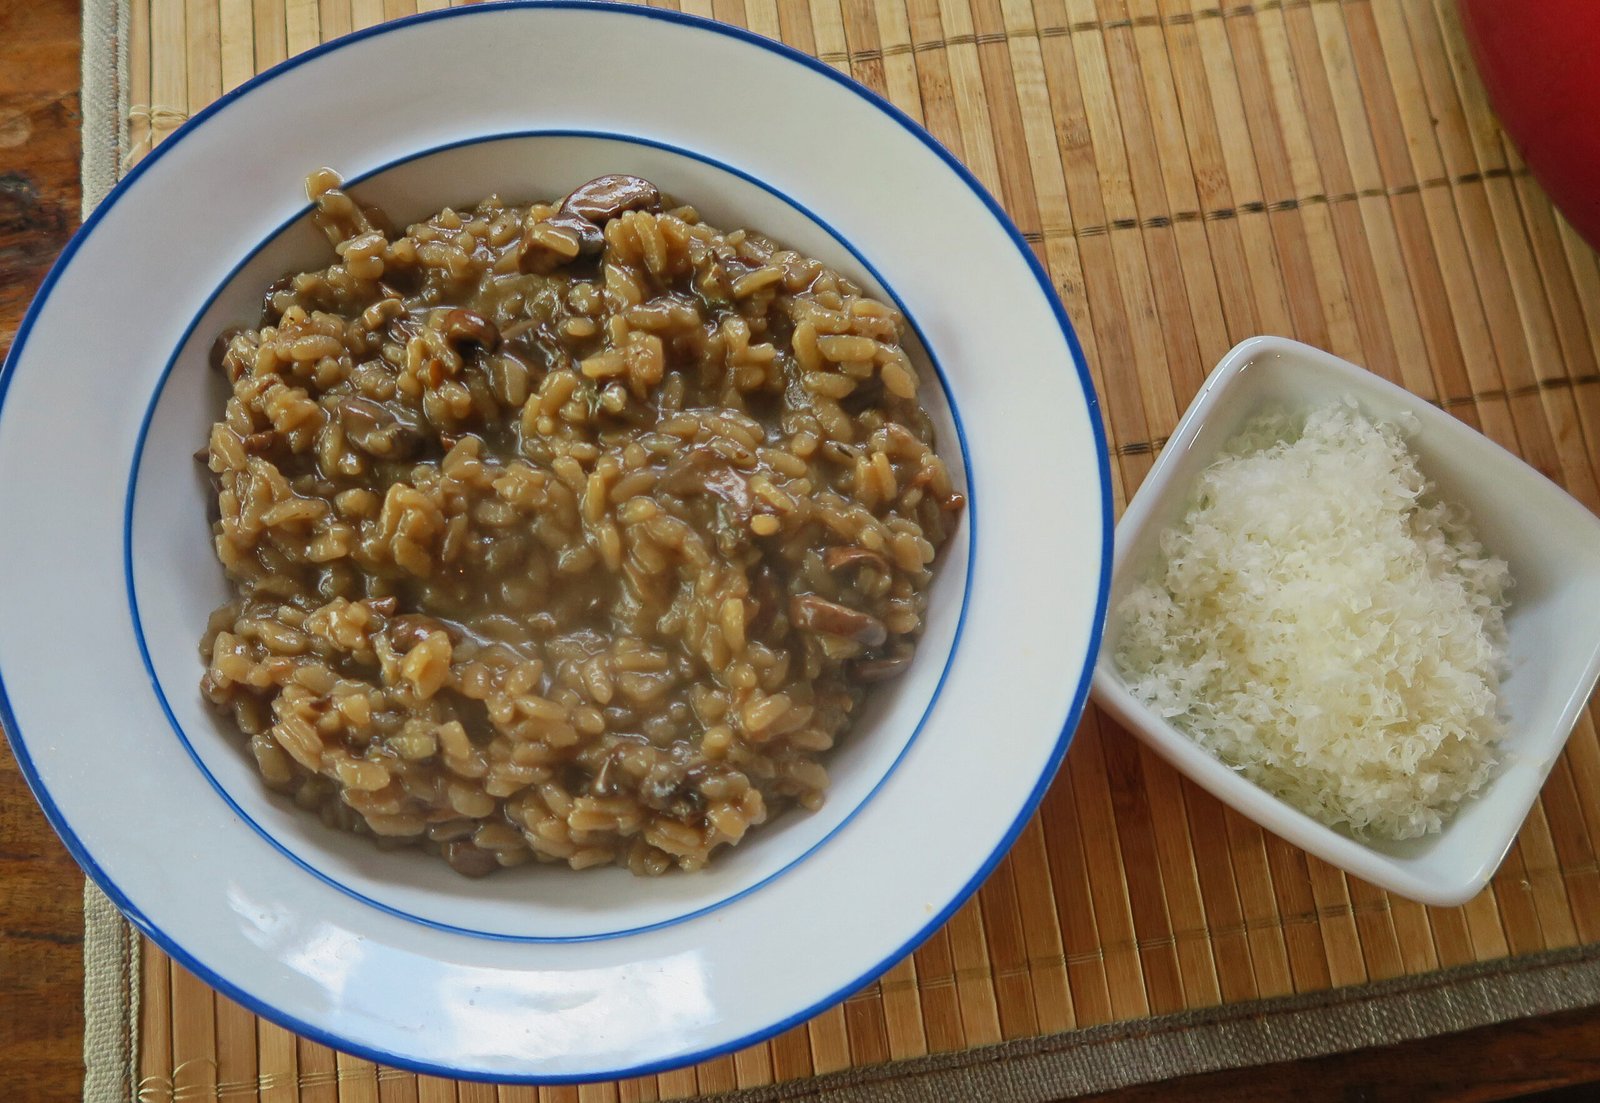
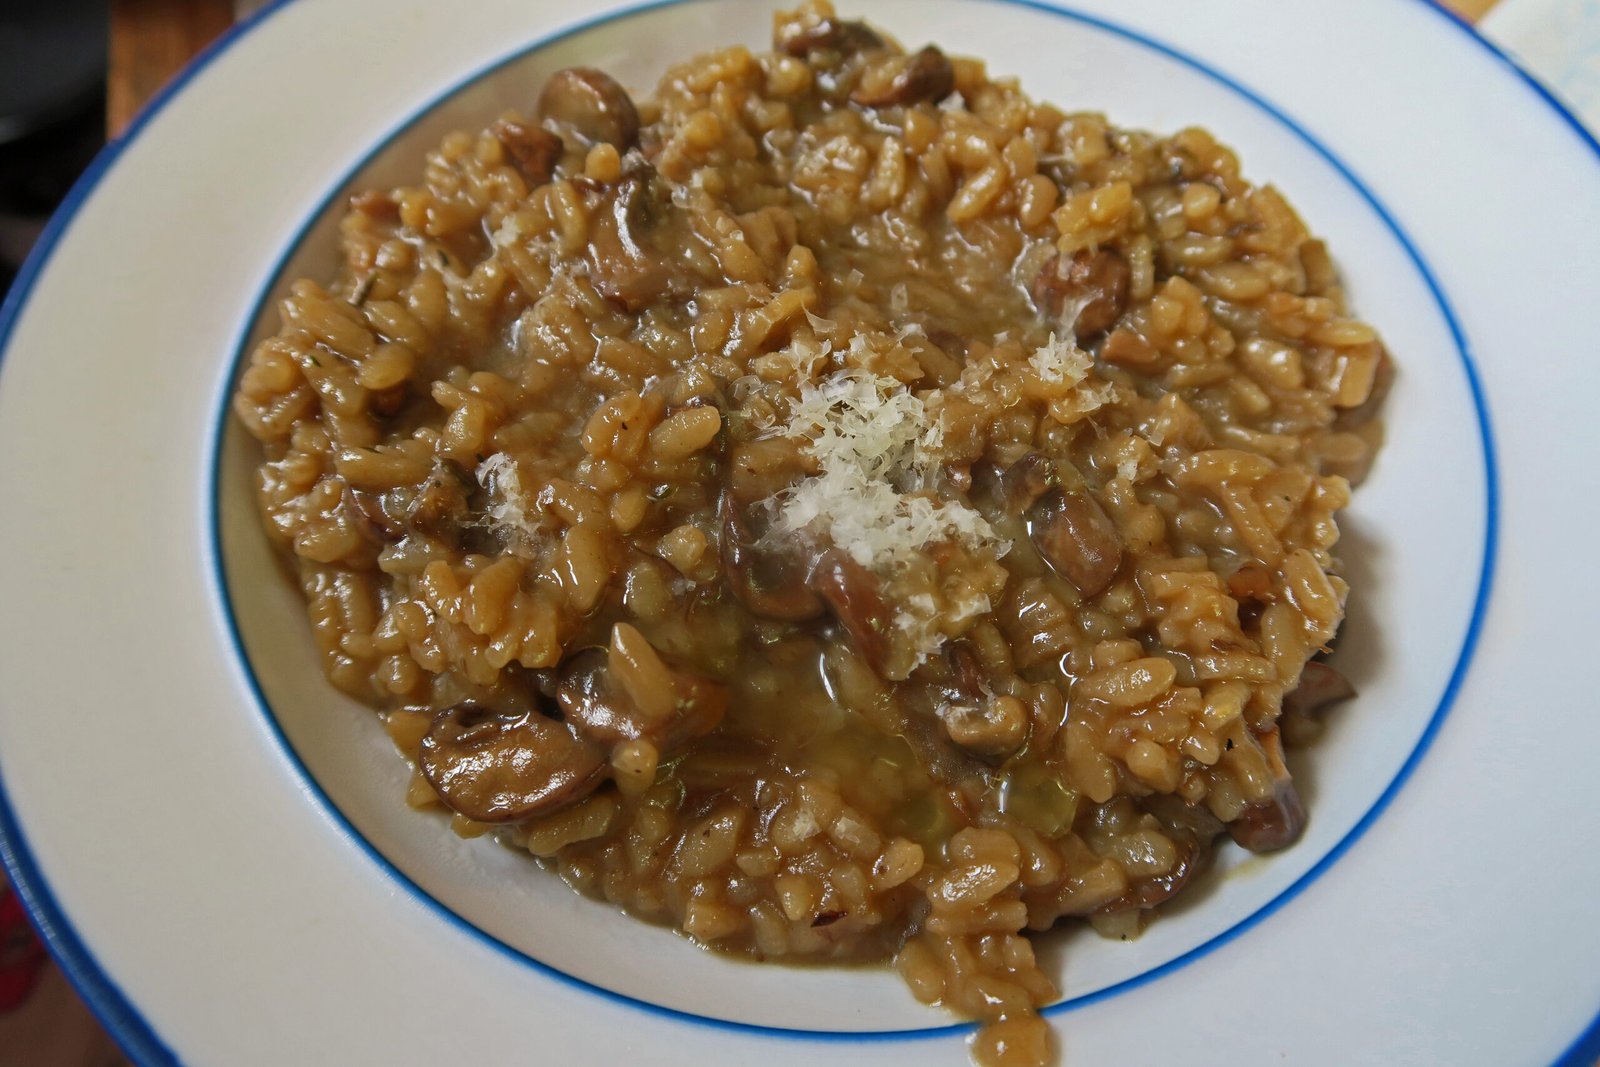
Well, the Missus wanted Her Mushroom Risotto again.

IMG_5829

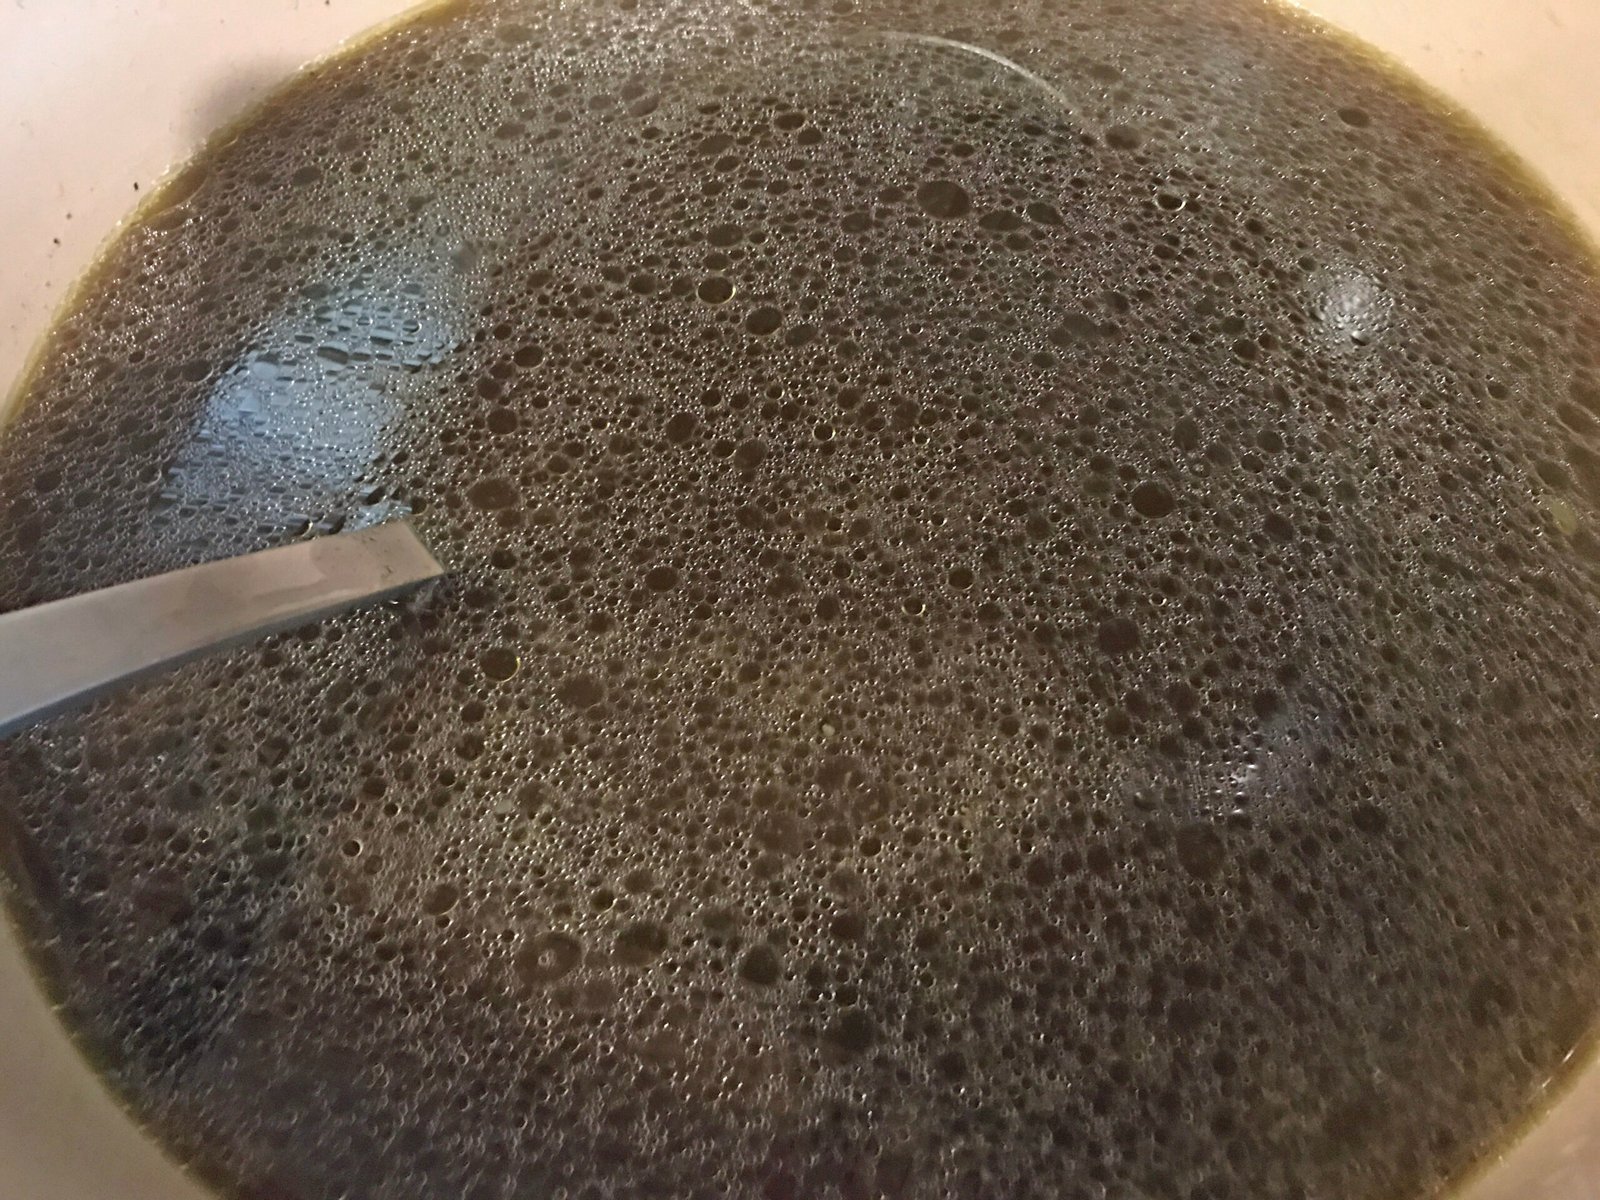
And while I've already done a post on the risotto already; I thought I'd go ahead and post my very basic mushroom broth that I use to make the risotto and various mushroom soups and such; it's really simple. It's based on a recipe in the late Charlie Trotter's cookbook – Charlie Trotter Cooks at Home. The recipe is kinda hidden away in one of the soup recipes. There is a difference in the version I make. I use various mushroom trimmings that I freeze; the good stuff; you know chanterelles, oyster mushrooms, etc…..and in the case where the Missus wants a soup or risotto before I hit the two pound mark, I'll supplement with cremini mushrooms. It's a very nice broth.

Anyway, here goes:

Mushroom Broth: IMG_0697

2 Pounds Mushroom Trimmings or Cremini Mushrooms Chopped
3-4 Tb Extra Virgin Olive Oil
3 1/2 Quarts Water
1/2 Cup Dry White Wine
1 1/2 – 2 Cups Roughly Chopped Onion
1 Bulb of Garlic Chopped
1 Tsp Thyme
1 Tsp Oregano
salt and pepper to taste

– Add mushrooms to a cold stockpot. Turn up heat to medium-high and let sit until the mushrooms start giving up its liquid before stirring
– Add olive oil, garlic, onions, and saute until fragrant
– Add white wine to deglaze (the mushrooms will leave a bit of a "fond" in the pot)
– Add Thyme and Oregano and mix well
– Add Water and bring to a simmer
– Simmer for 2 hours
– Strain broth and add salt and pepper (if desired) to taste

You can freeze the broth – makes about 10-12 cups

We use it for our risotto instead of chicken or any other broth. I will also use it in addition to mushroom soaking liquid and reduce for pasta sauce.

Mushroom Risotto for Dinner

I hope everyone is still doing well!

Have a great…and safe weekend!